creative portraiture

"Khalief Browder"

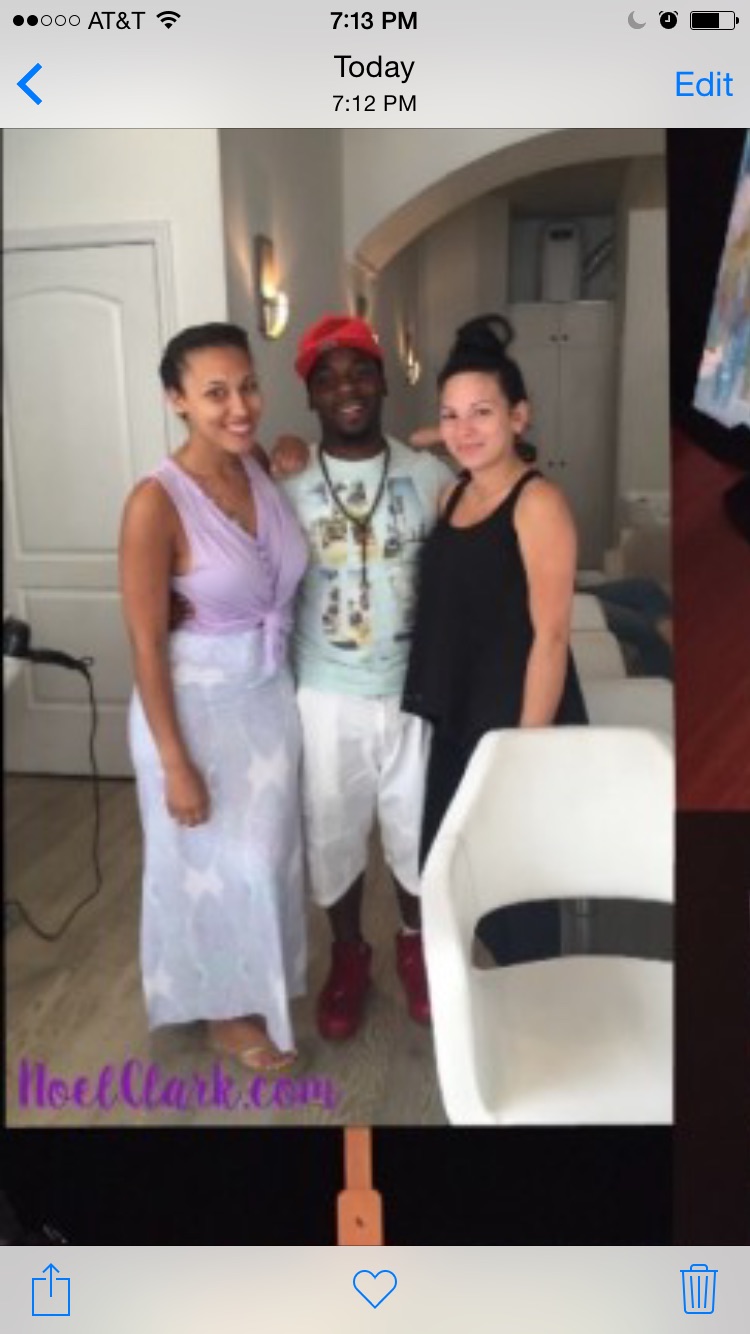
Forwarded by Noel Clark:

IMG_2055.JPG

Posted on May 25, 2017 Forwarded by NoelClark 

In the past, I’ve blogged about musical artists to watch like Fly.Union and Pardison Fontaine but, today I’m gonna let you in on a talented painter, Lorenzo P. .

His work captivates. His pieces are layered in colors and life. Maybe it’s because he is talented in a multitude of ways; he’s also a poet, photographer, writer and musician. Maybe it’s because of his layers as an artist that his art is layered as well. His paintings not only look beautiful, they also have movement and song within them. 

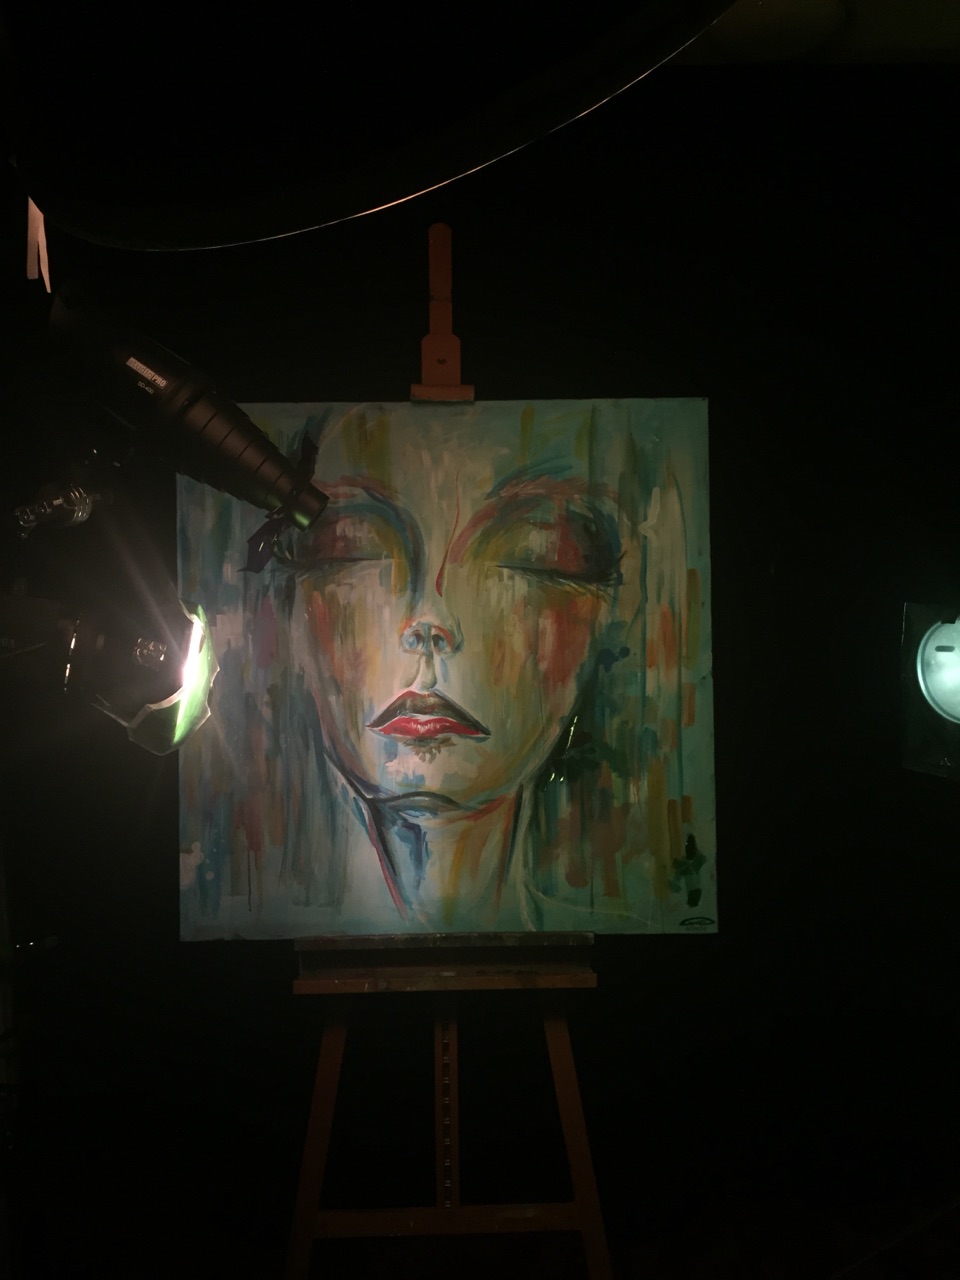
Lorenzo recently did a tribute piece to Kalief Browder. If you’re wondering who Kalief Browder is and if you haven’t watched “The Kalief Browder Story” on SPIKE TV, I encourage you to do so and be prepared to be emotionally wrecked. It’s such a devastating story but it will prompt you to ACT, to do something positive and give light to Kalief’s life which was interrupted with a string of horribly painful, tragic misuses of power. 

Lorenzo’s tribute piece to Kalief is powerful. One of my favorite details of the painting is a small detail, so small it’s almost hidden but once you notice it, you can’t help but focus in on it. It’s a butterfly made of money. Lorenzo said that it represents the idea that “Justice is not always given to those who are financially less fortunate, but justice will be served through the will power of standing up for what it right”. He continued to elaborate on the butterfly by adding, “the “Money Butterfly” represents the many metamorphoses change will undergo”. 


Hey go check out my sister in action noelclark.com

How to achieve amazing catchlights in the eyes PT4

How to Achieve Amazing Catchlights in the Eyes PT4

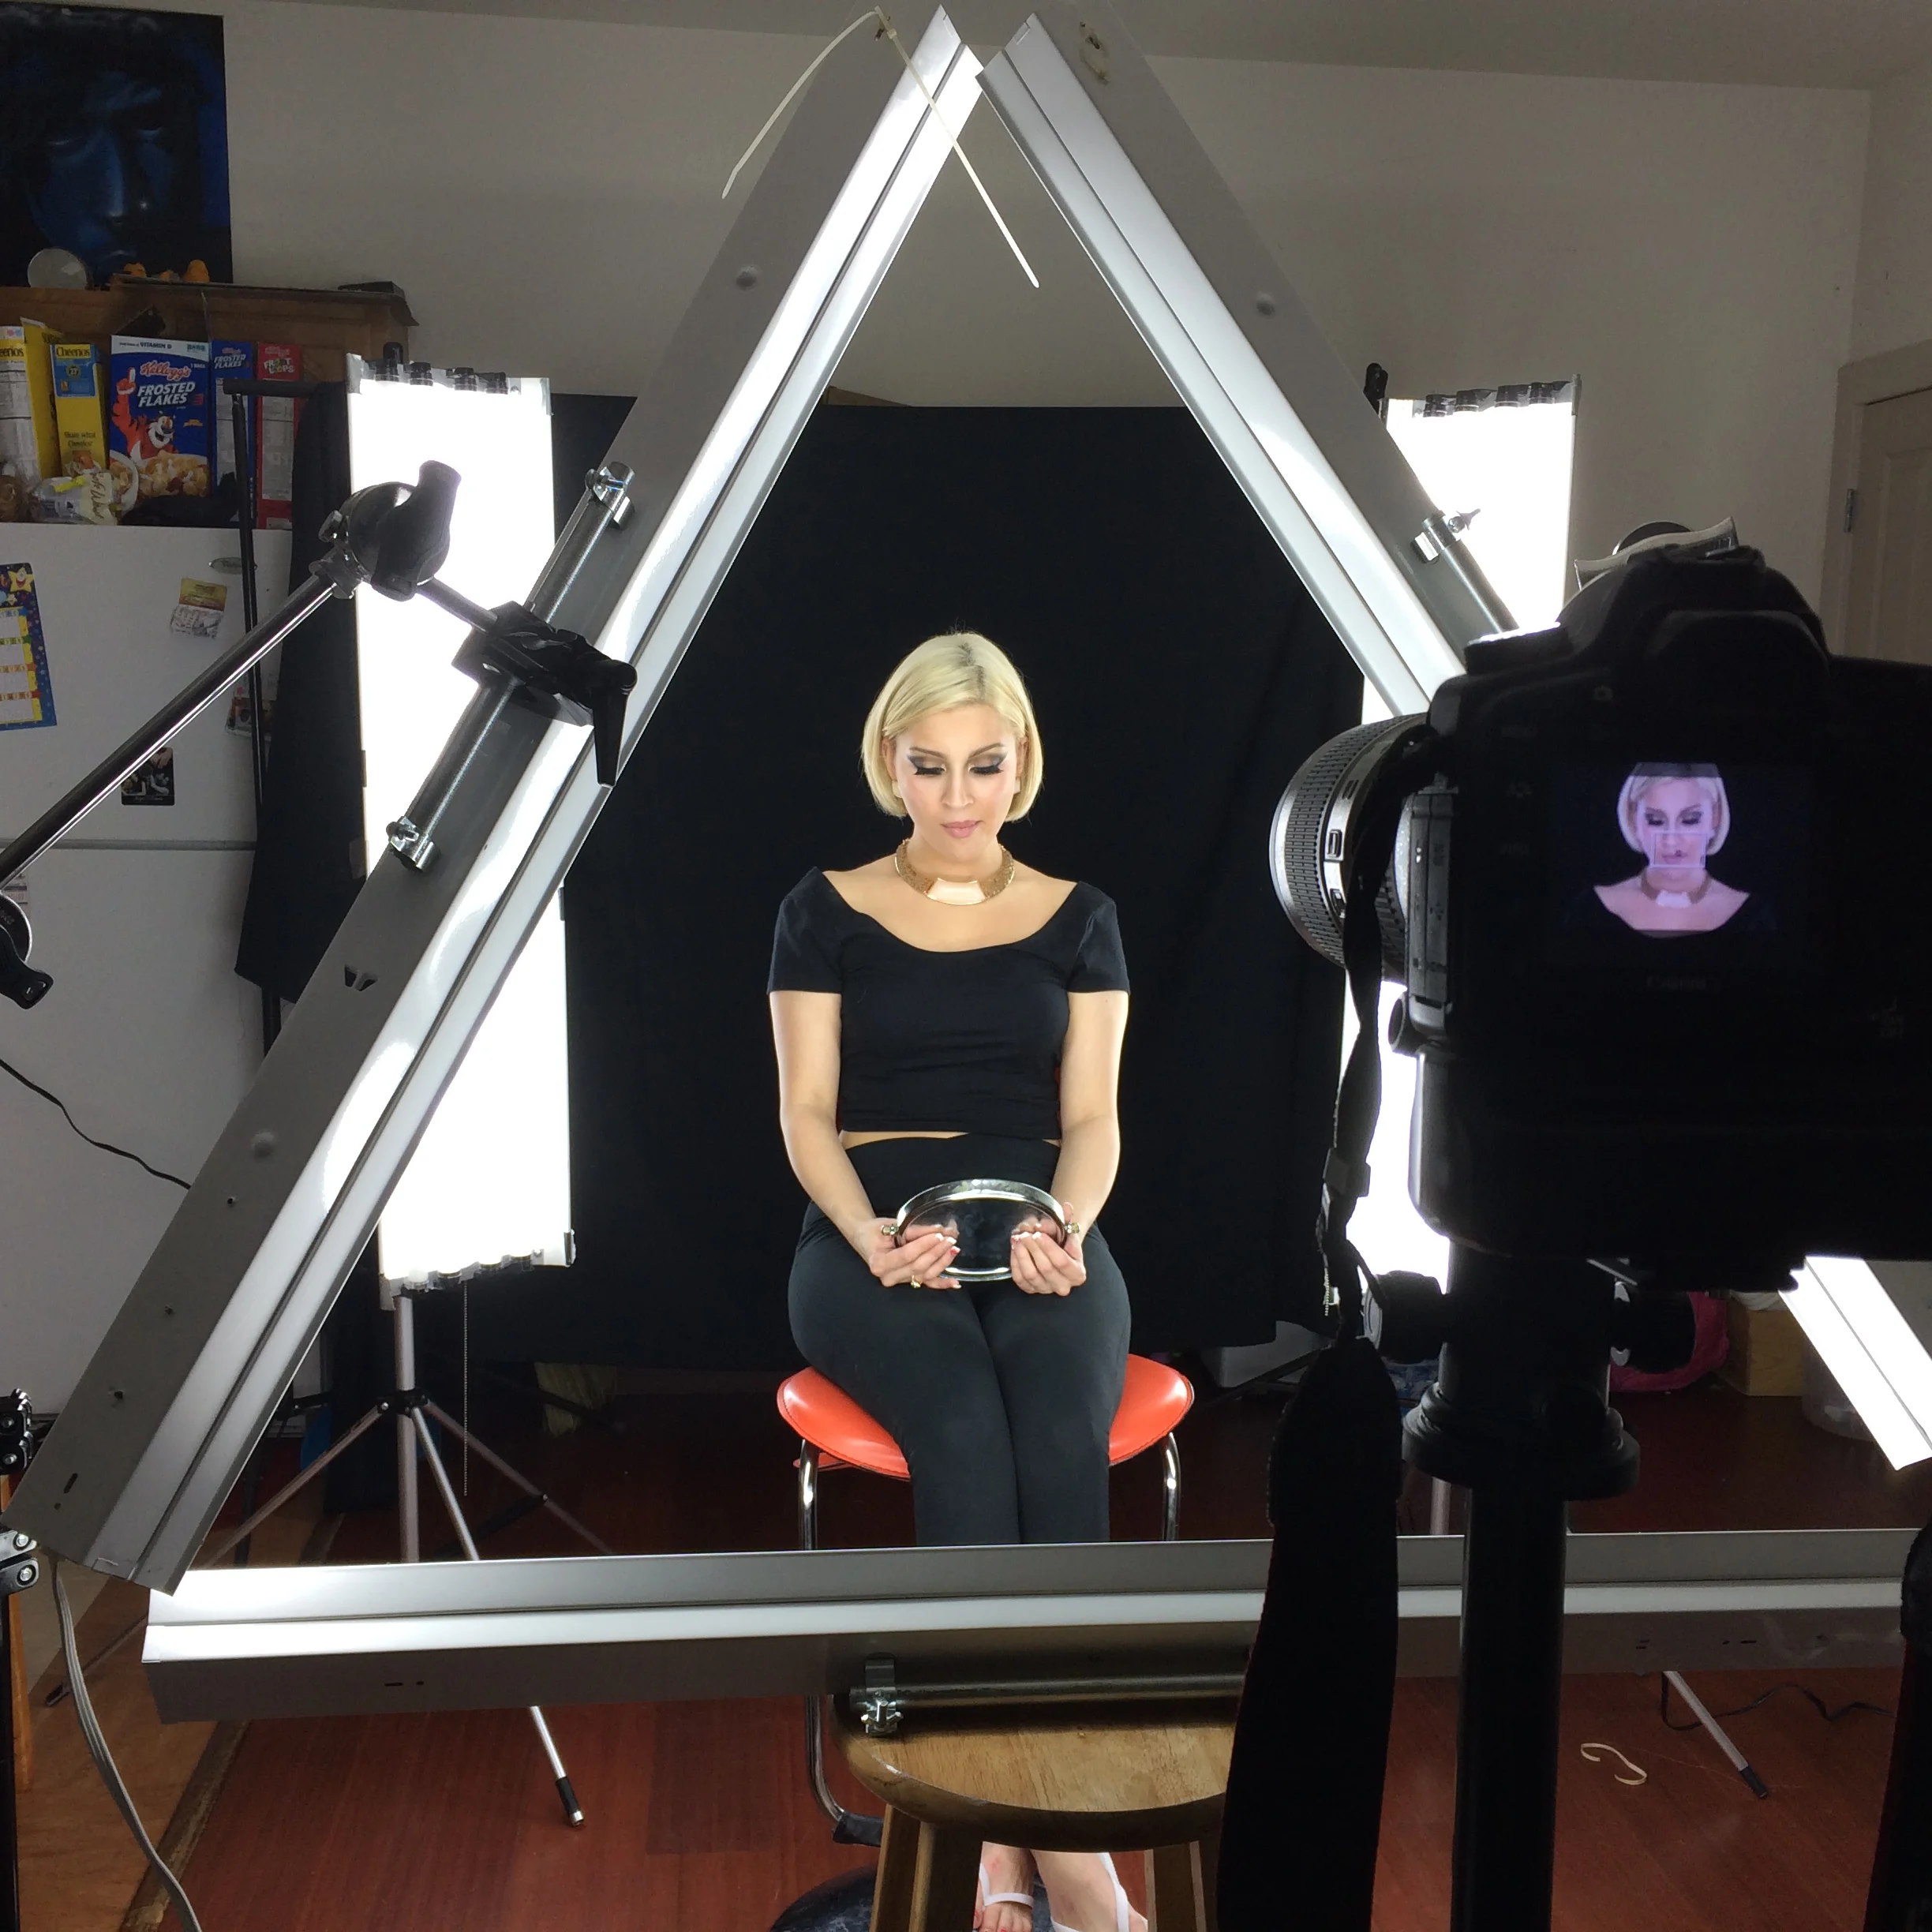
Triangular Lights

This is essentially a 3 light setup, but it actually took a total of 5 lights to construct this particular setup. In the middle we have the beautiful Eliza Lugo, she is the very model who starred in the first series of how to achieve amazing catchlights in the eyes. As you can see in the image Eliza is highlighted by (2) 4ft, Fluorescent lighting banks that are equivalent to 128watts each. The two side lights act as a rim light accentuating the contour of her body as well as creating some separation between the talent and the background. Moving along here’s where things get a little interesting, Lighting banksBecause Joe adamant did such a flawless job at constructing these lighting banks I told myself I would not make a video doing such however, because of the amount of inquiries I received in regards to constructing these lighting banks I figured I'll make a quick video.

DIY Fluorescent Lighting Banks

Lithonia Lighting hanging fixture

1/2"  Conduit hanger

1/4-20 wing nut

Flat washer #8

machine Screws #8-32x3/4"

machine Screws 5 1/4" 20x1/2"

#0 conduit hanger with speed thread

5’ Conduit pipe cut down to 4'

Satin white spray paint

Impact KCP-240

40" Extension Arm

KCP- 200

2.5" Grip Head

8" Baby Pin

IMG_0422.JPG

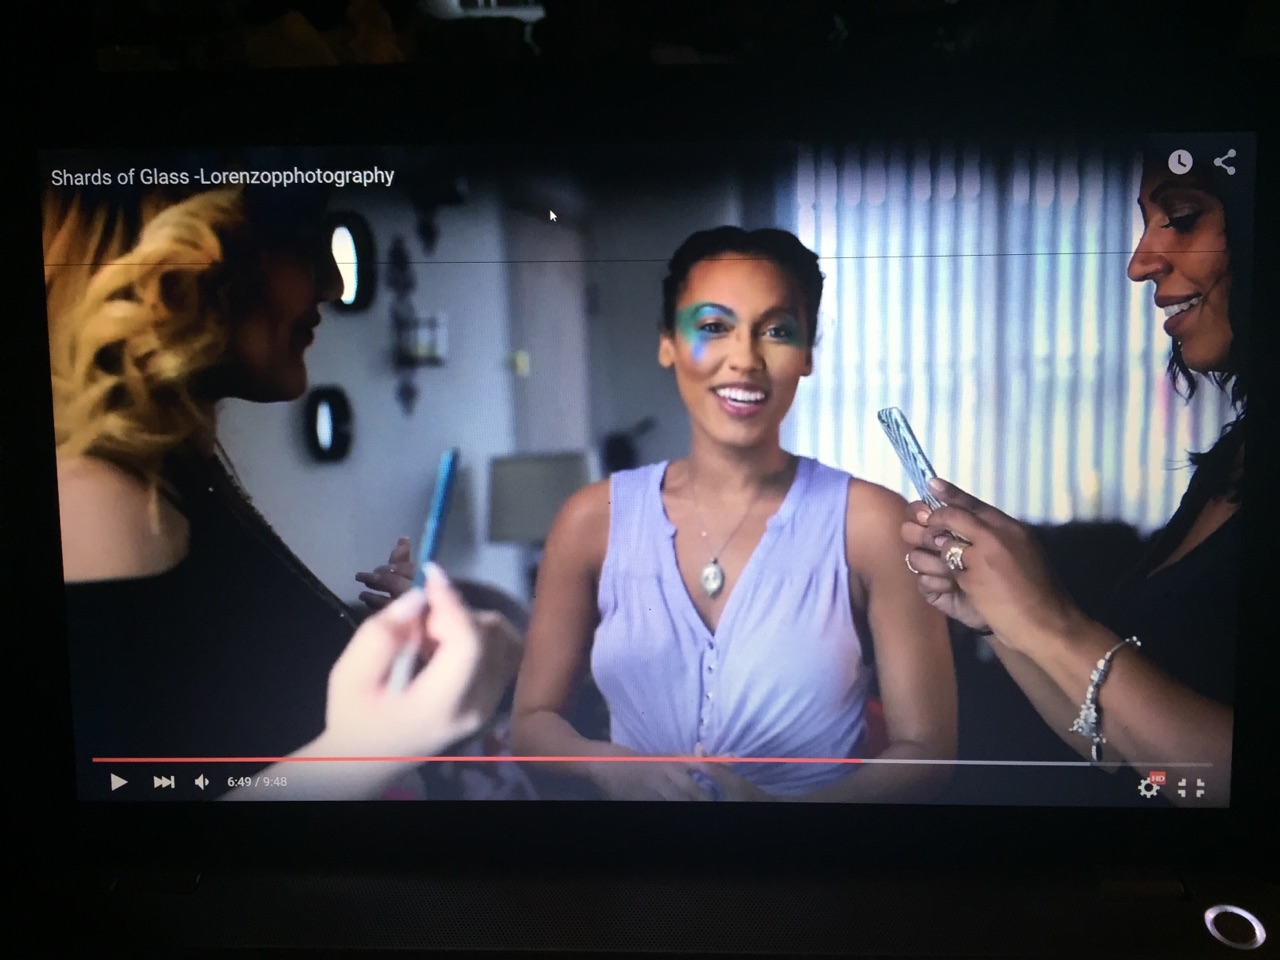
I captured Eliza doing her makeup

This is the Impact 40" Extension Pole with the 8" baby pin held by the Super "C" clamp.

"Shards of Glass"

"Shards of Glass" post coming soon!!!! If you want to read the story and see more images from this amazing shoot please stay tuned. While you are waiting, please feel free to tell me what you liked most  about the "Shards of Glass" video?  Also tell me what inspires you comment below!!!!!!!!

To Be Continued......... #SOG

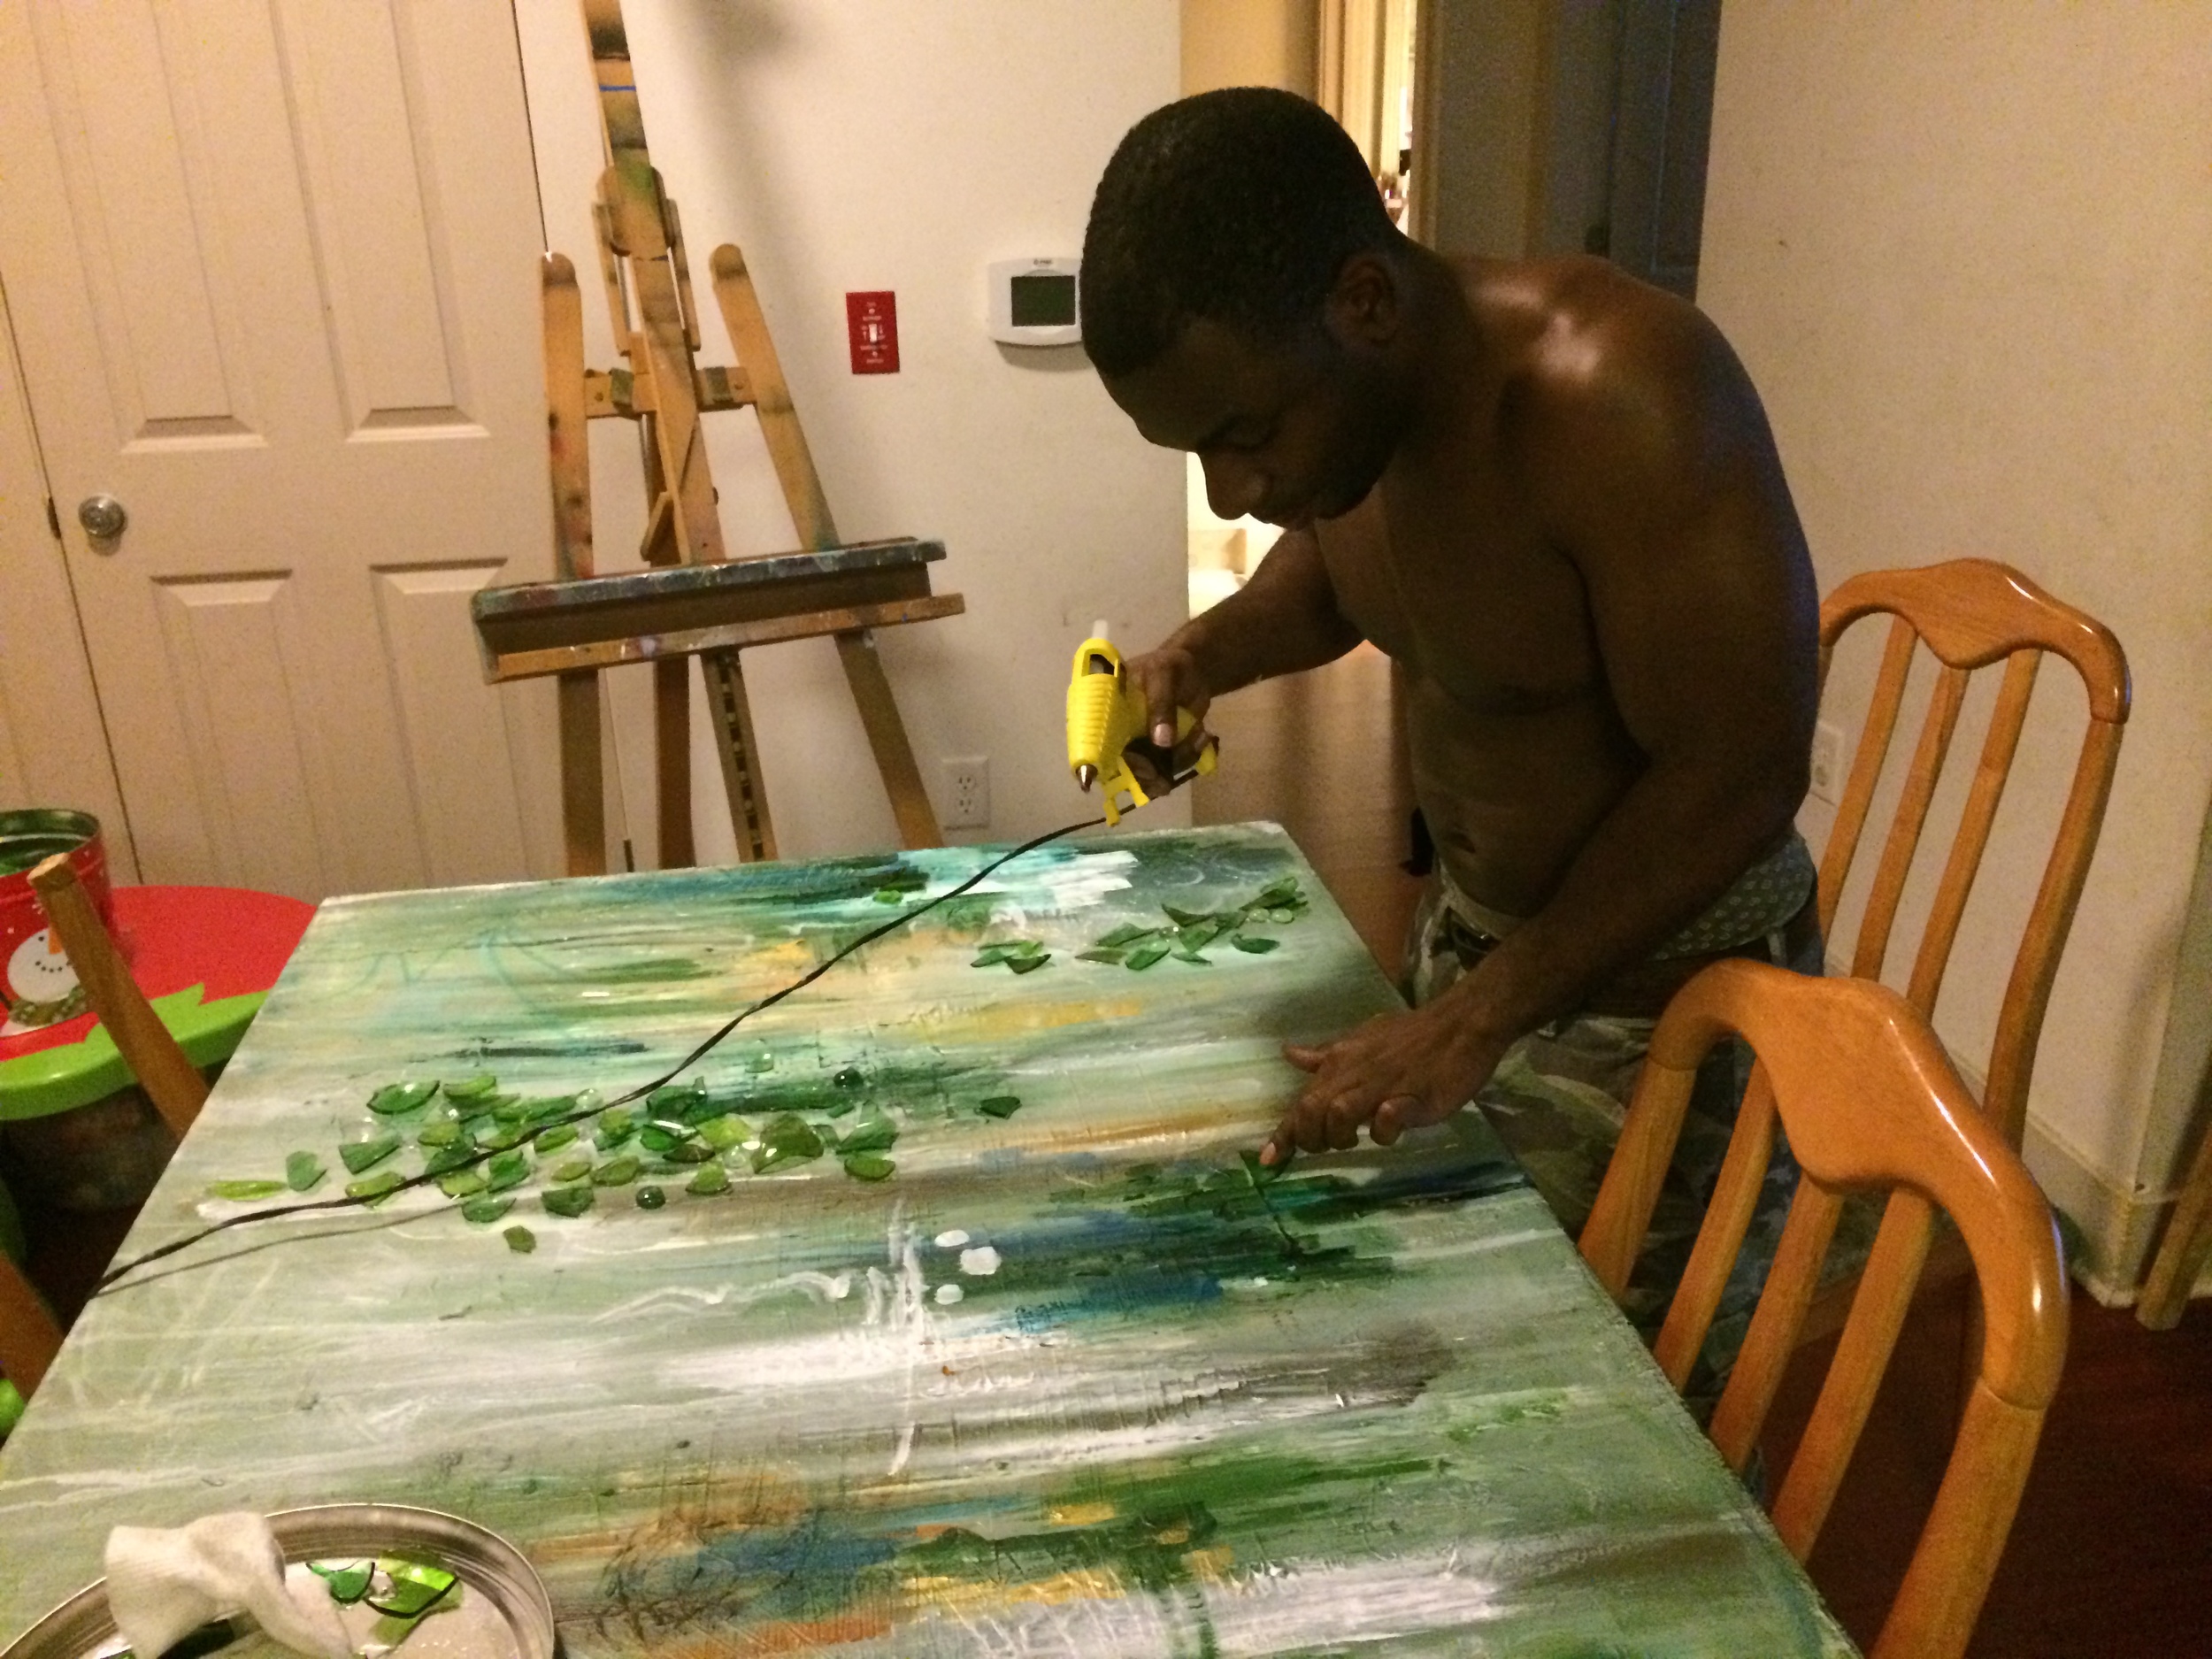
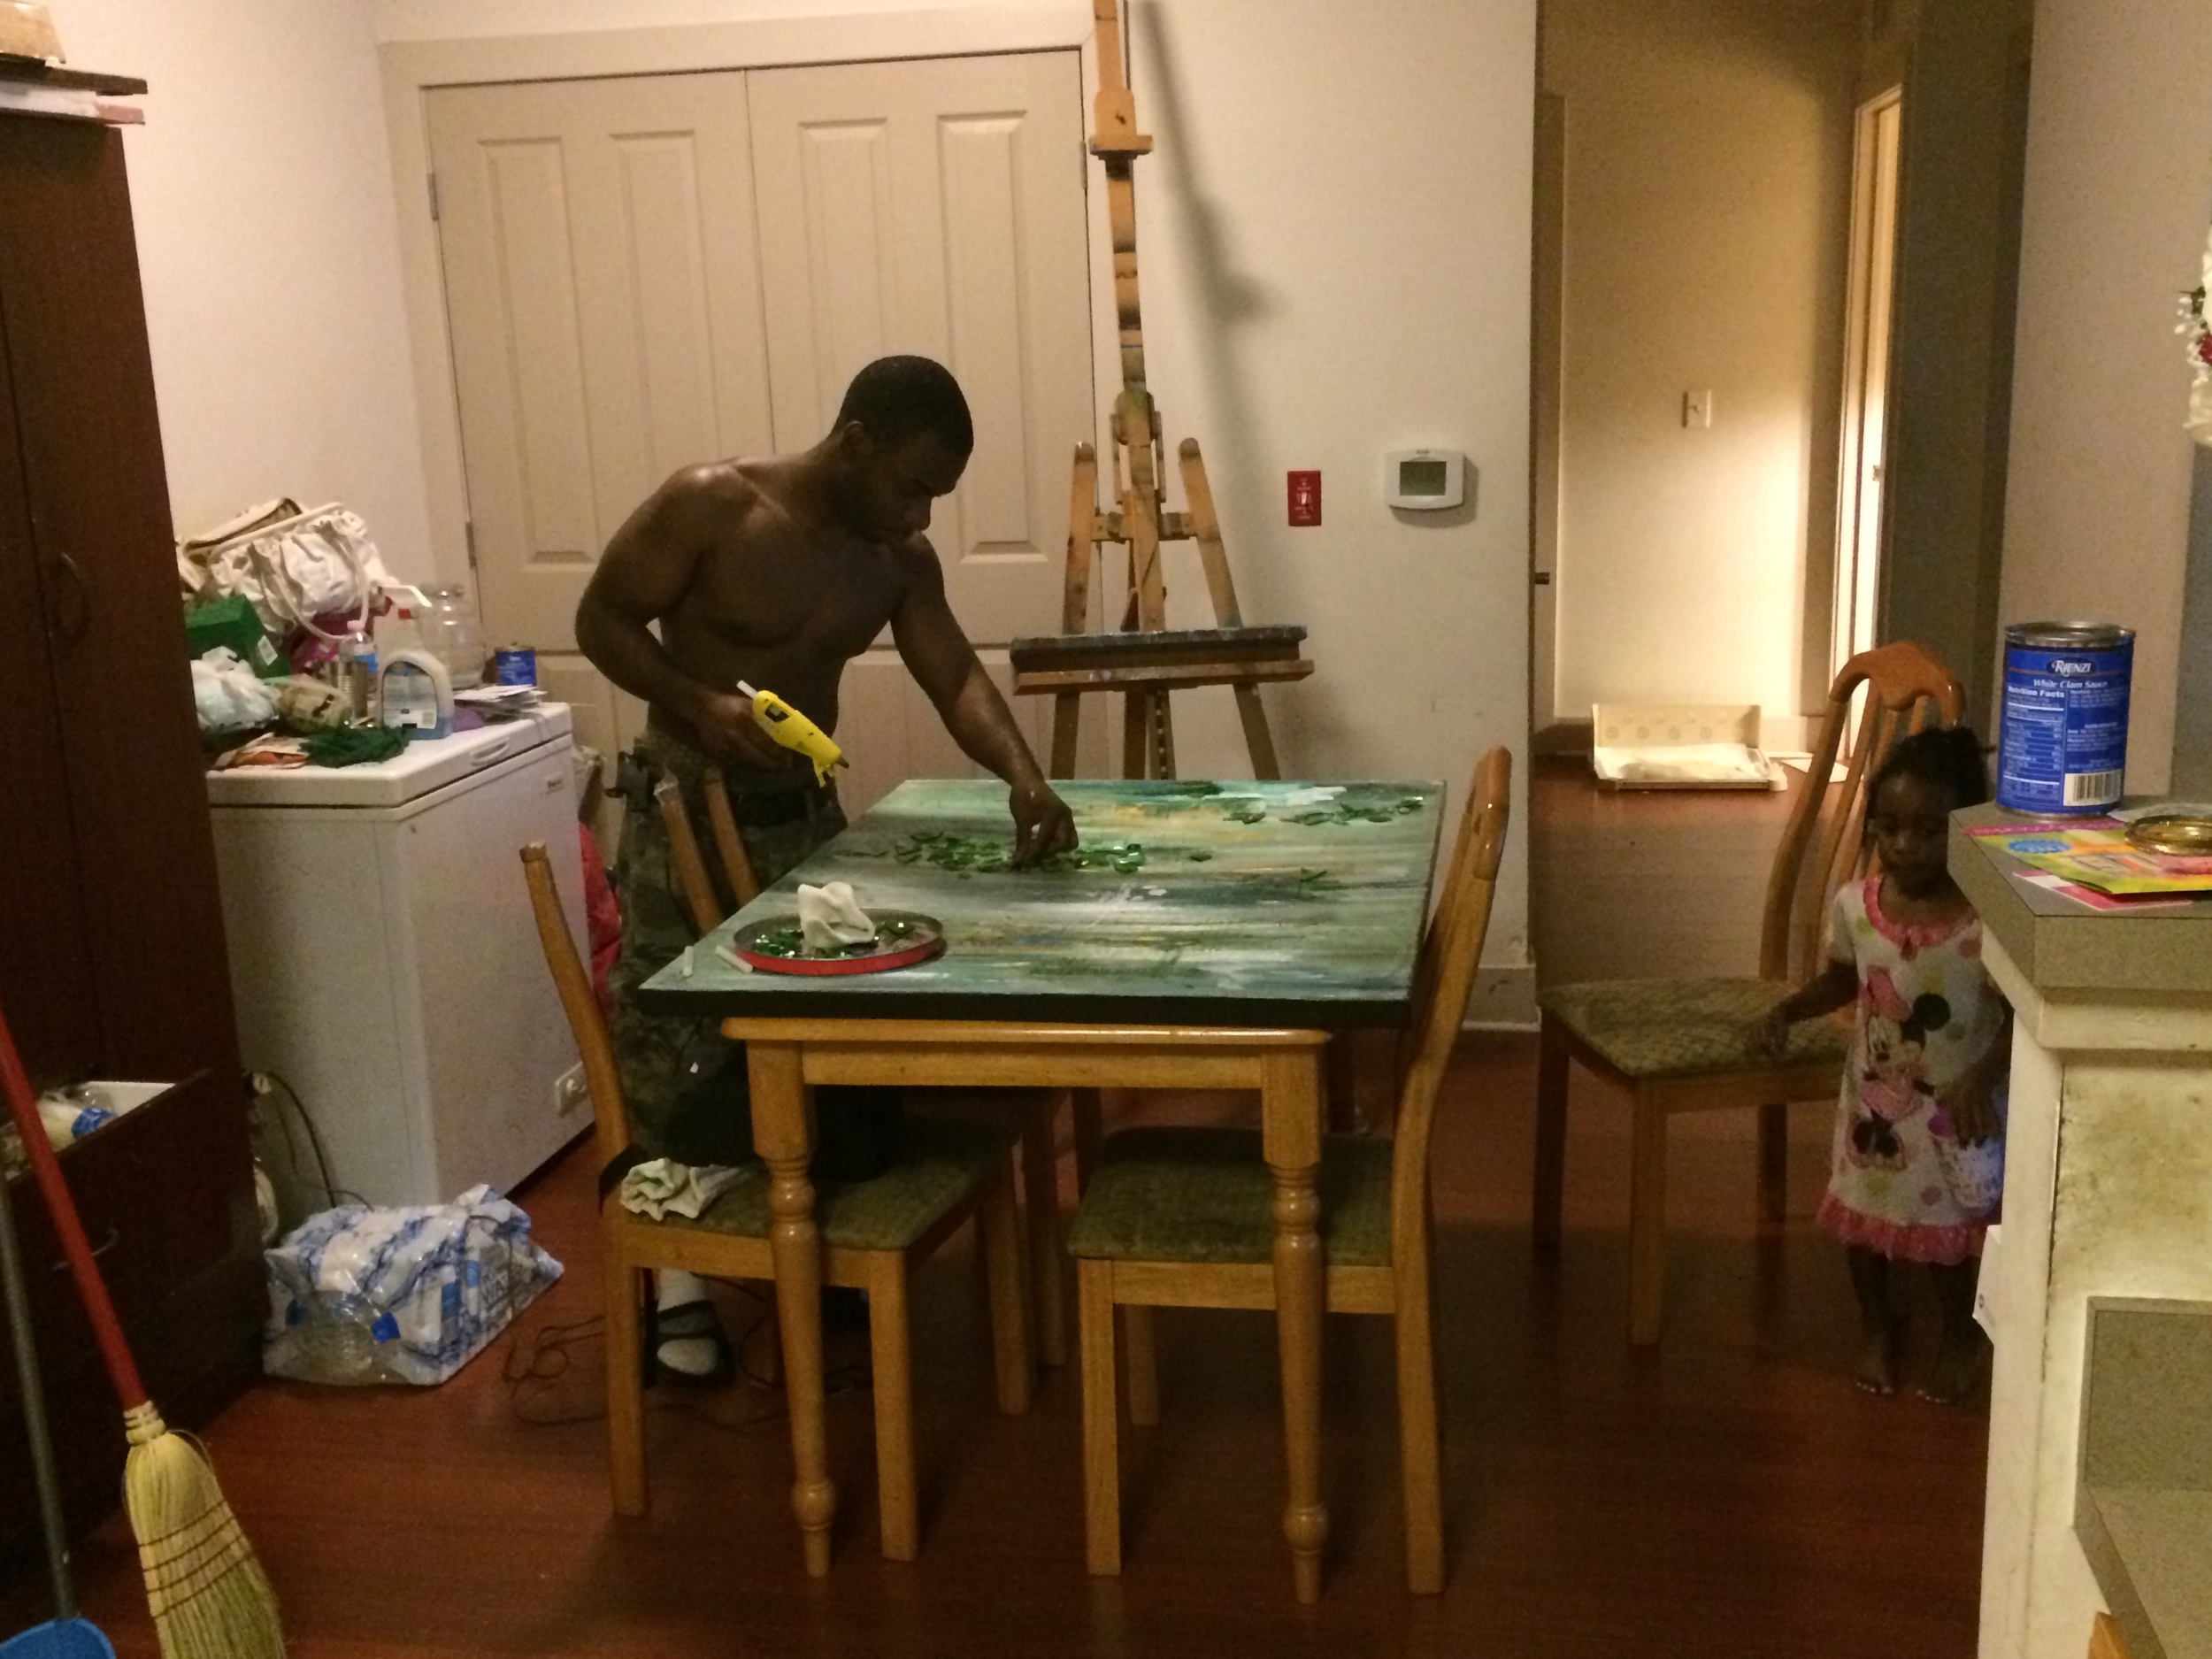
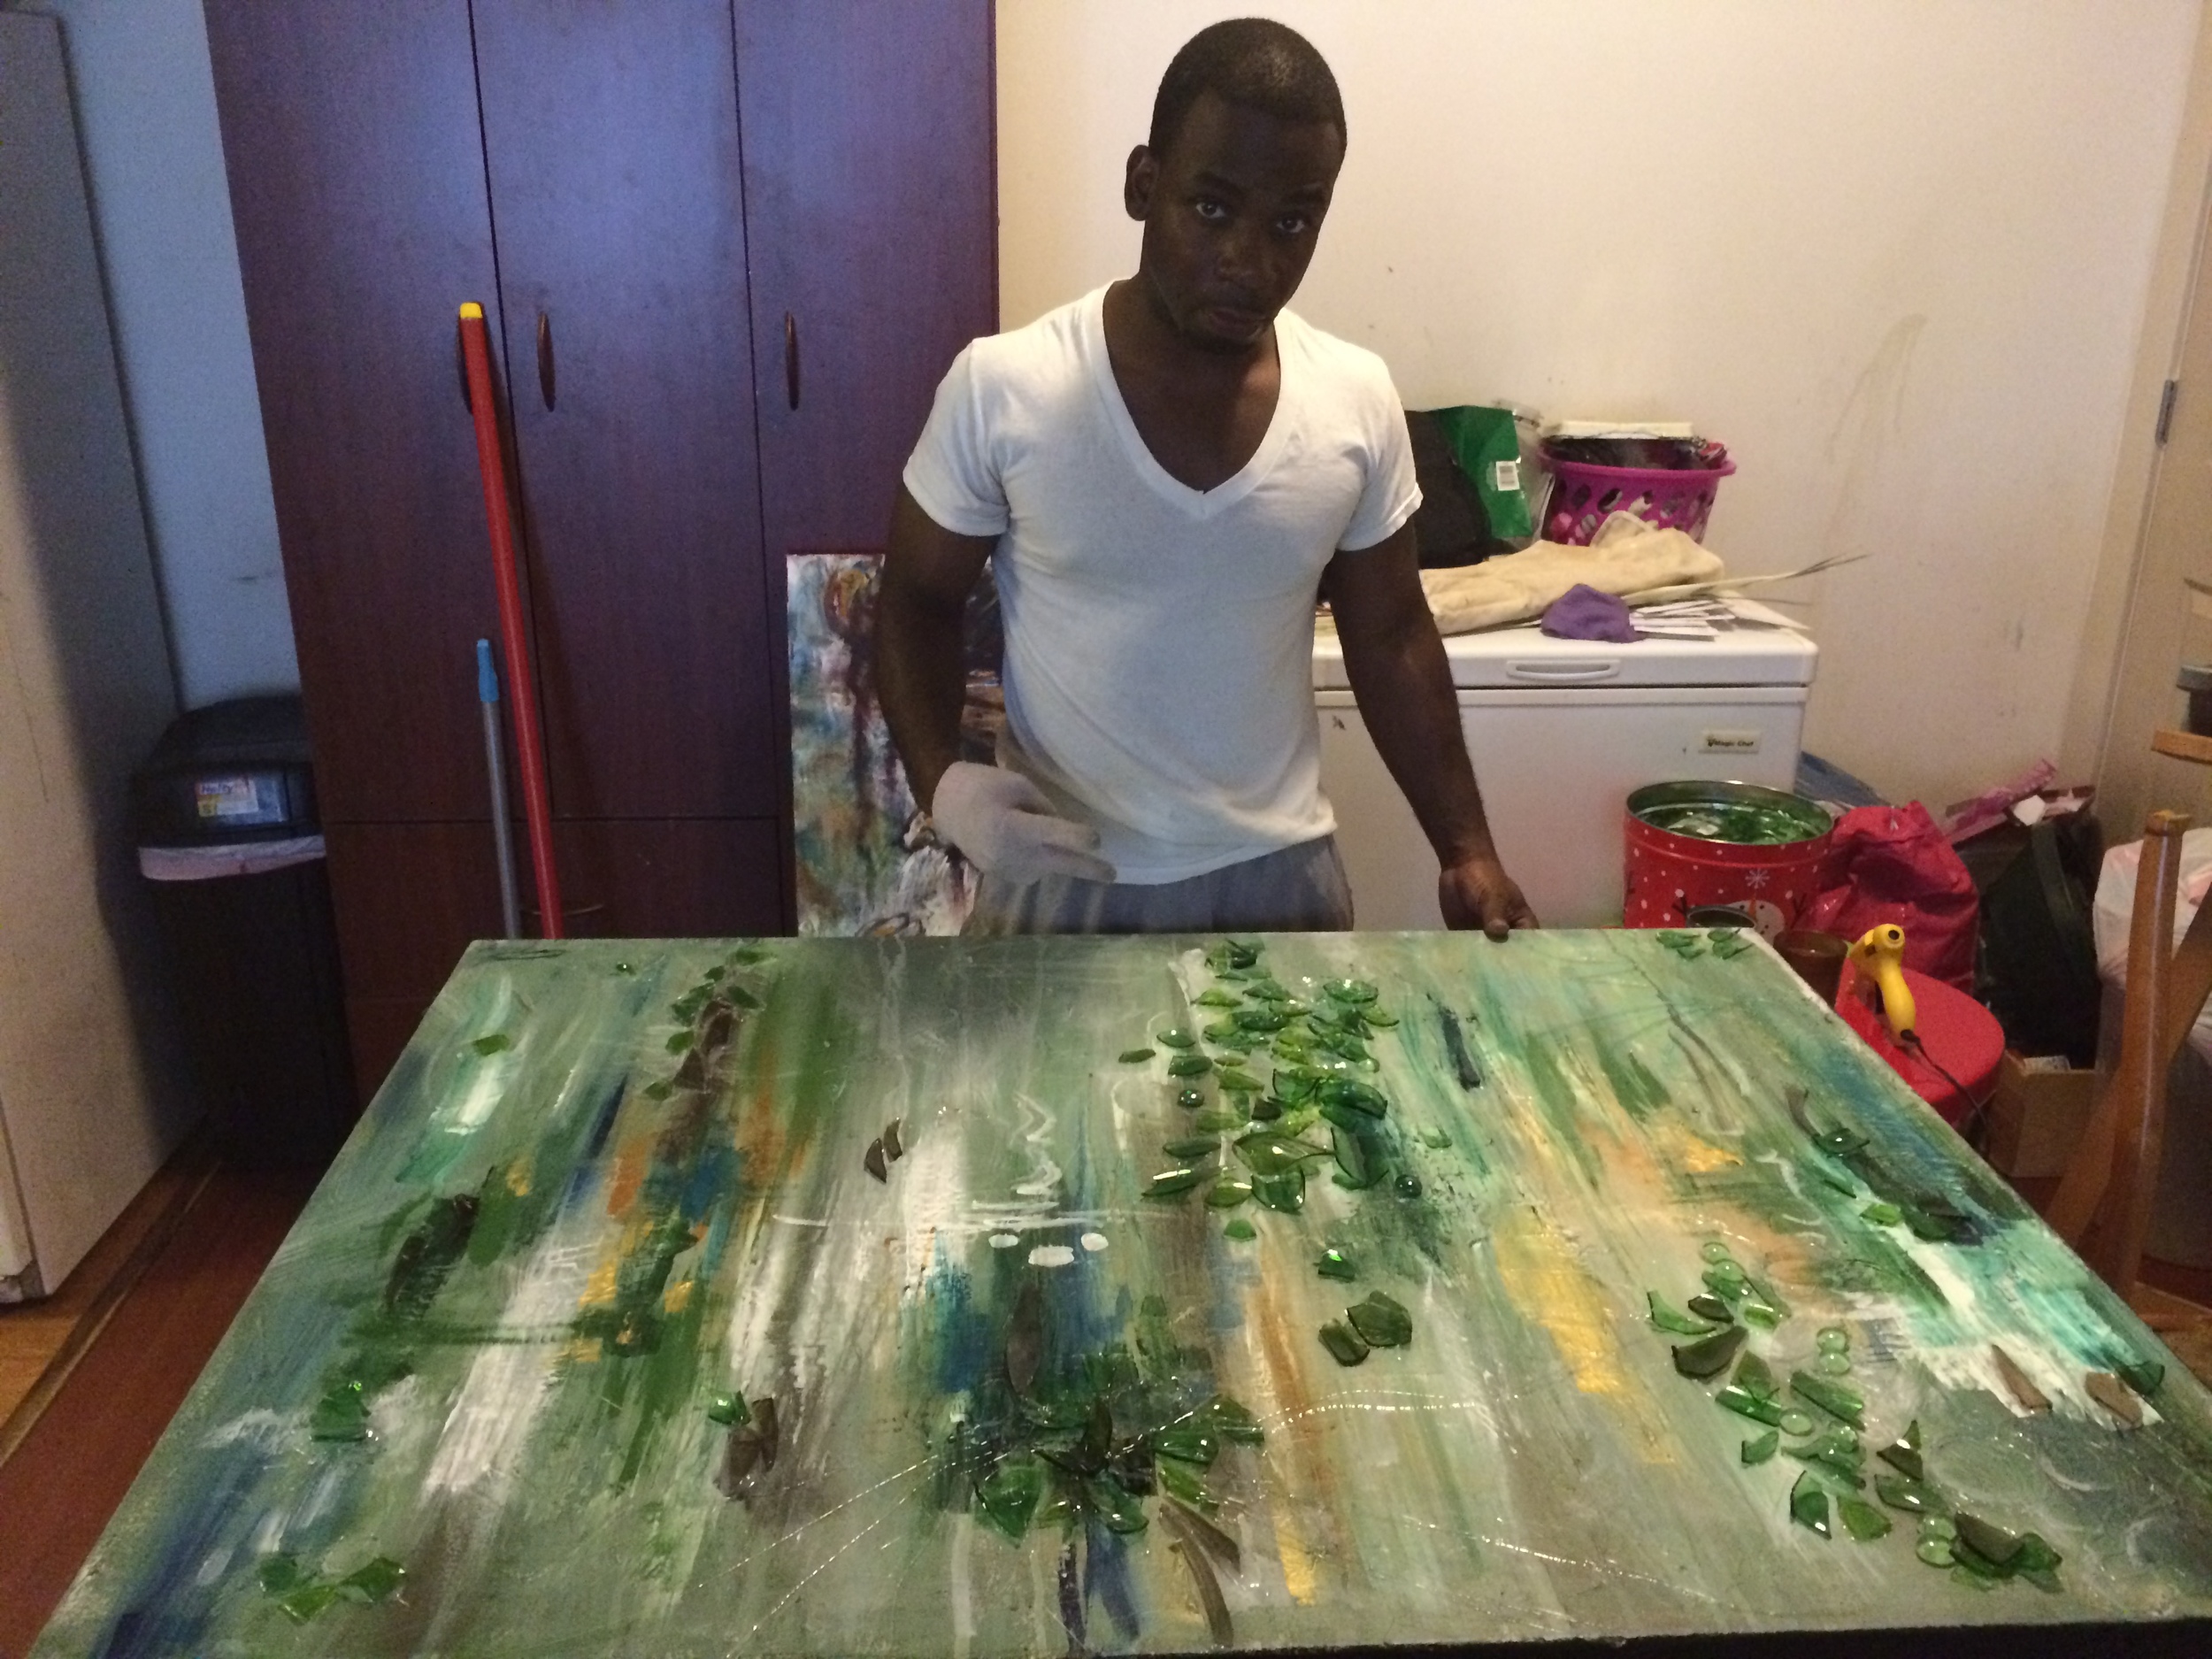
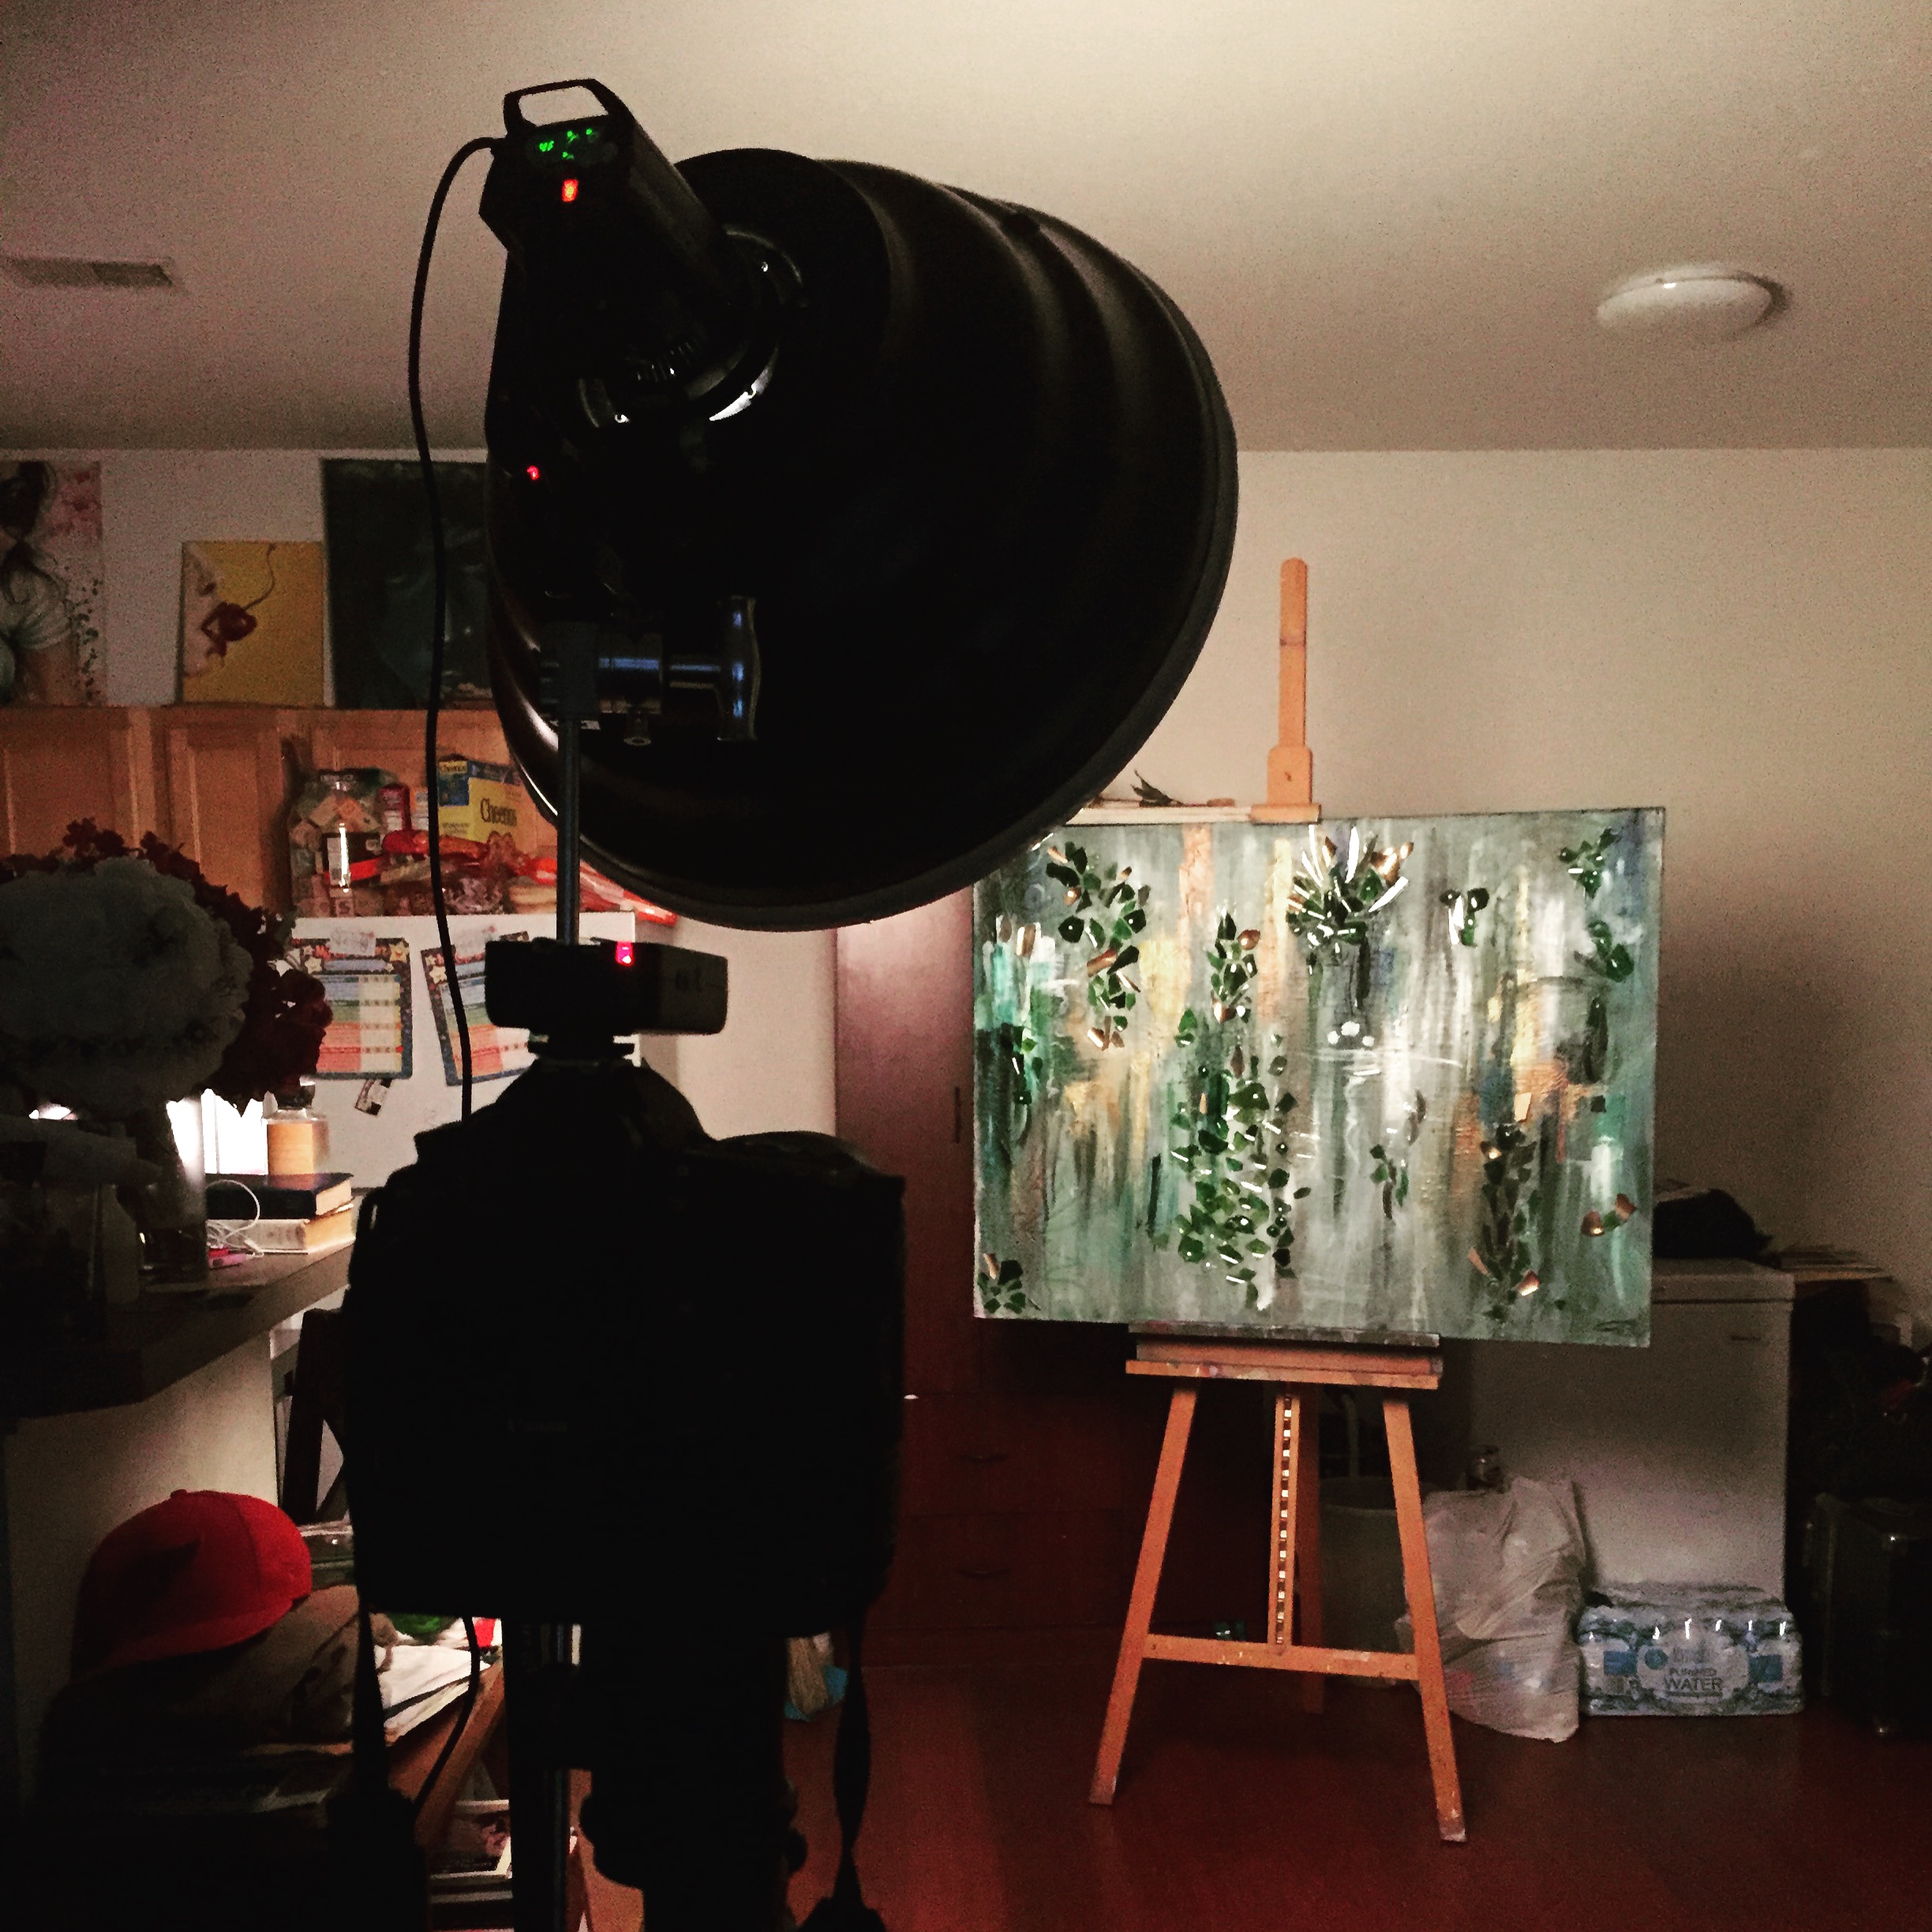
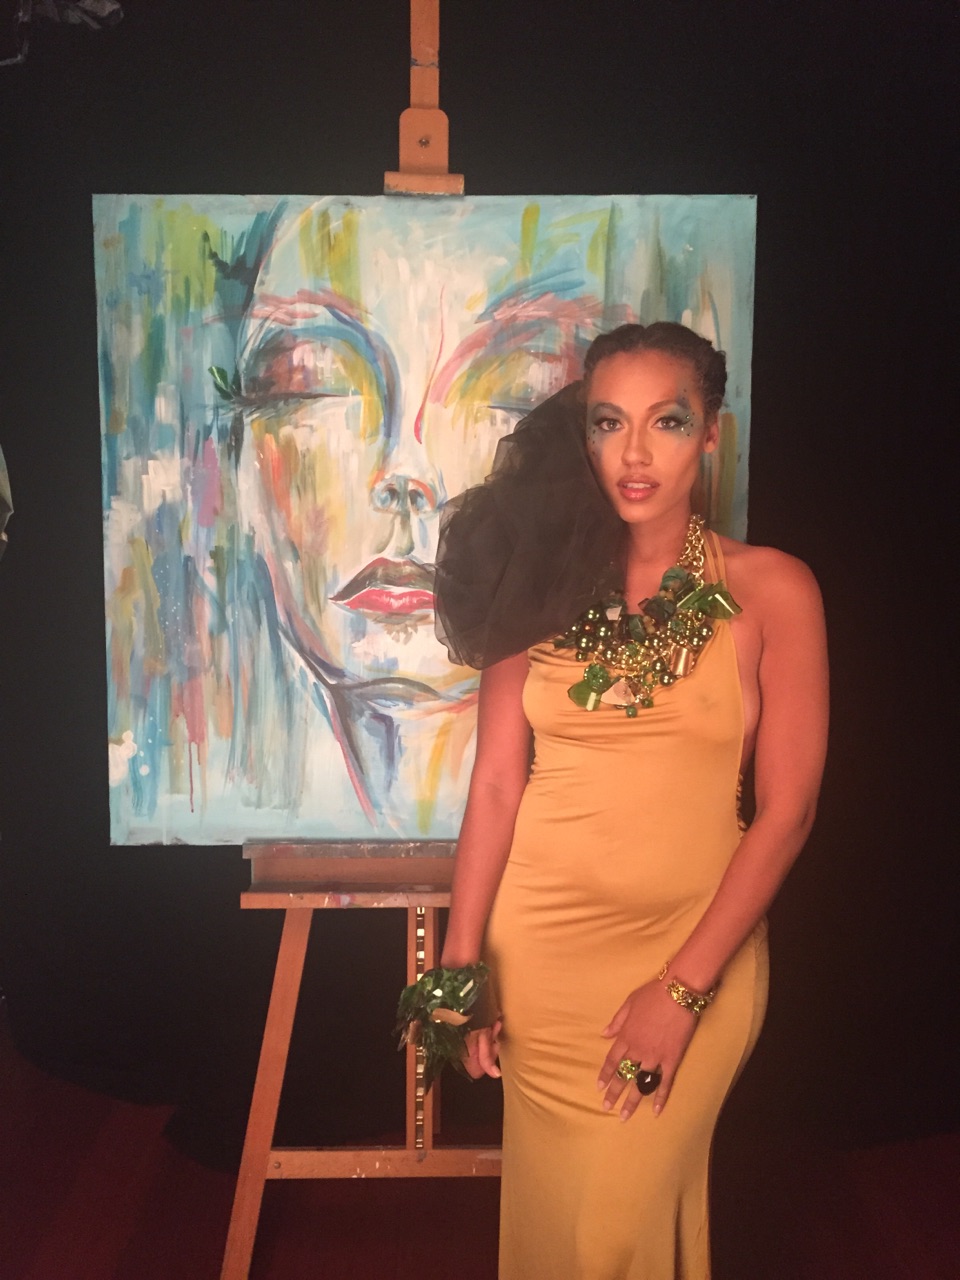
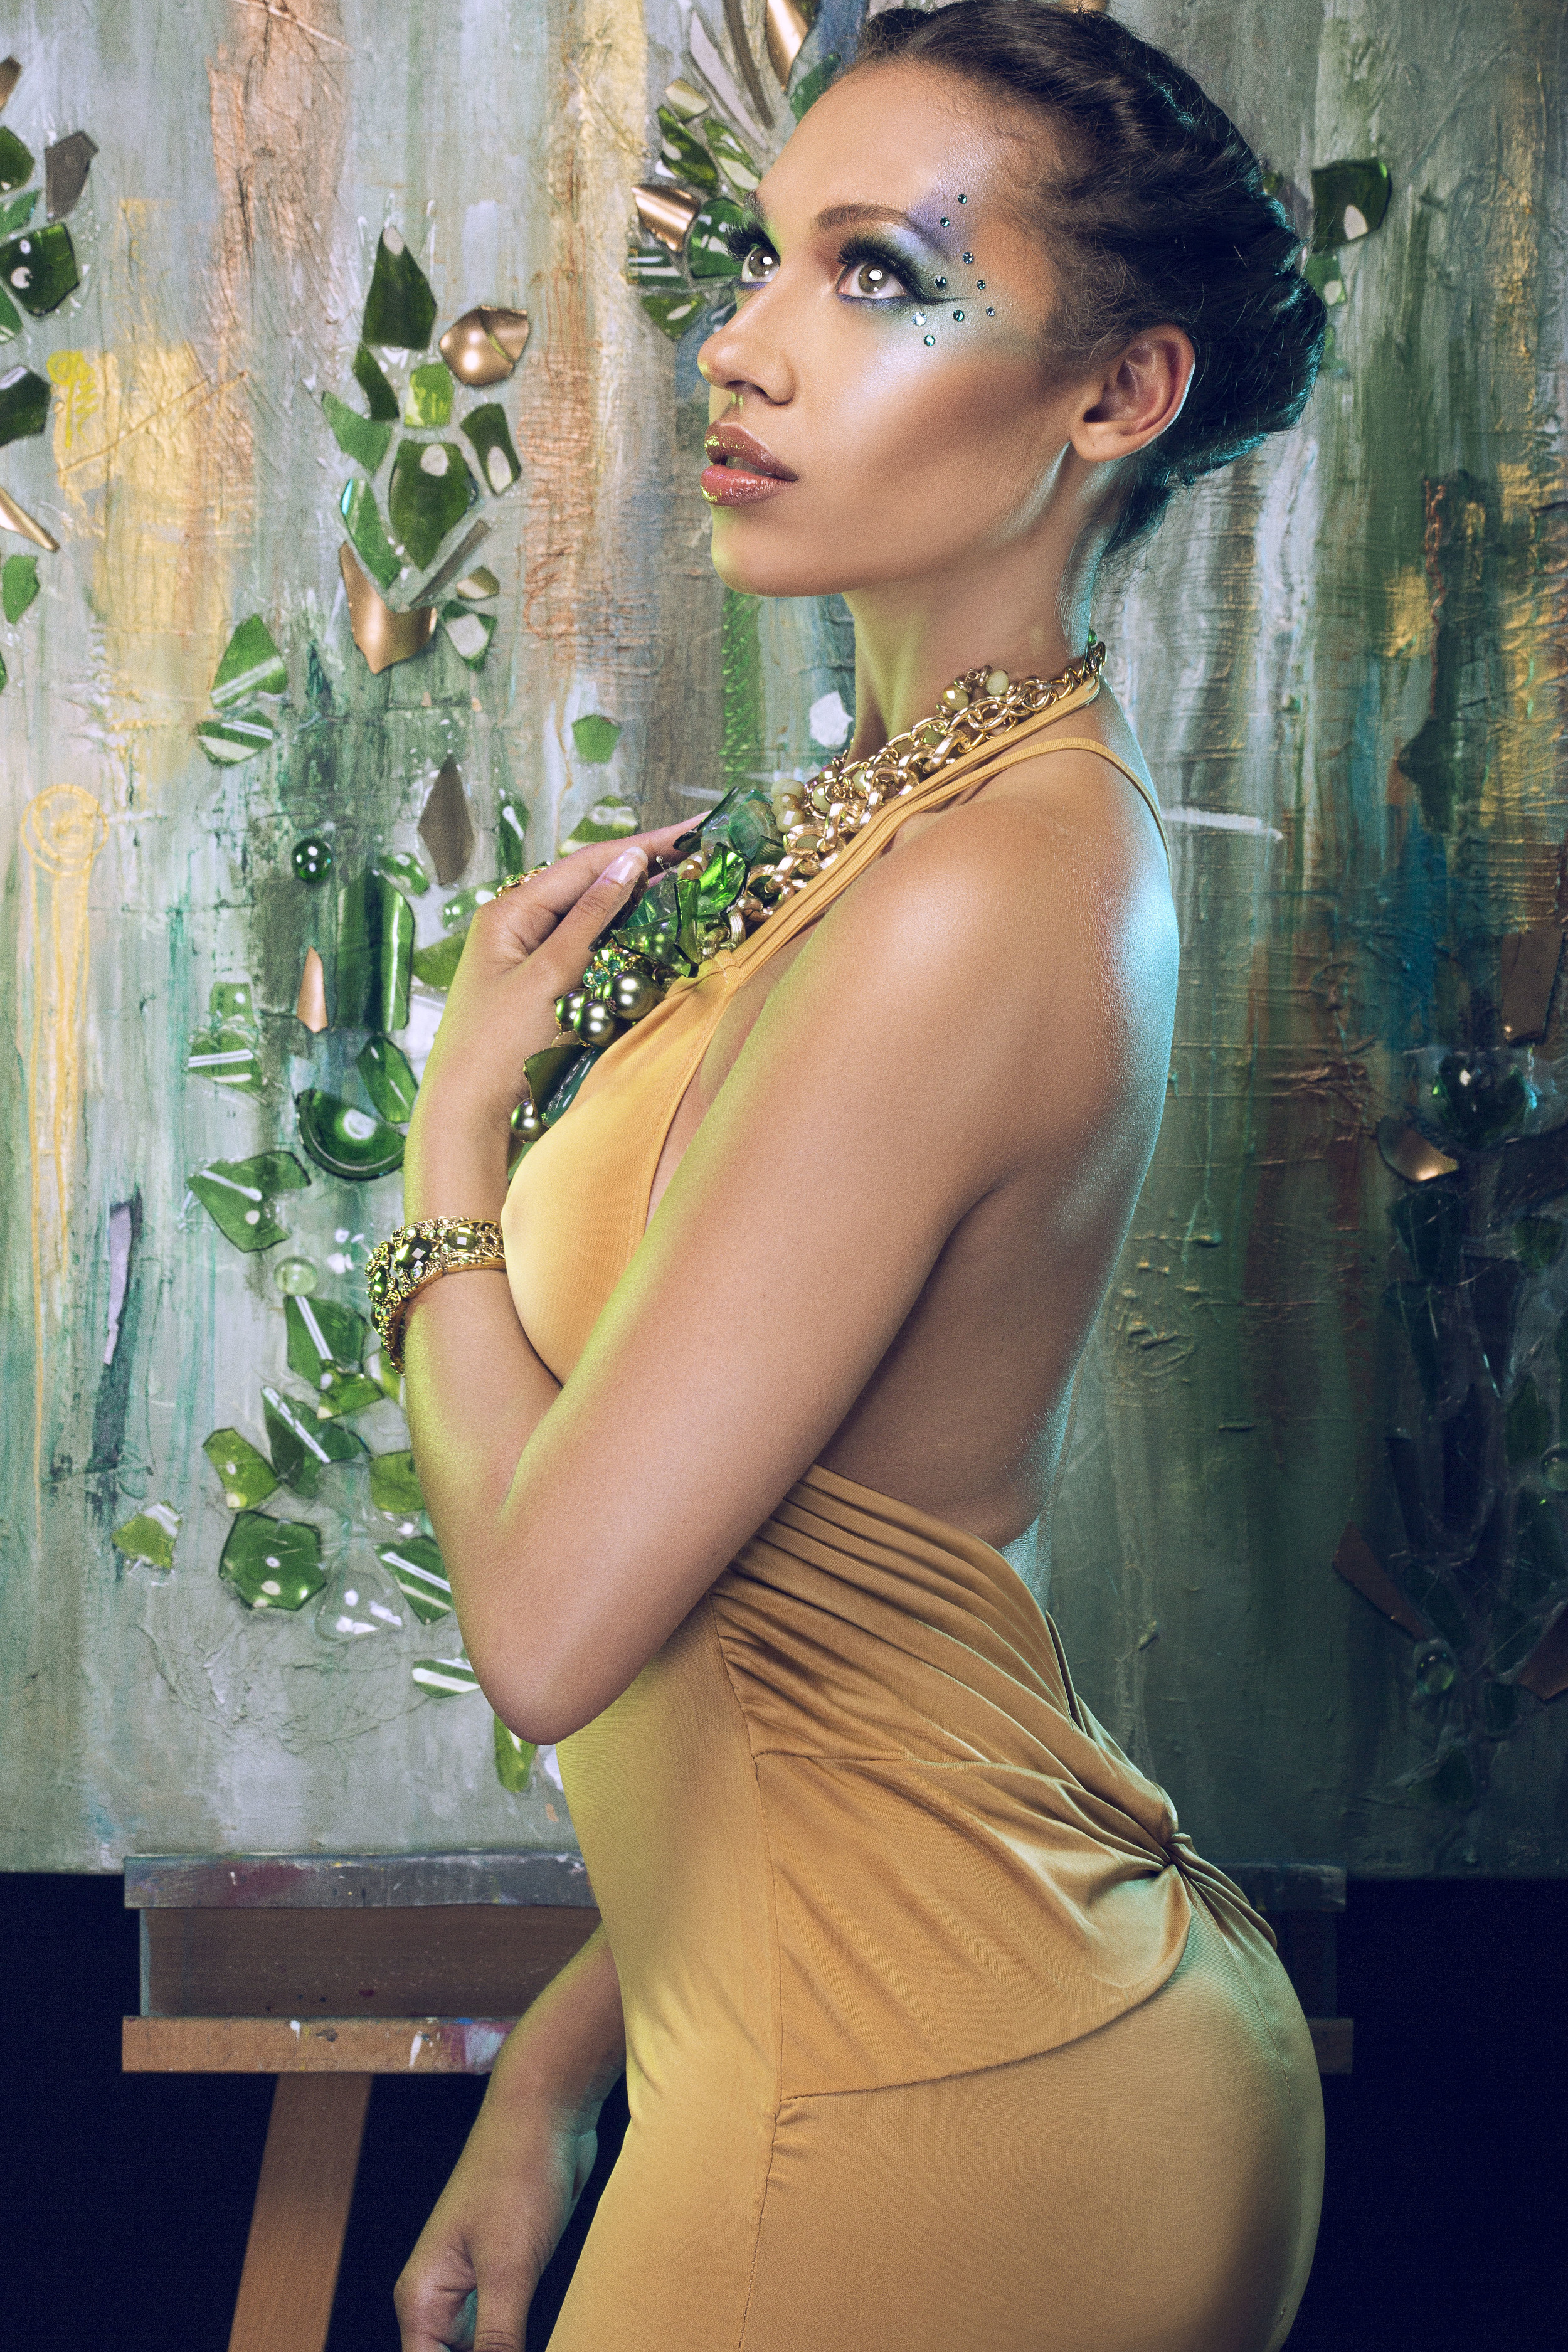
          How this all came together was simply magical. I have come to the realization it was on God's time, and it is my belief everything perfectly aligned so that this project could happen. A year ago I set out on a quest to creativity combine my "Art" with my “Photography” Initially, I had no direction but I knew I wanted to make something great. The more I pondered the more the visions started to manifest themselves. I started to scribble down little ideas as they came to me, then suddenly my attention shifted to creating a painting. I grabbed up a 30x48in sized canvas of old B&W abstract painting that I disliked and begun to work. It bothered me to even look at that painting, I was so eager to paint over I just threw anything on the canvas and of course that did not work either because I ultimately painted over that as well lol. So after two failed attempts, It was time to go back to the drawing board, the premise of this project was to be expressive and experimental at articulating my story so I wanted to create a mixed media abstract piece that would reflect that. In retrospect, looking back it is my interpretation the primary reason why those other painting I attempted to do on the same exact canvas did not work because the actual art was waiting to be used for something very special to come.

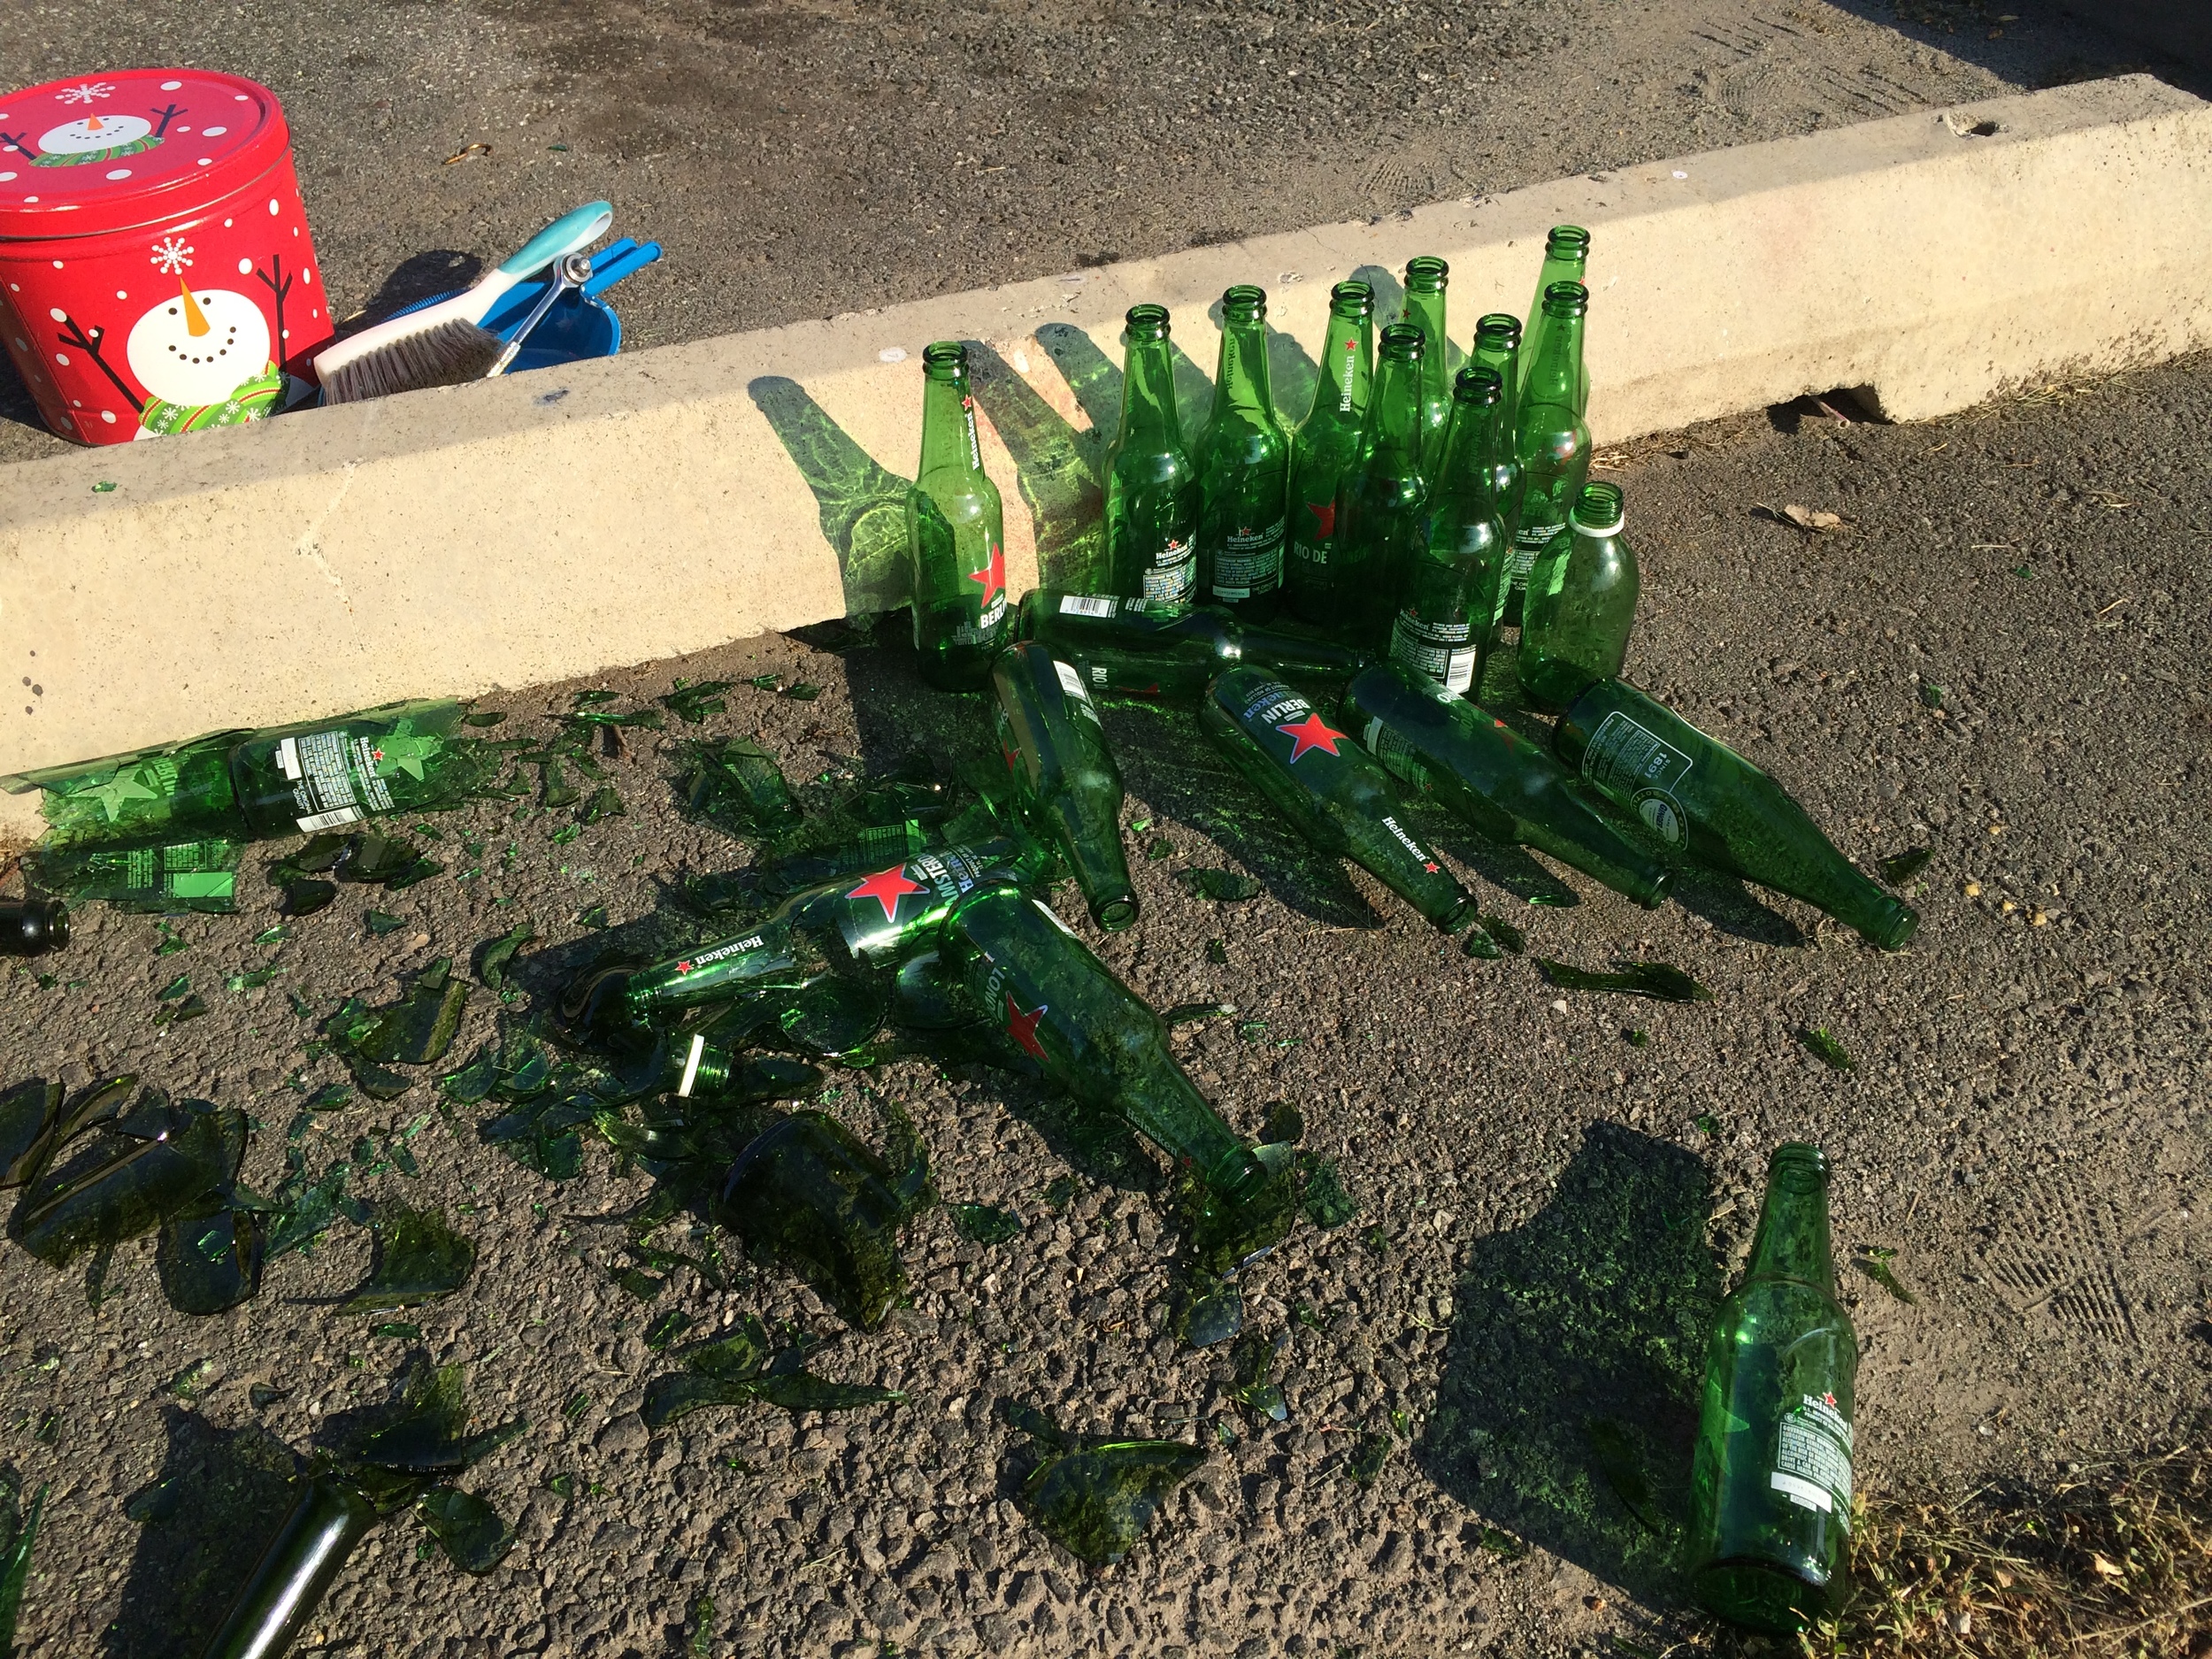
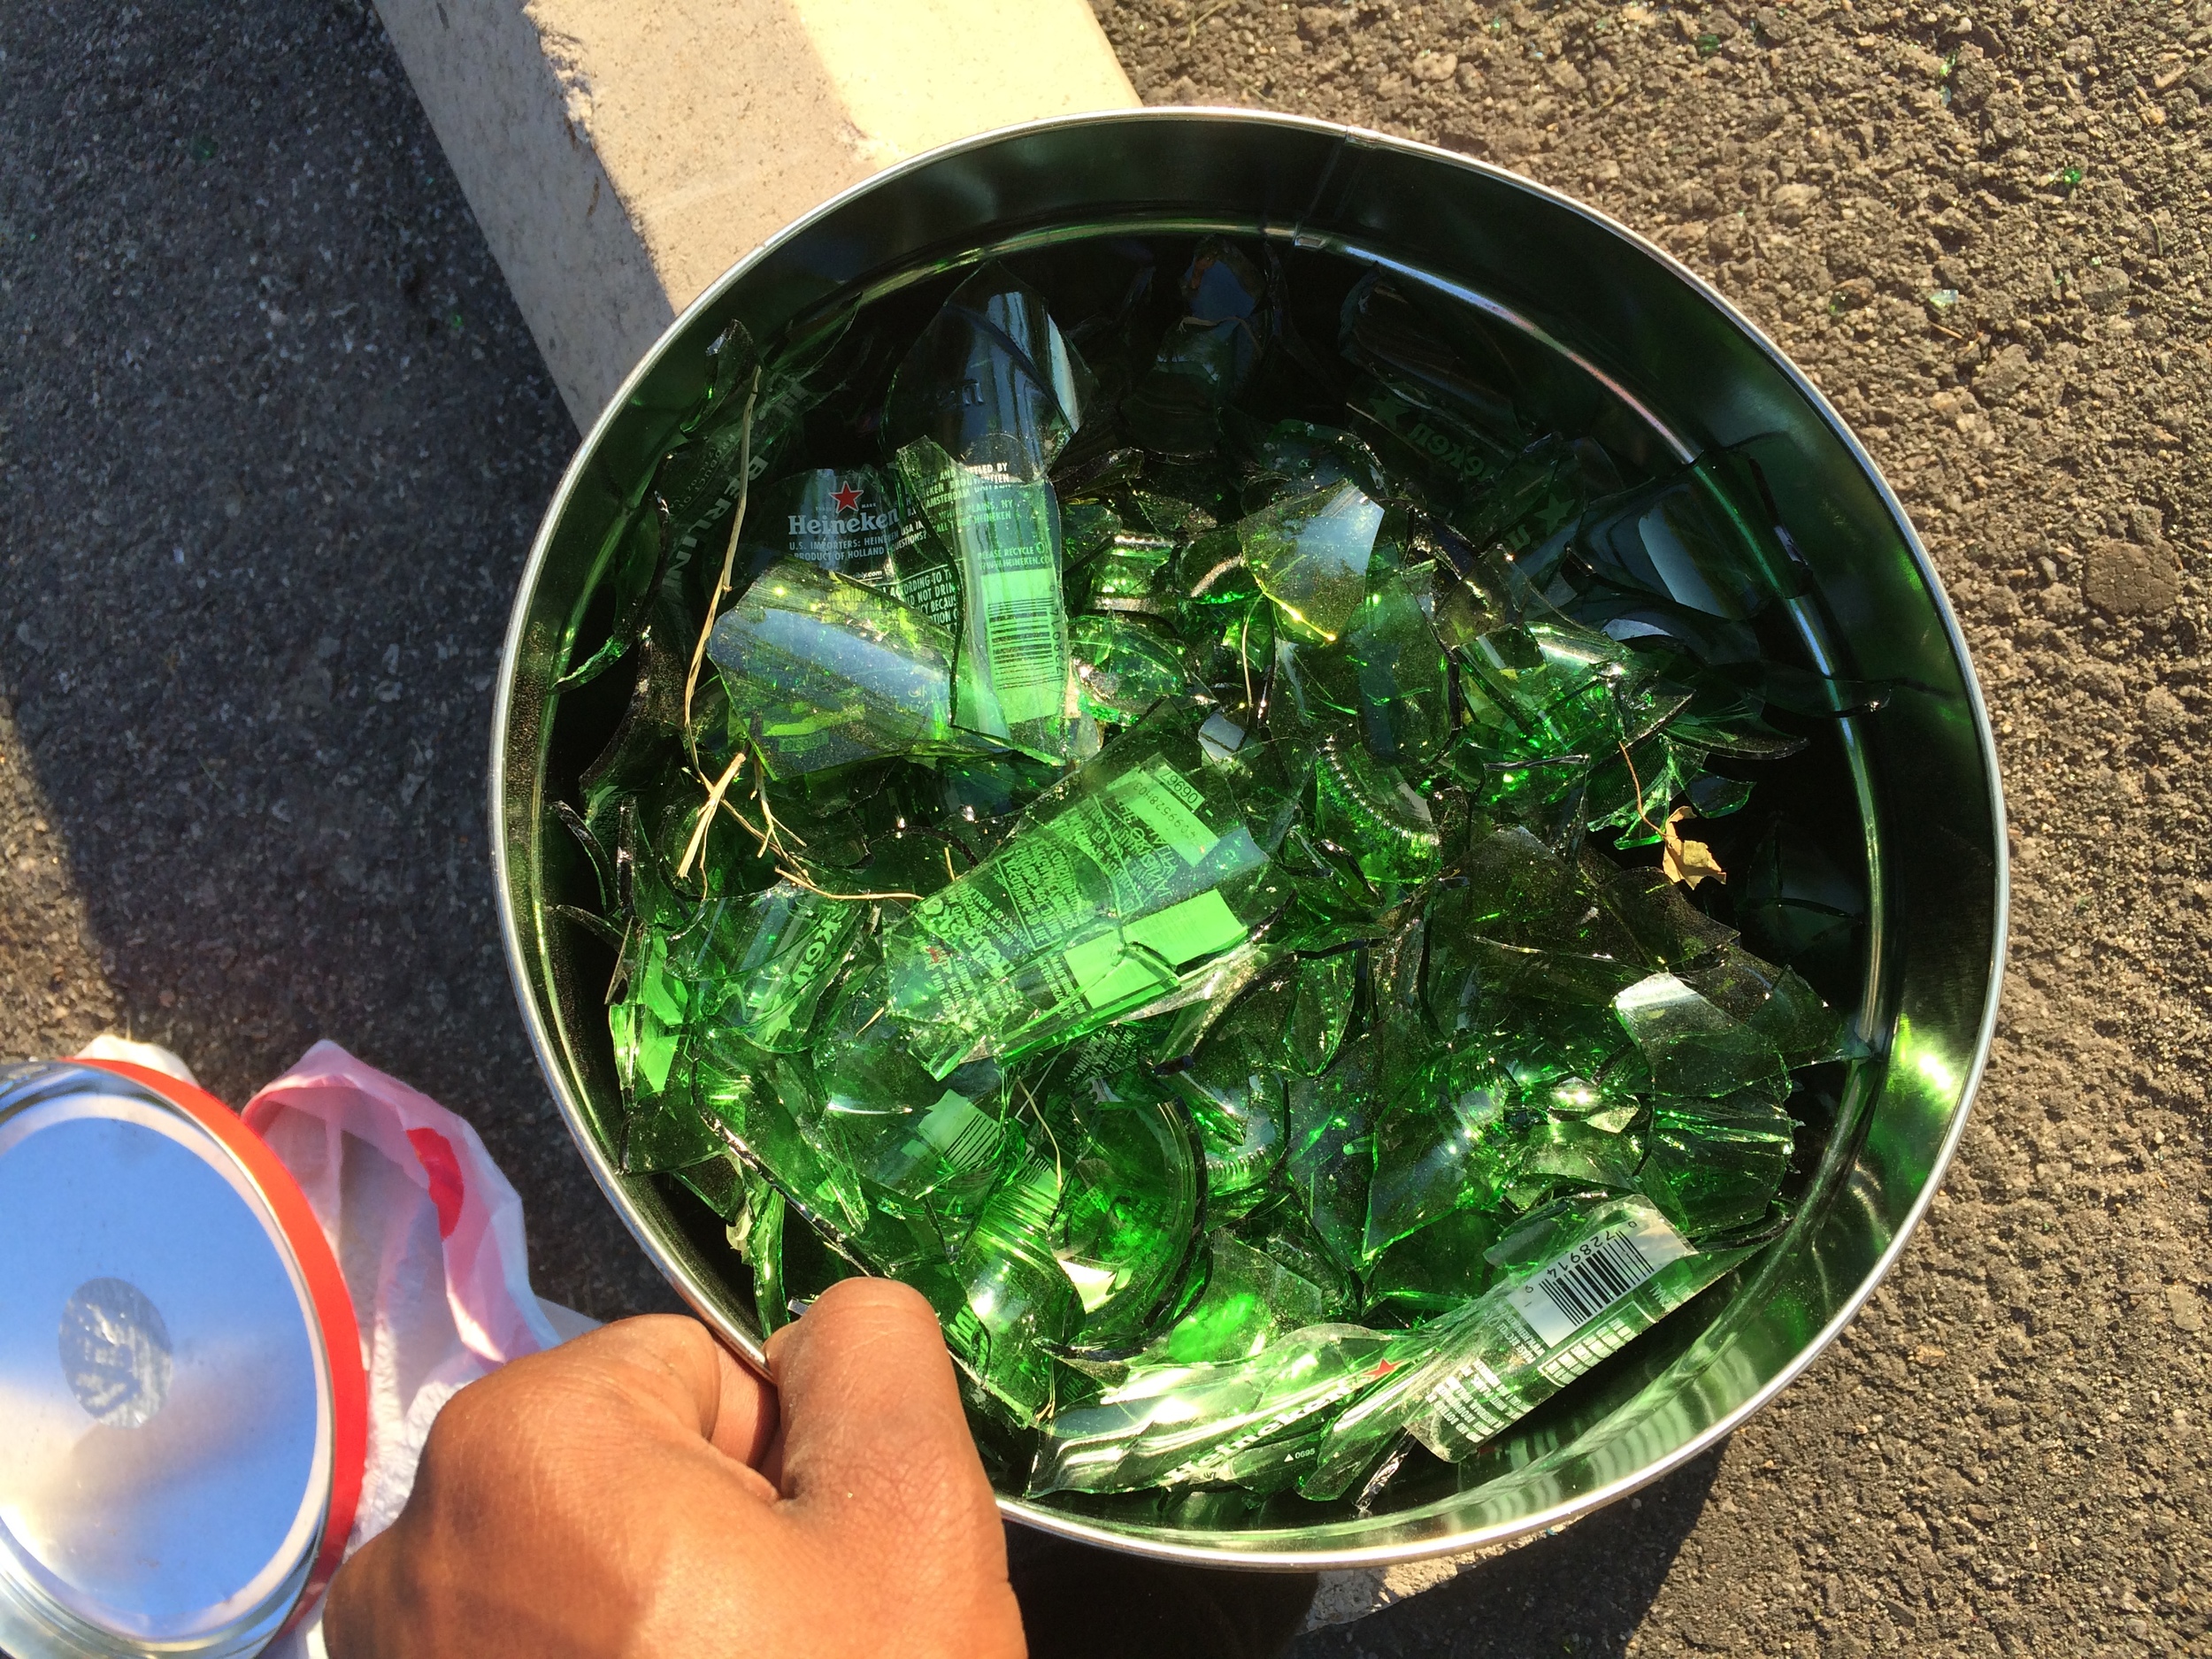
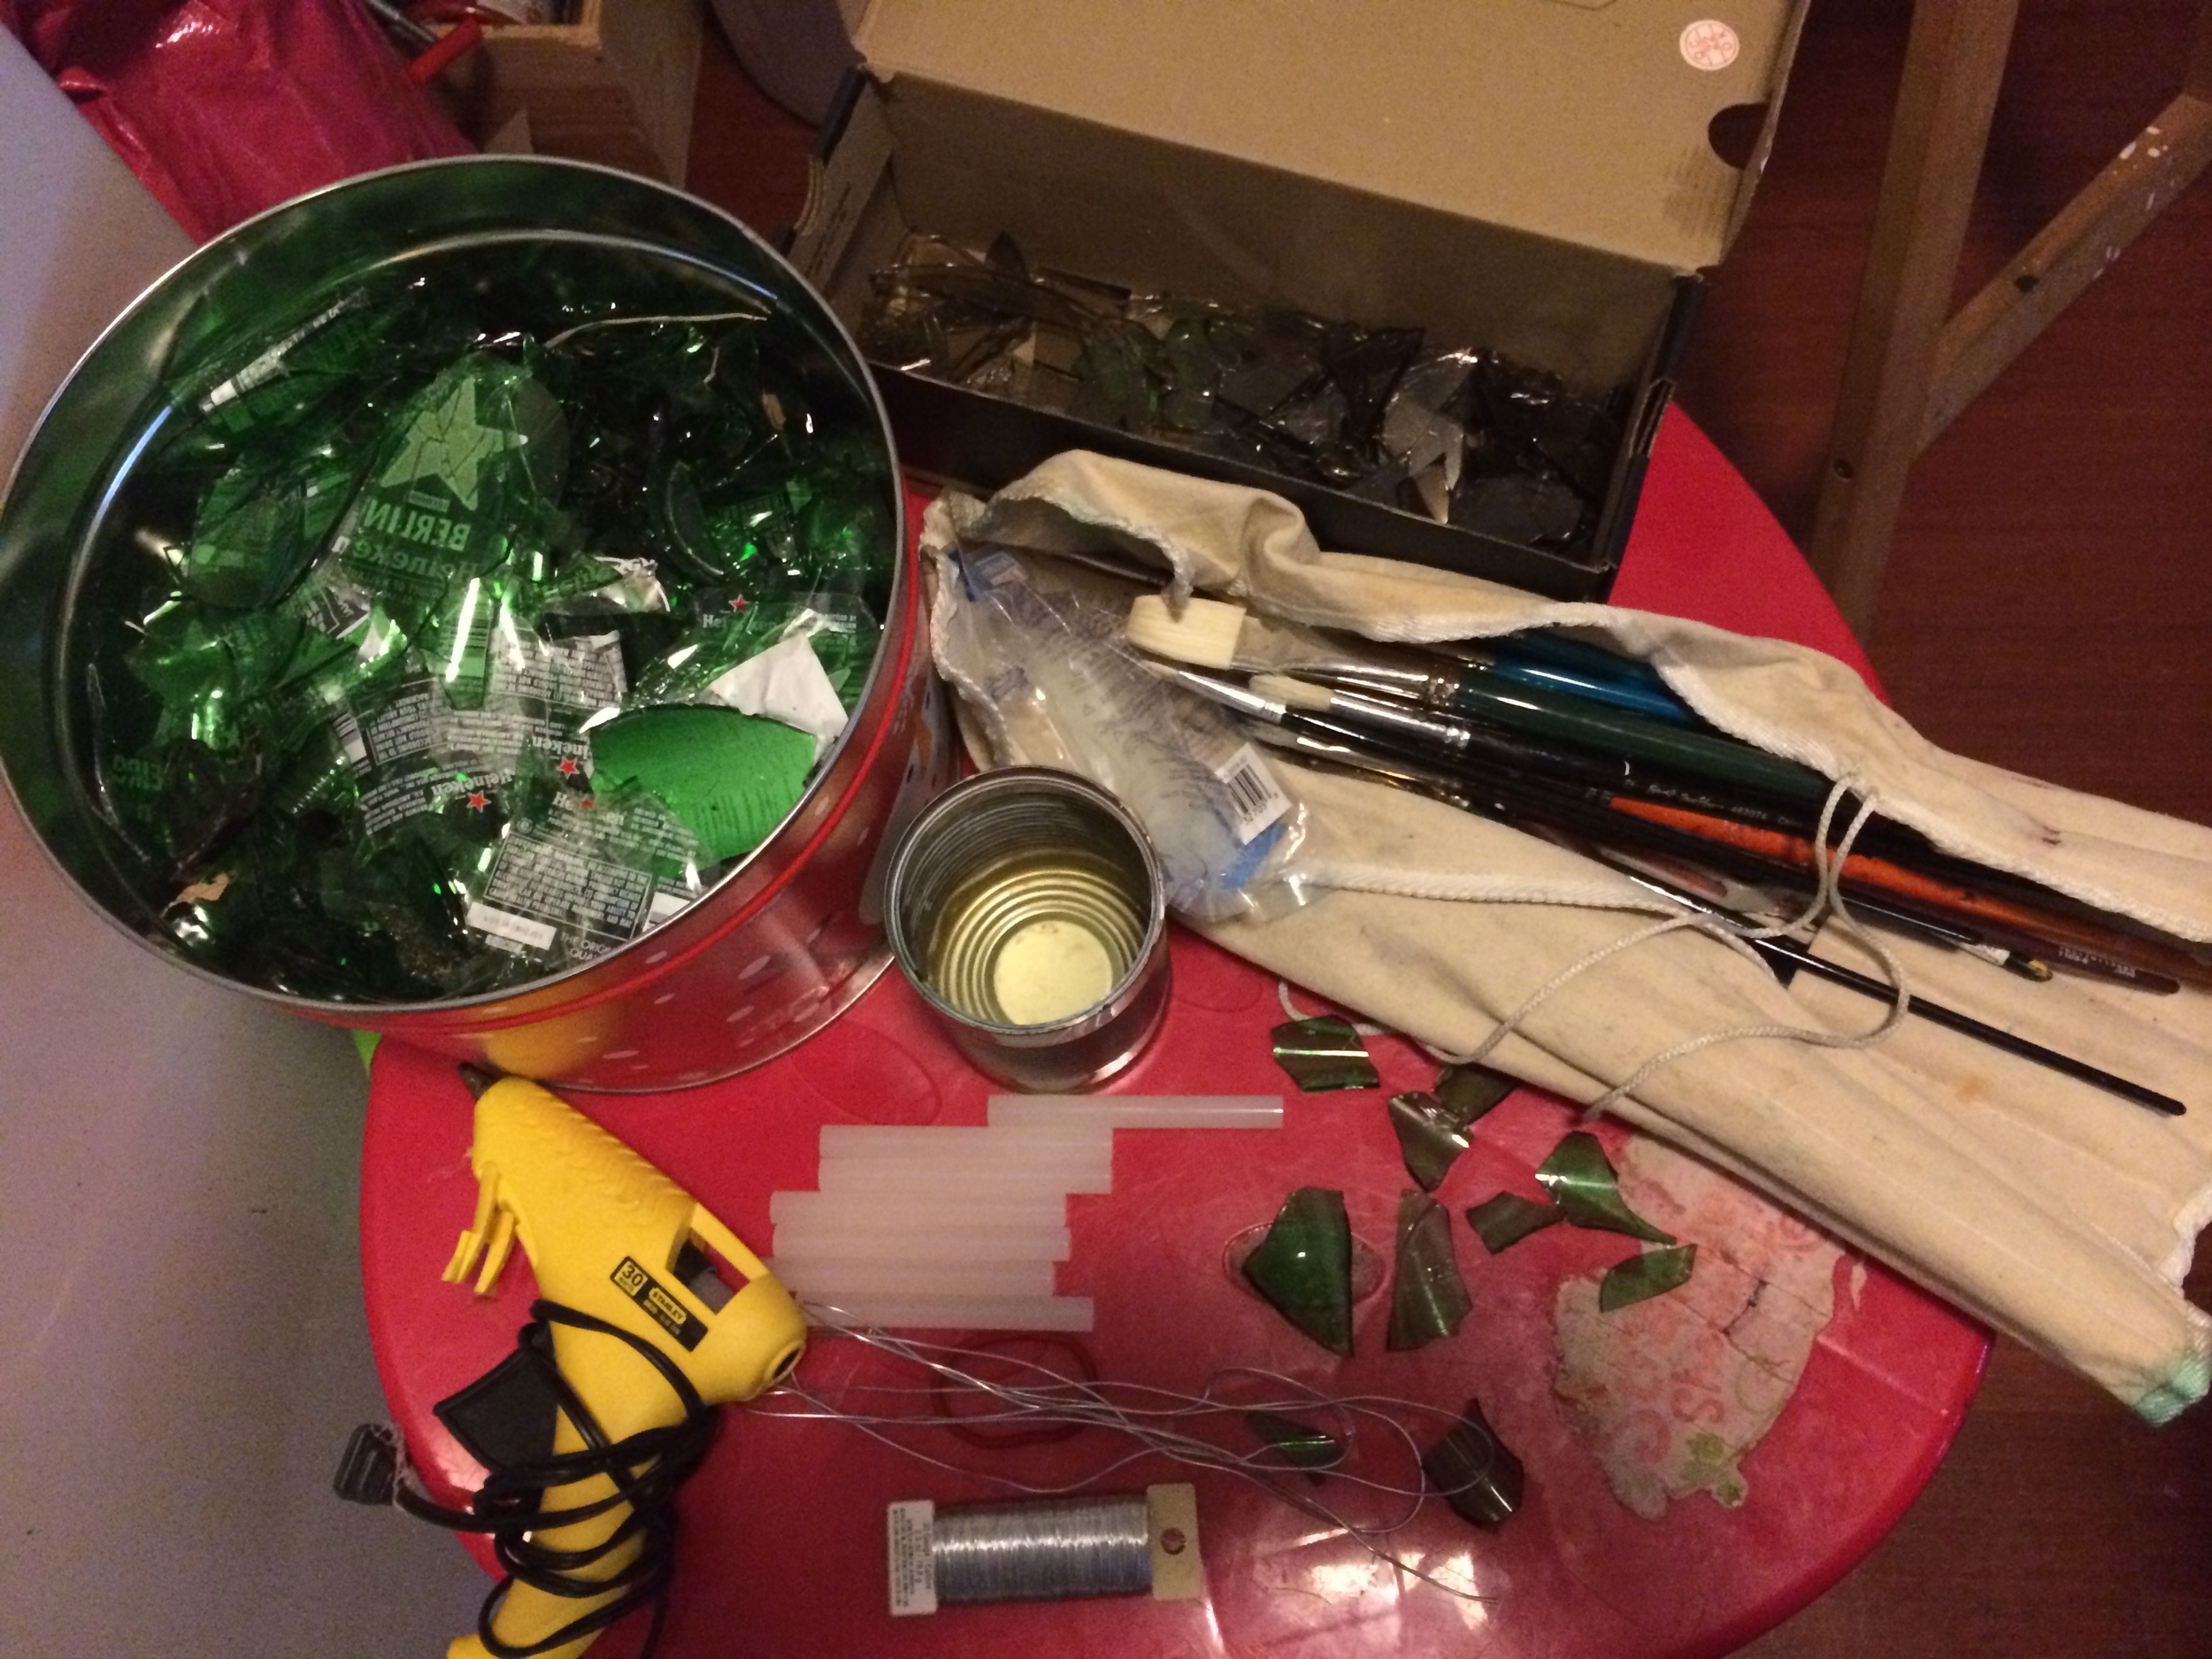
          I have never previously worked with glass, yet I sought it to be the appropriate medium for this piece. It was time to gather some bottles. I found it to be the most accessible ironically I kept coming across "Green" bottles. Boom there was the color scheme, green was also ideal because it is the color of the heart chakra, and it is said to be the color of balance harmony, and growth. Those were the exact qualities I was in search of in my life. I told myself I would take my time and I did just that tediously tinkering every rotating piece of glass. Weeks and weeks went by of me working and curiously scouring the streets for the green jewel. At least that is what I considered them to be mere trash became my treasure, it was such a vital element for the painting. I am sure my friends, family, and on lookers all thought I was going crazy picking up glass from the ground and putting it into my pocket, none the less the craziness served its purpose. Not that I used them all but I guesstimate I collected over 100 bottles for this piece all varying in size and shades of green. After I felt I had an abundance of glass it was time to break bread or glass I should say! The project was gradually coming together but I still had a long journey a head of me.

          It was time search for the jewelry that was a journey in itself. I would come across pieces I thought looked cool but it didn't strike me, and I wanted something that was striking. I visited many customs jewelry stores in the Chelsea area of Manhattan and to no avail. I took the initiative to make the jewelry myself, with that trusty ole bucket of glass and few pieces I somehow managed to gather POOF!!! like a magician waving his wand over a black upside down top hat the jewelry magically appeared. I was pretty satisfied how it turned out, it contained many layers and full of different textures much like the painting. At this point in the project I was feeling very confident because things were coming along smoothly. Being pleased with the progression of the many phases this project undertook, it was time to move on to the next stage, “The Model” And just when I thought things were going to be a walk in the park it all came to a screeching halt! I have to be quite honest this is where I became discourage, If you could see my face it was screaming the word “Nooooooooo” it bothered me because I was so emotionally invested. Instead of going in a dark corner in sobbing over my frustrations, I made a conscious decision to literally put my best foot forward, put my emotions aside and reluctantly work on other projects while I waited I often remind myself that this had to get done.  

          Although I encountered many discouraging setbacks along my journey I remained persistent. Foiled by my failed attempts I reached out to my trusty and most amazing MUA Ariel to give me a hand at casting a model she knew exactly what I was looking for so she was more than eager to assist. Weeks went by and to my surprise she came up empty handed as well. I started to question myself, “What is going on, what am I doing wrong” It felt as if the only people invested in this project was Ariel and myself, no one gave “SOG” a chance, but I believed in it. I could have easily reached out to a modeling agency but I wanted this to be authentic, I was in search of a connection. Moving forward, I can vividly remember being on Instagram one day posting pictures, I noticed this particular user liking a lot of my photos it caught my attention and I wanted to investigate. Immediately upon skimming through her feed, I excitedly blurted out “She’s the girl” At that very moment I intuitively knew I was looking at my muse for the project, she ideally fit every criteria. I tell you this girl was gifted wrapped and handed to me from the universe. The only thing that stood between us was a simple direct message, and boy I was not trying hesitate! I sent her a message that basically said “I would love to make some magic with you, she replied “I love your work, let’s do it”

          I am thinking to myself no way, this is a joke, is she serious, is she going to flake like all of the previous models!!!???? These were some of the many fears that stalked my mind upon conversing with her via Instagram. In the weeks following we communicated more and more through email. Although she showed some interest I still did not feel fully secure on the deal, all that change the moment I sent the Photo Treatment of the shoot to her, that changed everything! After reading the treatment not only did she have a new appreciation for “SOG” it resonated with her so much she felt compelled to participate. I want to add that I am not a believer in coincidence, this is just a term we use to describe the strange occurrences. Ironically, she revealed to me that her dad passed on in 2010, my dad passed in 1995, 15 years prior to her tragic experience, she also told me of a poem she wrote 5 years prior to “SOG” titled “Stained Glass” I do not know if you guys see it, but there was definitely a connection there. She believed in me, and in my vision, she handed over her trust and I can not thank her enough. During the shoot I can recall on a few occasions Noel state "Everything happens on God's time" there was a quiescence in those words that perpetuated in my head.

          In closing,  this photo shoot wildly exceeded any and all expectation I had. I am truly humbled by this entire experience, all of the disappointments, mishaps, what seemed to be failures, were all in preparation for what was to come. All of the indifferent things that took place meant absolutely nothing in comparison to the day of this shoot, it was nothing short of utter bless. I am proof that through undoubtedly believing, hard work, and just being plan old persistent you can reap the fruits of your labor and man did I reap them abundantly!!!!! 

NoelClarkIMG_8278.jpg
NoelClarkIMG_8415.jpg

"How to achieve amazing catch lights in the eyes Pt 1, 2, & 3"

Want to know what inspired it all?
A Little over two years ago I came across photographer Peter Hurley, whom I've fell in love with. He is arguably one of the most successful and well known Portrait Photographers of our time. I was just marveled and intrigued at how he built a foundation and style off of head shots with such a simplistic approach. As my interest in his work grew, I learned about his style of shooting, workflow, lighting, clients,  pricing, etc, being a portrait photographer myself all of this stuff resonated with me. I was on the www.FStoppers.com site and saw that the guys over at FS linked up with Peter to create "The Art Behind the Headshot" DVD which was amazing, that can be found here http://fstoppers.com/peter-hurley-the-art-behind-the-headshot Watching this was like watching a magician expose all of their secrets. Not to dive into the DVD too much but this guy was working magic literally transforming people right before your very eyes. Granted nothing is new under the sun but the fact that he was showing you his techniques and engaging with the audience in such a fashion made you say wow!          

A few months after watching the DVD, I had the honor and pleasure of meeting Peter at the 2012 FStoppers Photo Plus Party located at Peter's Studio in Manhattan. There was food, drinks, and a tone of amazing people.  I went from doing a little research on this guy, to buying his DVD, to actually meeting him in person. Man it was truly a humbling experience to be around such a noted photographer. He was so cool and down to earth I felt as if I was hanging out with a good old friend. He even complimented me by saying I was by far the best dressed person of the night. You talk about a confidence booster that went straight to my ego just kidding lol. The ambiance of it all had me so pumped and excited. By the end of the night I was even more intrigued.

That interest led me on a hunt to obtain those magical fluorescent lights that Peter uses, which are Kino Flo Lights http://www.bhphotovideo.com/bnh/controller/home?O=&sku=258951&gclid=CLe_mMGWjL0CFQ8OOgoduTwAcQ&Q=&is=REG&A=details. I was quickly derailed when I discovered that those Kino Flo Lights were close to 3k a pop for a kit. Looking at those prices in lesser terms paralyzed me, because I knew they were way out of my budget. Instead of getting all depressed, my next best thing was to find an alternative, like my mom always says, "There are many ways to skin a cat." She was absolutely right, because I came across a photographer by the Joe Eldleman who did a fabulous DIY build with some fluorescent lighting banks that can be found here https://www.youtube.com/watch?v=OBPDSBCoN2c After watching his video over 50 times, I took note of everything I needed to do in order to build these lights, and I made it happen. My particular set up slightly varies from Joe Edelman's, however it shares the same principles and mechanics. It feels good to receive, but it feels even better to give back and that's exactly what I was set out to do. I was inspired to share my build and the awesomeness I was creating with it and this is how I came up with "How to achieve amazing catch lights in the eyes series."  You know it still amazes me what you can create with $350 and some appliances from Home Depot. I want to give a huge shout out to Peter Hurley and Joe Edelman for all of their "AWESOMENESS", it's people like these guys who give birth to people like me!  

Showing off that head shot intensive pose!

Showing off that head shot intensive pose!

"How to achieve amazing catch lights in the eyes Pt.1

Big shout out to Emm for posting my video on his Blog http://cheesycam.com/ this is an excellent source for photographers and videographers. I can not say enough good stuff about this site, please go check him out!! 

These photos were inspired by Joe Edelman's video Big shout out to this man for posting this video and helping us all out!!!  DIY Fluorescent Photography Studio Lighting" http://www.youtube.com/watch?v=OBPDSBCoN2c

Photographer: Lorenzo Pickett 
Model: Eliza L
Music: "Fell Apart" Produce by Lorenzo Pickett 
Slide Show: Animoto 
 

Light It Magazine published one of my images as the closing shot in their November's issue, they also used it in the December best of 2012 issue!! Super excited about that!! What a way to end off the year! Go Check it out, and you will see it in there!! 
This is some what of an unofficial BTS of my last shoot with model Eliza. 
As I mentioned in the video I don't have the resources to give you guys an actual walk through of how I achieved these shots. 
So I put together a short clip then added some photos and explained my layout!! 
This set up is dummy proof you really can not go wrong shooting with this particular lighting setup, each and every time you will get consistent results. 

Camera: 
5D MarkII Lens 70-200mm is f2.8

Camera Settings:
F2.8, Shutter 1/1000, ISO100  200mm    
Lighting:
I constructed the two 4ft Fluorescent banks myself with appliances from Lowe's 120w each 
18in Diva Ring light 500w
I had the ring light for a while but never really used it. I wanted to use the ring light on this shoot but I wanted to use it in an interesting way so I got the idea to pair it with the 4ft lighting banks and it worked so well.

Post:
Bumped up: contrast, and vibrancy
Spot healing: to remove unwanted spots.
Clone stamp: blemishes and even skin tones.
Vignetting: darken the outer perimeter of the photo.  
Color Adjustment: to get a bluish tint in the color photos. 
Sharpen and Clarity: I used this mostly on the eyes to give them definition. 
Dodge and Burn: to lighten and darken areas of the photo

RightLight $165
http://www.ebay.com/itm/140674273995?ssPageName=STRK:MESINDXX:IT&_trksid=p3984.m1436.l2649

BackDrop $8 a yard http://www.amazon.com/Rosette-Satin-Blue-Munsell-Fabric/dp/B006ERRPLK/ref=wl_it_dp_o_pC_nS_nC?ie=UTF8&colid=37Y5XY1Z7IEBC&coliid=I38U3EHDSF49DZ

"How to achieve amazing catch lights in the eyes Pt.2

Photographer: Lorenzo Pickett 
Model: Julius 
Music: Produced by Lorenzo Pickett
 

This video was shot handheld using the iPhone5

I explained how using a ring light with some fluorescent lighting can get you some great photos. In this BTS video I show how I achieved the #poundsign catchlight in the eyes. I've seen photographers such as Lindsay Adler use this technique. Achieving interesting catch lights in the eyes is not as hard as it appears to be, it just takes a little of experimenting and tweaking. I thought to use a male this time around for my subject just to show you guys this look can look great on almost anyone. 

This setup is dummy proof you really can not go wrong shooting with this particular lighting setup, each and every time you will get consistent results. 

Camera: 
5D MarkII 
Lens 
70-200mm is f2.8
Camera Settings:
F2.8, Shutter 1/320, ISO100 Focal length 200mm. Subject distance 1.5m

Lighting:
Two 4ft, 4tube Fluorescent banks
Two 4ft, 2tube Fluorescent banks

How to achieve amazing catch lights in the eyes Pt.3

So here it is guys pt3 to "How to achieve amazing catch lights in the eyes. 
To see more photos from the session just swing over to my website!! 

Photographer: Lorenzo Pickett 
Model: Odemarys Olavarria 
Music: "December 10th" Produce by Lorenzo Pickett 

Shooting Settings

White Balance: Auto 
Shutter: 1/100
F/Stop: 2.8
ISO: 100
Focal Length: 170mm

Camera Gear
5D MarkII 
70-200mmF/2.8 USMII
64GB Transcend CF Card
Tripod Gitzo G 2220
Avenger D520L 40" Extension Pole 
http://www.amazon.com/Avenger-D520L-40-Inch-Extension-Chrome/dp/B00127U9X8/ref=sr_1_1?ie=UTF8&qid=1393418750&sr=8-1&keywords=avenger+d520
Avenger D200 Grip Head
http://www.amazon.com/Avenger-D200-2-5-Inch-Grip-Chrome/dp/B001B1G3IK/ref=sr_1_1?ie=UTF8&qid=1393418789&sr=8-1&keywords=avenger+d200
Avenger E650 Baby Pin 8"
http://www.amazon.com/Avenger-E650-6-Inch-Collar-Silver/dp/B001AXKY70/ref=sr_1_1?ie=UTF8&qid=1393418929&sr=8-1&keywords=avenger+baby+pin
Manfrotto Super Clamp
http://www.amazon.com/Manfrotto-035RL-Super-Clamp-Standard/dp/B0018LQVIA/ref=sr_1_1?ie=UTF8&qid=1393418984&sr=8-1&keywords=super+clamp
 

Lighting
18' Diva Ring Light 500w
http://www.amazon.com/Photo-Video-Fluorescent-Ring-Light/dp/B00B64G2A6/ref=sr_1_2?ie=UTF8&qid=1393418673&sr=8-2&keywords=diva+ring+light
Lithonia Lighting Shop light: 
4' Fluorescent lighting 2 Tube Housing 64w 
http://www.homedepot.com/p/Lithonia-Lighting-2-Light-White-T12-Fluorescent-Shoplight-1233-SHOPLIGHT/203081577
4' Fluorescent lighting 4 Tube Housing 128w
http://www.homedepot.com/p/Lithonia-Lighting-4-Light-Grey-Heavy-Duty-Shoplight-1284GRD-RE/202968125