"Here is a list of my favorite photographers"

Here is a list of my absolute favorite photographers the list is in no particular order, and it continues to grow. These are the very photographers whom I  draw inspiration from, each photographer inspires me in their own individual way. They are considered to be masters of their craft. 

Joe McNally http://portfolio.joemcnally.com/
Scott Kelby http://portfolio.scottkelby.com/
Jeremy Cowart http://jeremycowart.com/
Dave hill http://www.davehillphoto.com/
Bruno Dayan http://www.brunodayan.com/
Jaime Ibrarra http://ibarraphoto.com/
Baldomero Fernandez http://baldomero.com/
Frank Doorhof http://frankdoorhof.smugmug.com/
Dave black http://www.daveblackphotography.com/
Joel grimes http://joelgrimes.com/
Christophe Gilbert http://www.christophegilbert.com/
Lindsay Adler http://www.lindsayadlerphotography.com/
Aaron Nace http://aaron-nace.com/
Brooke Shaden http://brookeshaden.com/gallery/
Gregory Heslier http://www.gregoryheisler.com/
Joey L https://www.joeyl.com/
Joel Robinson http://joelrobisonphoto.wordpress.com/
Mark Sacro http://marksacrophotography.com/#/
Angela Marklew http://www.krop.com/fstopinertia/#/
Bill Jones http://billjonesphotography.tumblr.com/
Sue Brice http://www.inbedwithsue.com/
Bruce Weber http://www.bruceweber.com/#/
Julia Kuzmenko http://www.juliakuzmenko.com/
Alexia Sinclair https://alexiasinclair.com/
Oleg Tityaev http://www.tityaev.ru/beauty.htm
Glenn Prasetya http://www.glennprasetya.com/
Richard Dubois http://www.duboisphotography.com/index.html


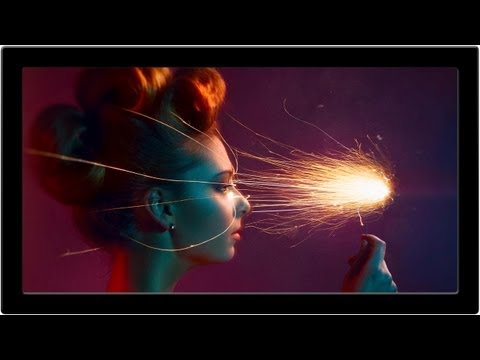
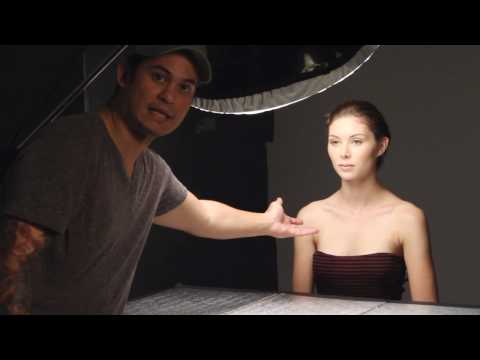
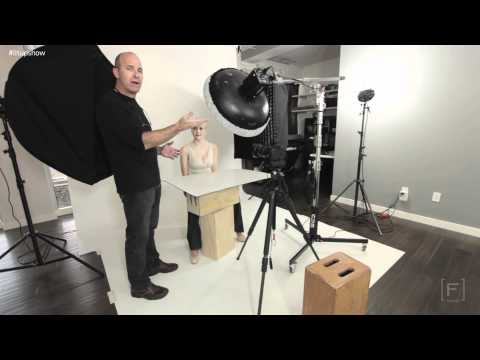
"How to achieve amazing catch lights in the eyes Pt 1, 2, & 3"

Want to know what inspired it all?
A Little over two years ago I came across photographer Peter Hurley, whom I've fell in love with. He is arguably one of the most successful and well known Portrait Photographers of our time. I was just marveled and intrigued at how he built a foundation and style off of head shots with such a simplistic approach. As my interest in his work grew, I learned about his style of shooting, workflow, lighting, clients,  pricing, etc, being a portrait photographer myself all of this stuff resonated with me. I was on the www.FStoppers.com site and saw that the guys over at FS linked up with Peter to create "The Art Behind the Headshot" DVD which was amazing, that can be found here http://fstoppers.com/peter-hurley-the-art-behind-the-headshot Watching this was like watching a magician expose all of their secrets. Not to dive into the DVD too much but this guy was working magic literally transforming people right before your very eyes. Granted nothing is new under the sun but the fact that he was showing you his techniques and engaging with the audience in such a fashion made you say wow!          

A few months after watching the DVD, I had the honor and pleasure of meeting Peter at the 2012 FStoppers Photo Plus Party located at Peter's Studio in Manhattan. There was food, drinks, and a tone of amazing people.  I went from doing a little research on this guy, to buying his DVD, to actually meeting him in person. Man it was truly a humbling experience to be around such a noted photographer. He was so cool and down to earth I felt as if I was hanging out with a good old friend. He even complimented me by saying I was by far the best dressed person of the night. You talk about a confidence booster that went straight to my ego just kidding lol. The ambiance of it all had me so pumped and excited. By the end of the night I was even more intrigued.

That interest led me on a hunt to obtain those magical fluorescent lights that Peter uses, which are Kino Flo Lights http://www.bhphotovideo.com/bnh/controller/home?O=&sku=258951&gclid=CLe_mMGWjL0CFQ8OOgoduTwAcQ&Q=&is=REG&A=details. I was quickly derailed when I discovered that those Kino Flo Lights were close to 3k a pop for a kit. Looking at those prices in lesser terms paralyzed me, because I knew they were way out of my budget. Instead of getting all depressed, my next best thing was to find an alternative, like my mom always says, "There are many ways to skin a cat." She was absolutely right, because I came across a photographer by the Joe Eldleman who did a fabulous DIY build with some fluorescent lighting banks that can be found here https://www.youtube.com/watch?v=OBPDSBCoN2c After watching his video over 50 times, I took note of everything I needed to do in order to build these lights, and I made it happen. My particular set up slightly varies from Joe Edelman's, however it shares the same principles and mechanics. It feels good to receive, but it feels even better to give back and that's exactly what I was set out to do. I was inspired to share my build and the awesomeness I was creating with it and this is how I came up with "How to achieve amazing catch lights in the eyes series."  You know it still amazes me what you can create with $350 and some appliances from Home Depot. I want to give a huge shout out to Peter Hurley and Joe Edelman for all of their "AWESOMENESS", it's people like these guys who give birth to people like me!  

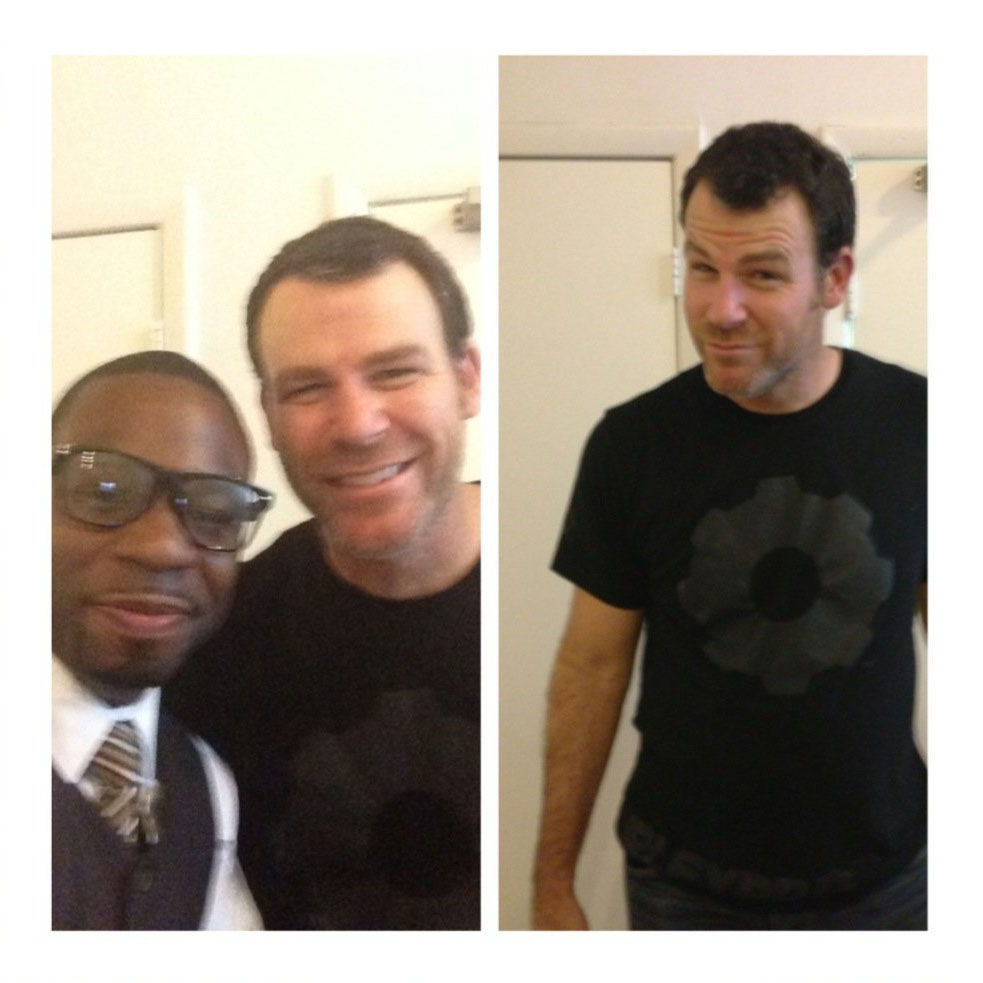
Showing off that head shot intensive pose!

Showing off that head shot intensive pose!

"How to achieve amazing catch lights in the eyes Pt.1

Big shout out to Emm for posting my video on his Blog http://cheesycam.com/ this is an excellent source for photographers and videographers. I can not say enough good stuff about this site, please go check him out!! 

These photos were inspired by Joe Edelman's video Big shout out to this man for posting this video and helping us all out!!!  DIY Fluorescent Photography Studio Lighting" http://www.youtube.com/watch?v=OBPDSBCoN2c

Photographer: Lorenzo Pickett 
Model: Eliza L
Music: "Fell Apart" Produce by Lorenzo Pickett 
Slide Show: Animoto 
 

Light It Magazine published one of my images as the closing shot in their November's issue, they also used it in the December best of 2012 issue!! Super excited about that!! What a way to end off the year! Go Check it out, and you will see it in there!! 

This is some what of an unofficial BTS of my last shoot with model Eliza. 
As I mentioned in the video I don't have the resources to give you guys an actual walk through of how I achieved these shots. 
So I put together a short clip then added some photos and explained my layout!! 
This set up is dummy proof you really can not go wrong shooting with this particular lighting setup, each and every time you will get consistent results. 

Camera: 
5D MarkII Lens 70-200mm is f2.8

Camera Settings:
F2.8, Shutter 1/1000, ISO100  200mm    
Lighting:
I constructed the two 4ft Fluorescent banks myself with appliances from Lowe's 120w each 
18in Diva Ring light 500w
I had the ring light for a while but never really used it. I wanted to use the ring light on this shoot but I wanted to use it in an interesting way so I got the idea to pair it with the 4ft lighting banks and it worked so well.

Post:
Bumped up: contrast, and vibrancy
Spot healing: to remove unwanted spots.
Clone stamp: blemishes and even skin tones.
Vignetting: darken the outer perimeter of the photo.  
Color Adjustment: to get a bluish tint in the color photos. 
Sharpen and Clarity: I used this mostly on the eyes to give them definition. 
Dodge and Burn: to lighten and darken areas of the photo

RightLight $165
http://www.ebay.com/itm/140674273995?ssPageName=STRK:MESINDXX:IT&_trksid=p3984.m1436.l2649

BackDrop $8 a yard http://www.amazon.com/Rosette-Satin-Blue-Munsell-Fabric/dp/B006ERRPLK/ref=wl_it_dp_o_pC_nS_nC?ie=UTF8&colid=37Y5XY1Z7IEBC&coliid=I38U3EHDSF49DZ

"How to achieve amazing catch lights in the eyes Pt.2

Photographer: Lorenzo Pickett 
Model: Julius 
Music: Produced by Lorenzo Pickett
 

This video was shot handheld using the iPhone5

I explained how using a ring light with some fluorescent lighting can get you some great photos. In this BTS video I show how I achieved the #poundsign catchlight in the eyes. I've seen photographers such as Lindsay Adler use this technique. Achieving interesting catch lights in the eyes is not as hard as it appears to be, it just takes a little of experimenting and tweaking. I thought to use a male this time around for my subject just to show you guys this look can look great on almost anyone. 

This setup is dummy proof you really can not go wrong shooting with this particular lighting setup, each and every time you will get consistent results. 

Camera: 
5D MarkII 
Lens 
70-200mm is f2.8
Camera Settings:
F2.8, Shutter 1/320, ISO100 Focal length 200mm. Subject distance 1.5m

Lighting:
Two 4ft, 4tube Fluorescent banks
Two 4ft, 2tube Fluorescent banks

How to achieve amazing catch lights in the eyes Pt.3

So here it is guys pt3 to "How to achieve amazing catch lights in the eyes. 
To see more photos from the session just swing over to my website!! 

Photographer: Lorenzo Pickett 
Model: Odemarys Olavarria 
Music: "December 10th" Produce by Lorenzo Pickett 

Shooting Settings

White Balance: Auto 
Shutter: 1/100
F/Stop: 2.8
ISO: 100
Focal Length: 170mm

Camera Gear
5D MarkII 
70-200mmF/2.8 USMII
64GB Transcend CF Card
Tripod Gitzo G 2220
Avenger D520L 40" Extension Pole 
http://www.amazon.com/Avenger-D520L-40-Inch-Extension-Chrome/dp/B00127U9X8/ref=sr_1_1?ie=UTF8&qid=1393418750&sr=8-1&keywords=avenger+d520
Avenger D200 Grip Head
http://www.amazon.com/Avenger-D200-2-5-Inch-Grip-Chrome/dp/B001B1G3IK/ref=sr_1_1?ie=UTF8&qid=1393418789&sr=8-1&keywords=avenger+d200
Avenger E650 Baby Pin 8"
http://www.amazon.com/Avenger-E650-6-Inch-Collar-Silver/dp/B001AXKY70/ref=sr_1_1?ie=UTF8&qid=1393418929&sr=8-1&keywords=avenger+baby+pin
Manfrotto Super Clamp
http://www.amazon.com/Manfrotto-035RL-Super-Clamp-Standard/dp/B0018LQVIA/ref=sr_1_1?ie=UTF8&qid=1393418984&sr=8-1&keywords=super+clamp
 

Lighting
18' Diva Ring Light 500w
http://www.amazon.com/Photo-Video-Fluorescent-Ring-Light/dp/B00B64G2A6/ref=sr_1_2?ie=UTF8&qid=1393418673&sr=8-2&keywords=diva+ring+light
Lithonia Lighting Shop light: 
4' Fluorescent lighting 2 Tube Housing 64w 
http://www.homedepot.com/p/Lithonia-Lighting-2-Light-White-T12-Fluorescent-Shoplight-1233-SHOPLIGHT/203081577
4' Fluorescent lighting 4 Tube Housing 128w
http://www.homedepot.com/p/Lithonia-Lighting-4-Light-Grey-Heavy-Duty-Shoplight-1284GRD-RE/202968125

"The Beauty Dish"

The Beauty Dish is one of the most versatile and essential lighting modifiers in my little arsenal. Using the "BD" has dramatically improved the quality of my images, It is used on 95% of my shoots. I acquired the Beauty Dish in 2011 after my good friend John David Pittman, who is an amazing and talented photographer http://johndavidpittman.com/ ,highly recommended I immediately get one.  I was in limbo on making the investment so I called him up. He said to me, "Dude, don't think about it, just buy the 22" Beauty Dish...I promise you will not regret it!" I came to realization he was telling me to get one for some really beneficial reasons. I have to secretly admit I was not sold on it initially, I guess that can be contributed to my previous lack of knowledge on how to use it. I actually tucked it away for some time while I educated myself on its uses and functionalities. It was now time to experiment and put it to the test.

I had an up coming on location shoot I was preparing for and as I was loading my gear something just clicked. I scraped all of the soft boxes I packed and brought along a single Gridded Beauty Dish accompanied with a battery powered 600w Bowens strobe. My goodness, I was simply marveled at the quality of light I was able to produce with it. Not only did I have enough light to over power the sun, I had the perfect tool for sculpting it. I quickly caught on and now I'm using the "BD" on almost every shoot both on location and studio.

Mixed lighting became a thing of mine. Playing around with the "BD" I would mix and combine ambient, gelled, bare bulb, diffused, and gridded light to shape my subjects. I Once used only the modeling light from the "BD" at it's lowest power, to produce a dramatically lit low key image. Literally over night It became one of my "go to" lighting modifiers. The "BD" is infamously used throughout the fashion and beauty industry, hence the word "Beauty Dish." Some of the world's leading professional photographers such as Scott Kelby, Lindsay Adler, Joey L., Jeremy Cowart, Joel Grimes, and many more use the "BD" to create some absolutely stunning work. Your very own Kurt Von http://kurtvon.com/ ,founder of the "Light Shapers" website and fellow photographer also uses the Beauty Dish.

The "Beauty Dish" can be summarized as to providing 3 type of light sources:

1.Bare Bulb- Which is very intense, punchy, and dramatic

2.Diffusion Sock - Produces very soft flattering yet sculpted light

3. Gridded- The grid can be wrapped up as being very controlled and tightly focused light that ultimately has a fast fall off with little to no spill

Here are a some images I produce with the beauty dish:

Model: Casey. S.

Model: Casey. S.

Model: Dalilah. 

Model: Dalilah. 

Model: Teriana.

Model: Teriana.

Model: Latrice. 

Model: Latrice. 

Model: Casey. S.

Model: Casey. S.

Model: Amarie. S.

Model: Amarie. S.

Model: Casey. S.

Model: Casey. S.

Model: Angie. T.

Model: Angie. T.

Model: Eliza. L. 

Model: Eliza. L. 

Rapper: Serious Jones 

Rapper: Serious Jones 

Selfie lol 

Selfie lol 

Here are some great "BTS" videos using the Beauty Dish

Lindsay Adler 

http://www.lindsayadlerphotography.com


Andrea Belluso

http://www.belluso.com/


Now understand that I am not at all trying to advertise a product, or force anyone to go run out and purchase one, however if you are in the real estate of portrait and beauty photography I recommend taking the dive. I just wanted to share my experience and info on one of my favorite modifiers. Photographers who already own a Beauty Dish will concur with it's wonders. Hope you guys enjoyed!!! 

“Approaching Talent”

I would like to give you tips on how to approach talent, but before I do that allow me share with you a little background info about myself. My name is Lorenzo Pickett. I am a New Jersey based artist and photographer. I started my photography career approximately 5 years ago. I've been published in renowned photographer and author Scott Kelly's “Light IT” Magazine and more recently “Photoshop User Magazine” as the feature photographer. I am extremely excited about the publications big shout out to Mike Mackenzie and his creative team for making that happen. Back to the subject, on a quest to advance my art portfolio I wanted to take better photographs of my art work. I went to the camera store to purchase a digital camera.  A rep there asked to assist me, when I told him what I was looking for he proceeded to say "Why don't you just invest in a DSLR" At the time I didn't even know what the hell a DSLR was, that demonstrates how oblivious I was to photography, all I knew was art. He pointed me to the DSLR's, it was there I picked up my first DSLR Canon camera and I fell in love, my world literally changed at that very moment. .

How do you get your models?

My way of approaching talent is pretty simple. I first greet myself, hey listen My name is Lorenzo Pickett, I am an artist and photographer, based etc….. I do a combination of things but my focus is creative portraiture, beauty is the basis of my work. I will then proceed to show my work, not taking up too much of their time I quickly flip through my portfolio. As I am flipping through my work I pay attention to their reaction. Based off their reaction you can tell if the individual is interested or not. Majority of the time I get really good reactions, but that can vary. I come across a lot of talent that say "I always wanted to model" but on the contrary I get "I don't know if I can do it, I am really shy" Actively practicing this you will learn how to approach things accordingly. Also you want to give them something they can leave with (lasting impression, business card, even a polite smile will do in some cases. I tend to end things by saying "Here is my business card,  my work can be found at Lorenzopphotography.com. I hope you like what you've seen and I look forward to working with you in the near future"

You must make kick ass work  

Referencing what Chase Jarvis stated in an interview with Oren Klaff Author of
"Pitch Anything” which by the way was a phenomenal interview, be sure to check it out here  http://www.youtube.com/watch?v=fXavS_IY42A#t=137

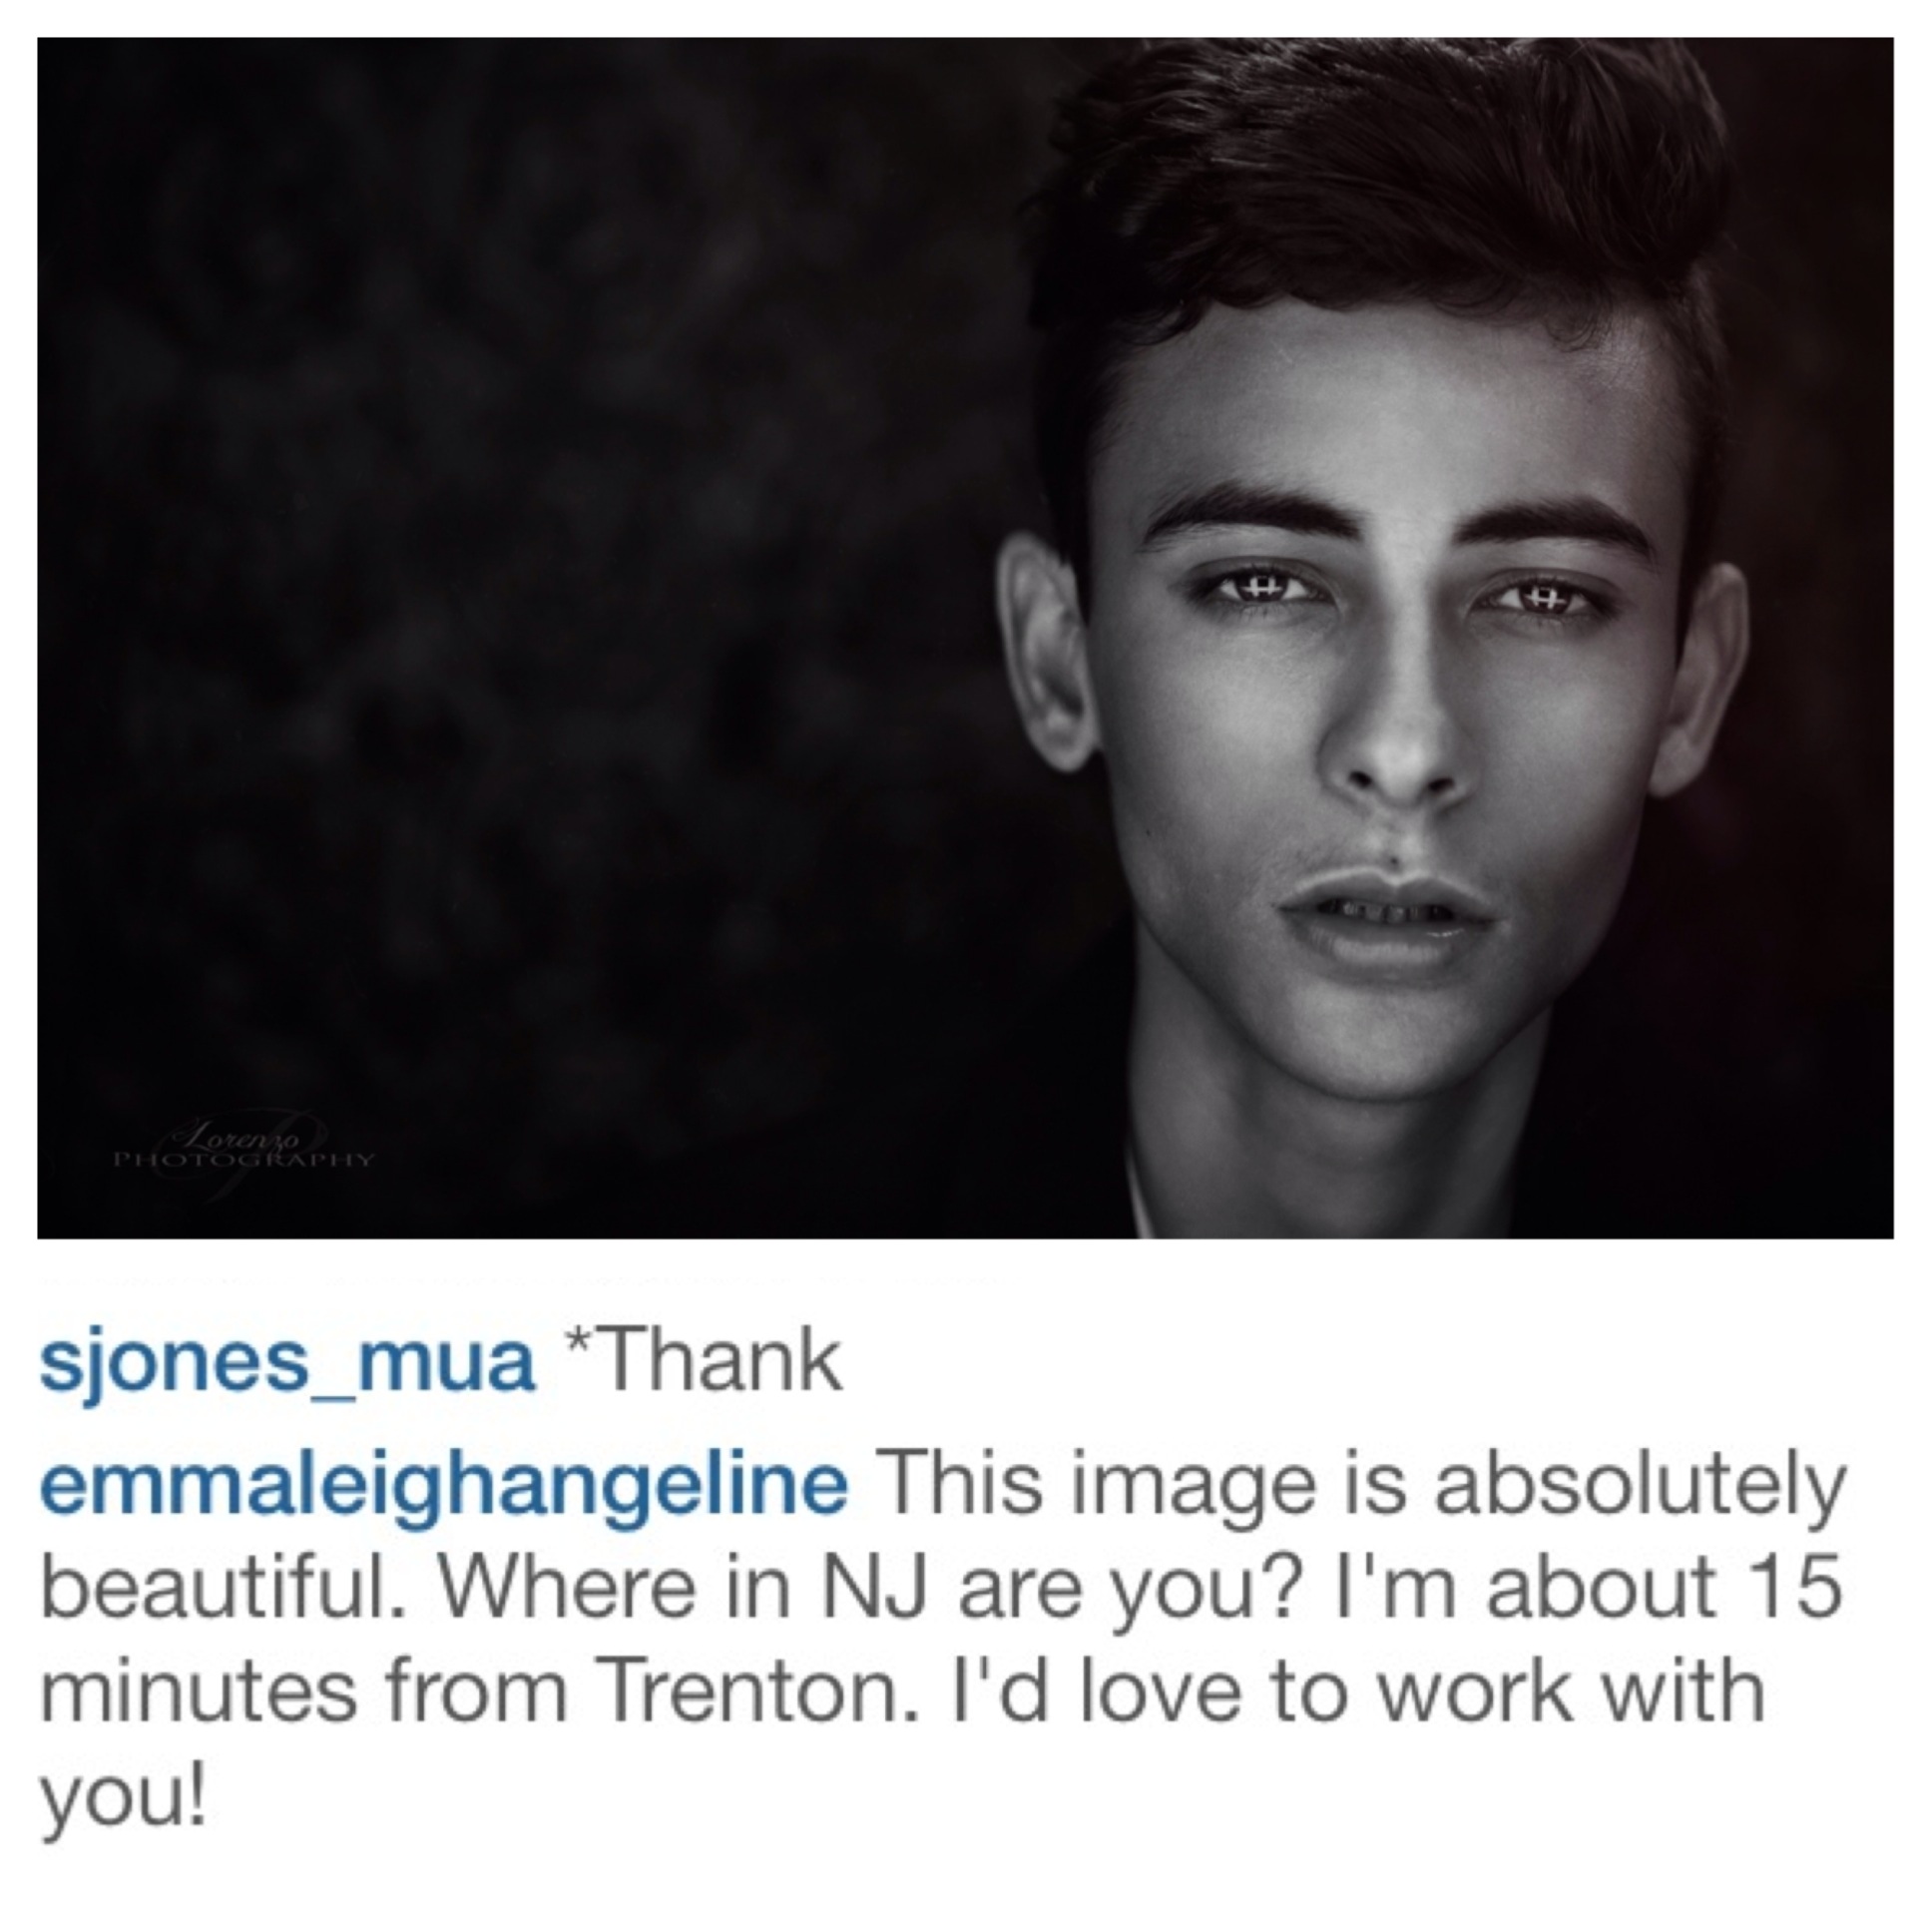
He stated "You must make kick ass work" Reason be when you make kick ass work it flat out speaks for itself, people will be compelled and drawn to work with you. I know this to be true because, I come across so many emails, contacts, and on social media networks where people say “I saw your work and fell in love, I cannot wait to work with you” Here are a few examples!! 

photo.JPG
image.jpeg
image (1).jpeg
image (9).jpeg
photo 3.JPG
photo 2.JPG
image (8).jpeg

Getting back to the point, people will be drawn to work with you. So making kick ass work will kick ass for you in the long run when it comes getting talent. No one is going to work with a photographer if they are not sold on their work.  One female I approached to do a shoot, I showed her my portfolio and a particular photo stood out to her, she said quote “If you can make me look like that, I will shoot with you" It was a done deal, the hard part was done! If you have trouble approaching people, play it safe by saying something along the lines of. "You have a particular look that suits my style of photography" As you show examples of your work, casually ask "Would you be interested in doing some modeling, I would love to work with you" It's as simple as that. Also don't just simply give up so easily on people, some talent you may have to work hard at getting. Some people may play hard to get, some people are shy, some people are iffy and some people flat out are busy. Don't be afraid to follow up, and to check in periodically. If it makes you happy to know, It took me a little over a year and a half to work with this particular model. Talk about patience, never the less it was well worth the wait.  

In conclusion

Speaking up has lead me to work with some great individuals. Three of the talents I approached and worked with got published!!!! The art of meeting a complete stranger and creating beautiful work with them is an amazing experience. Trust me, initially this was a bit challenging for me because I am a bit shy myself but you will see, the more you begin to actively practice this it will gradually become a breeze. Remember first impressions are everything you want to make that connection, if you can effectively do that while applying the tips your chances of working with that talent will be very likely!!!!! 

Pointers:
1. Don't be scared to speak up: If you see someone you want to work with move on it don't let an opportunity get away from you, you never know where things my lead. The silent are left to be silent!!!!!
2. Be polite: I shouldn't have to speak too much on this, being polite will take you a long way!!!
3. Be honest/straight forward: Remember you are not only trying to attract possible candidates, but you are also building a reputation and relationship with the talent based off of trust. If people feel they can trust you chances are they will work with you.
4. Be prepared/be concise: Have what you want to say at the tip go your tongue, speak your peace and move along. Keep in mind less is more, people don't like to be inconvenienced!!!
5. Have a portfolio readily: Grab their attention by showing your work as you're conversing with the talent. It's a great way to stir up a conversation, (I typically use my phone as my portable portfolio)
6. Have business cards: Having business cards shows professionalism, and it is much quicker than writing your information down on a piece of paper. (A website is always a plus)  convenience is key!


"Photoshop User Magazine" Featured Photographer

Super excited to announce I am the Featured Photographer in July's issue of "Photoshop User Magazine" If you know the "Photoshop User Mag" you know it is a big publication. I have a nice 3 page spread going on! Hard work, determination, passion, drive, and my blessings are all the things that have lead me to this point! I want to thank everyone who has ever supported me, also I want to give a big shout out to all the individuals who took part in this creative process!! This issue hits new stands July 29th


84723754722772414951484619700328.jpg
Featured Photographer3_MG_5314.jpg
Featured Photographer2_MG_5314.jpg
Featured Photographer1_MG_5314.jpg

Sylights Diagrams

Description: "Great Catch Light For The Eyes"

Items:


Ring Light
Light: 500w 18"  Diva Ring Light Continuous. Positioned directly in front of the subject.  

Vertical Strip Bank
Light: (2) 4ft fluorescent lighting bank (4) "T8" bulb housing 128w. Positioned on each side of the subject. 

Backdrop
Green flower textured background

Woman
Subject is comfortably sitting on a stool.  Looking straight through the ring light directly at the camera.

DSLR
Camera: Canon 5DMarkII
Lens: 70-200mm IS F2.8
Shutter: 1/1250
F-Stop: 2.8
ISO: 800
Focal Length: 100mm


Check out my video on YouTube where I explain how I achieved this shot. 


Beauty shot.jpg

Description: "Beauty Wrap" 

Items:

Lighting: 

(2) 400w Bowens strobes

22" Beauty Dish

60" Octabox  

Octabox:

60" Octabox  serves as the a white background set at half power, positioned  2" behind subject. You want the Octa close enough to where it is almost touching your subject.

Beauty dish with diffusion: 

22" Beauty Dish with diffusion on a boom  placed  approximately 5' in the air above the subjects face positioned camera center.

Woman
Subject is comfortably sitting on a stool, looking straight at the camera. Subject distance 1.8m


DSLR

Camera: Canon 5DMarkII
Lens: 70-200mm IS F2.8
Shutter: 1/125
F-Stop: 14
ISO: 100
Focal Length: 105mm

Untitled-1.jpg

Description: "Color and Fog"

Items:

Black backdrop
No description for this item.

Red gel
No description for this item.

Woman
No description for this item.

(D)SLR
Camera: Canon 5DmarkII
Lense: 70-200mm IS F2.8
Shutter: 1/160
F-Stop: F9.0
Iso:100
Focal Length: 70mm

Monobloc
400w Fotodiox strobe with purple gel set at 1/4 of it's power. The blue gel is represented as the purple fog.

Octobox with grid
50" Octa  with grid set at 1/2 power, positioned  left of camera, right side of subjects. The Octa Serves as the main light.

Blue gel
No description for this item.

Monobloc
400w Fotodiox strobe with red gel set at 1/4 of it's power


Color and Fog.jpg


Description: "Face Forward"

Items:

22" Beauty dish with diffuser
On boom raised approximately  6' feet in the air facing the model.

Black backdrop
10x20'  Back Drop

Woman
Subject distance 1.4m

Elinchrome D-lite RX4
Set at half power.

(D)SLR
Camera: Canon 5D MarkII
Lens: Canon 70-200mm IS F2.8
Shutter: 1/125sec
F-stop: F13
ISO:100
Focal Length: 200mm


SD_MG_4965.jpg

Description: "Shooting Outdoor with a Strobe"


This shot was taking in the outside waiting area of the train station in Orange New Jersey!  It was a bright sunny day so I wanted to place the model in some shade,  placing her in the shade resulted in losing a lot of light . This is where my little one light setup came in handy. I have a 580exII mounted to at 32x48in softbox using a T- Bracket.
I positioned the SB in a horizontal orientation, angled  at 45 degrees, and raised about 4ft in the air. I would normally raise this set up higher but being that the subject was about 2ft below ground level I didn't have to bring it up too high. After getting  the model in the desired pose, I had her to look sightly into the direction of the light then let it rip.


Items:

Woman
No description for this item.

Speedlight
Canon 580EXII
Settings: Half Power

Softbox
Fotodiox 32x40, locked in a horizontal position.

DSLR
Camera: Canon 5D MarkII
Lens: 70-200mm IS F2.8
Shutter: 1/160 sec
F-Stop f/4
ISO: 100
Focal Length: 100mm


Diagram.jpg

Description: "Colorize Your Subject"
 

Achieving this shot was not at all an easy task, but like everything thing else that requires work it reaped it's rewards. Shooting with gels can add some creative flavor to your images, besides that they are just fun to work with. When implementing other elements such as gels, ambient light, and slow shutter it adds a great deal of drama making your work more appealing. I now want to dive in on how I actually achieved this shot. After adjusting the power settings on each strobe. I then set my Canon 580EXII up as a master flash placed it to rear curtain sync and dialed the power all the way up, (please refer to the video below on how to put your flash in rear curtain sync) Doing this gave me the ability to fire off the strobes when the 580EX commanded them to. Without setting up the speedlite as a commander the strobes would fire as soon as the shutter release defeating the purpose of rear curtain sync. Now that that's all said and done, it was time to adjust my camera settings. This took a bit of experimenting along with trail and error, ultimately it all depends upon your personal preference. The key is to drag your shutter to capture movement before the flash freezes it. After I found my sweet spot there was nothing else left to do but shoot. When the shutter released I had 2.5 second to capture the movement. I direct the talent to hold still as I slowly pivoted the camera from left to right. With the slow shutter in conjunction with the rear curtain sync I was able to capture some of that blurred movement you see in the photos. Here are the exact camera settings I used to nail this shot.

(D)SLR

Camera: Canon 5DMarkII

Lens: 70-200mm IS F2.8
Shutter: 2.5sec (This gave me the best results in terms of exposure and movement]
F-Stop: 14 [Shooting at F.14 gave me a very sharp and focused picture]
ISO: 100 [When shooting strobe you want your (ISO) at its lowest for a clean image]
Focal Length: 200mm [I wanted to zoom all the way in for a nice tight shot]
Subject Distance: 1.4

Items
Backdrop
10 x 20 Deep Grey Savage backdrop. 

Deep Blue gel
8-1/2" x 11" Transparent Cello Sheet

22" Beauty Dish with diffuser
The Beauty Dish is located camera center 5' away from the talent,
raised approximately 5'5"  in height attached to an Avenger C stand on a boom.

Circular silver reflector
43" Silver reflector clamped to a light strand acting as a fill.

Monobloc
600w Fotodiox Strobe with a orange gel set to 1/2 power. Because this gel is much lighter in color it requires less light in comparison to the blue gelled strobe positioned camera right.

Reddish Orange gel
8-1/2" x 11" Transparent Cello Sheet

Monobloc
600w Fotodiox Strobe with a red gel representing purple. Power setting 3/4. This strobe is positioned camera left aiming directly at the right side of the talent's face.

Woman
The Talent is comfortably sitting on a stool looking directly into the lens of the camera.

Monobloc on boom
400w Elinchrome D-Lite4 RX set at  roughly 1/4. The light from the Beauty Dish acted as a main fill light. I intently kept the power of the "BD" really low to preserve the richness and vibrancy of the colors from the gels. 
 

Speedlight with grid                                                                                                                                                               Canon 580EX II with a purple Rosco gel and grid  set at full power 1/1. I wanted to get as much punch as I possibly could from this little guy. The flash is on a boom positioned camera left also aiming at the left side of the talent's face.

Blue gel
 8-1/2" x 11" Transparent Cello Sheet

Monobloc
600w Fotodiox Strobe with a blue gel power set at 3/4. Typically when shooting with darker gels, it requires much more light to effectively project through. This strobe is positioned camera right acting as a rim light on the talent.

This is a red gel represents purple
8-1/2" x 11" Transparent Cello Sheet

These awesome Cello Sheets can be found on Amazon for $8, it's a great value. http://www.amazon.com/Pack-8-1-Transparent-Cello-Sheets/dp/B000K78HUI/ref=sr_1_1?ie=UTF8&qid=1387516387&sr=8-1&keywords=cello+sheets

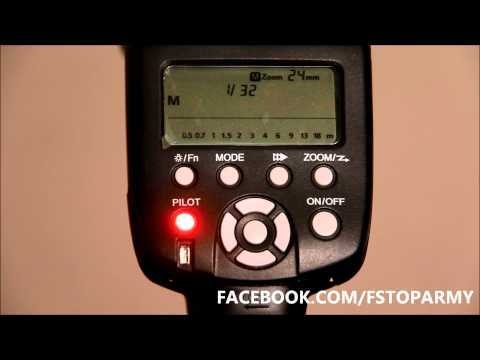
YouTube user FStopArmy shows how to put your Canon Flash in "Rear Curtain Sync"
Colorize your subject.jpg
 

"Improving Your Photography"

I get asked often by beginning photographers "How can I improve my photography"

I love sharing the information, so I thought to comprise some great
material that will help them along their journey.

http://fstoppers.com

Is a phenomenal website to see what’s going on in the photography world, also it
is great for just pure inspiration. I literally go on this site every day of my
life, it's truly sad lol

Check out the following links they have a ton of awesome
photography tutorials. "FIY" some of this material is free, but there are others tutorials that requires a cost.

"Adorama Digital photography 101" http://www.youtube.com/user/adoramaTV?feature=

"The Grid" http://kelbytv.com/thegrid/

"GavTrain" http://www.youtube.com/user/PhotoGavin

"Phlearn" http://phlearn.com/

"KelbyTrain" http://kelbytraining.com/ 

"LyndaTrain" http://www.lynda.com/

"CreativeLive" http://www.creativelive.com/live1

Spend some time going through these sites (try NOT to just read or watch what only

appeals to you) because you may miss out on some good stuff.

Scott Kelby is a renowned photographer who I absolutely admire. Following him has
made my life as a photographer so much easier lol. He has a ton of great
material out there to help you become a better photographer. Aside from the Kelbytraining media I just mentioned, he has a series of Digital Photography books.  I actually learned of Scott when I read his book "Digital Photography" which can be found here http://www.amazon.com/Digital-Photography-Book-Scott-Kelby/dp/032147404X/ref=sr_1_1?ie=UTF8&qid=1366269602&sr=8-1&keywords=the+digital+photography+book

His series of "Digital Photography" books are all absolutely fantastic!!!!! And for all you Apple lovers out there, he has apps that I find very, very useful, and I own them all lol. Go to the App store and click that download button please!! I am not sure if these apps are available on the Android Market.  

“Scott Kelby's: Lighting Recipes"

“Scott Kelby's:10 Essential studio techniques"

"Scott Kelby's: Photo Recipes Live Behind the Scenes"

"Scott Kelby's: Photo Recipes Live Behind the Scenes Part2"

In conclusion, always remember you cannot rush the process of getting better, it takes a lot of time, patients, and dedication. Don't be afraid to experiment and make mistakes.
Improving your photography is not only about shooting, you have to educate
yourself. Research other photographer’s see how they light, check out their
work flow, etc.... I promise after reviewing and apply all of the material presented you will begin to see a transformation in your work. 


"Light It Magazine Publication"

#Winning #Publication 

The "Light It" magazine is a popular digital photography magazine. This mag Is an amazing photography resource founded by noted photographer and author Scott Kelby. This magazine is also highly acclaimed for, bringing you the top demonstrations and how to's on getting professional looking work from the world's leading photographers!!

A few weeks ago I read that they were excepting submissions. Being wishful I submitted my work to the "L.I. Mag" I got an email back stating they admired my work, followed by another email with a gallery agreement. Long story short, they ended up choosing my image for the Closing Shot!!! Super Excited!!! 

578985_10151311176291063_1153119195_n.jpg
Source: Lightit Magazone Publication

"Before and After"

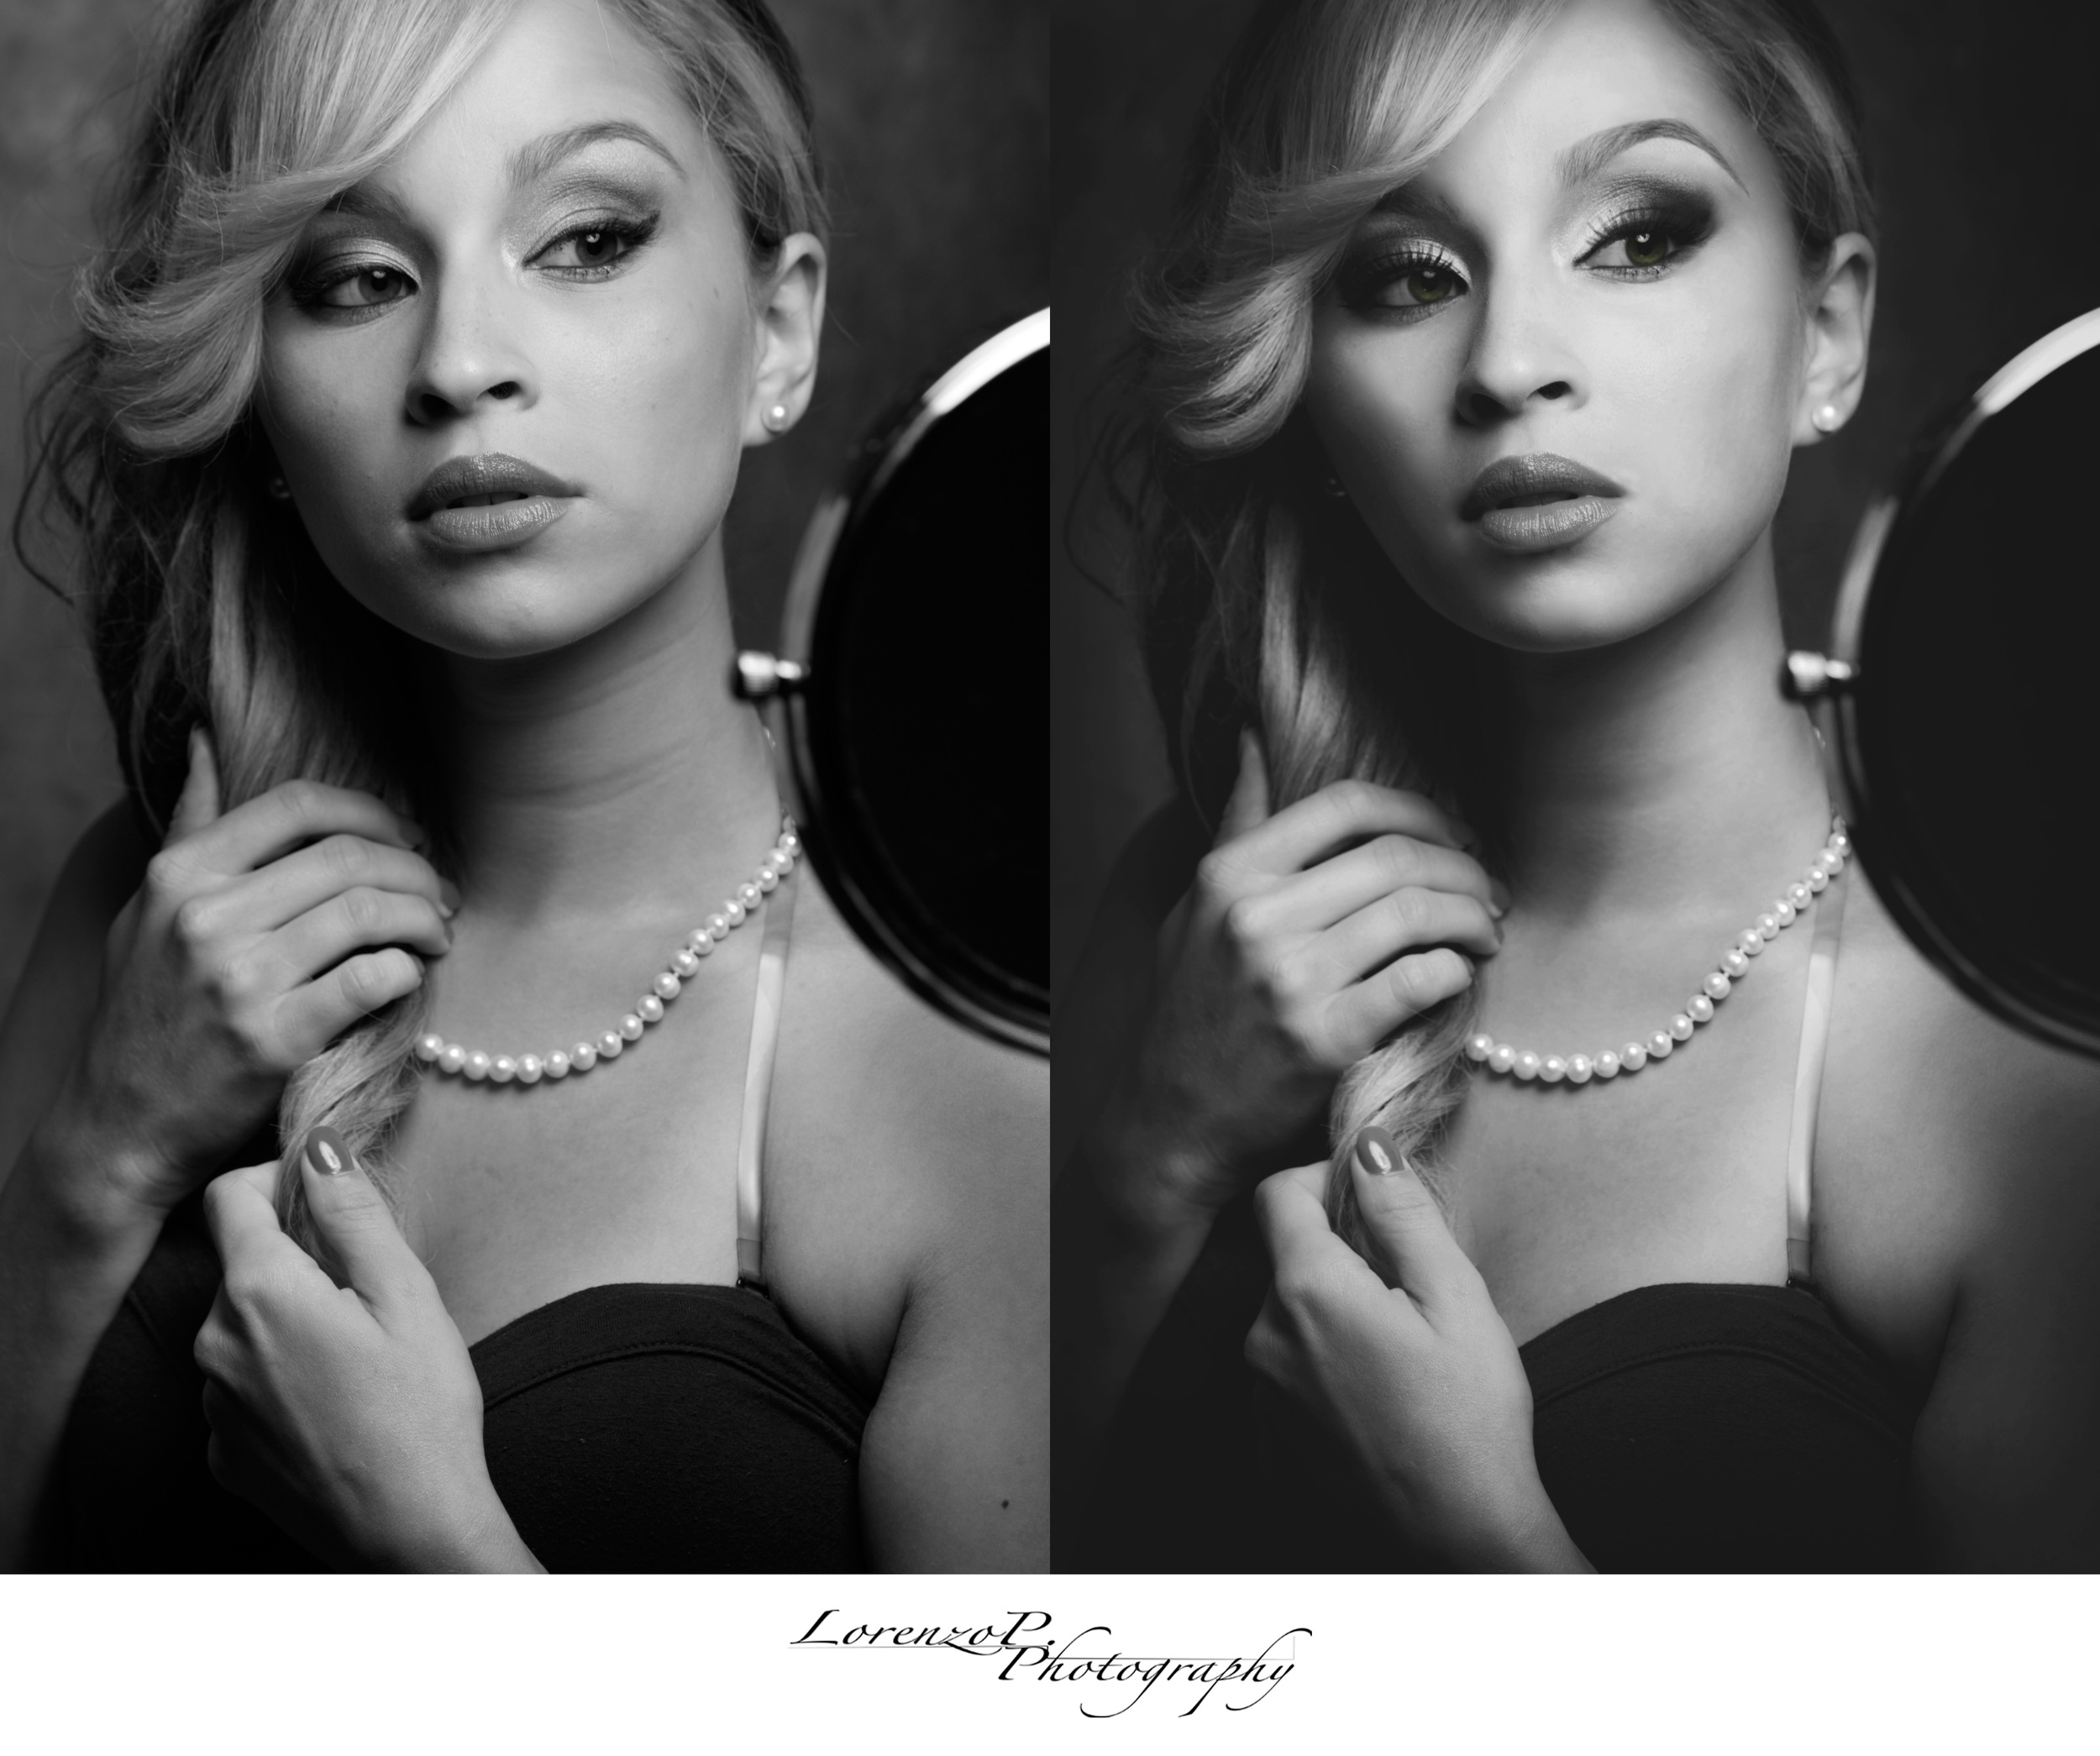
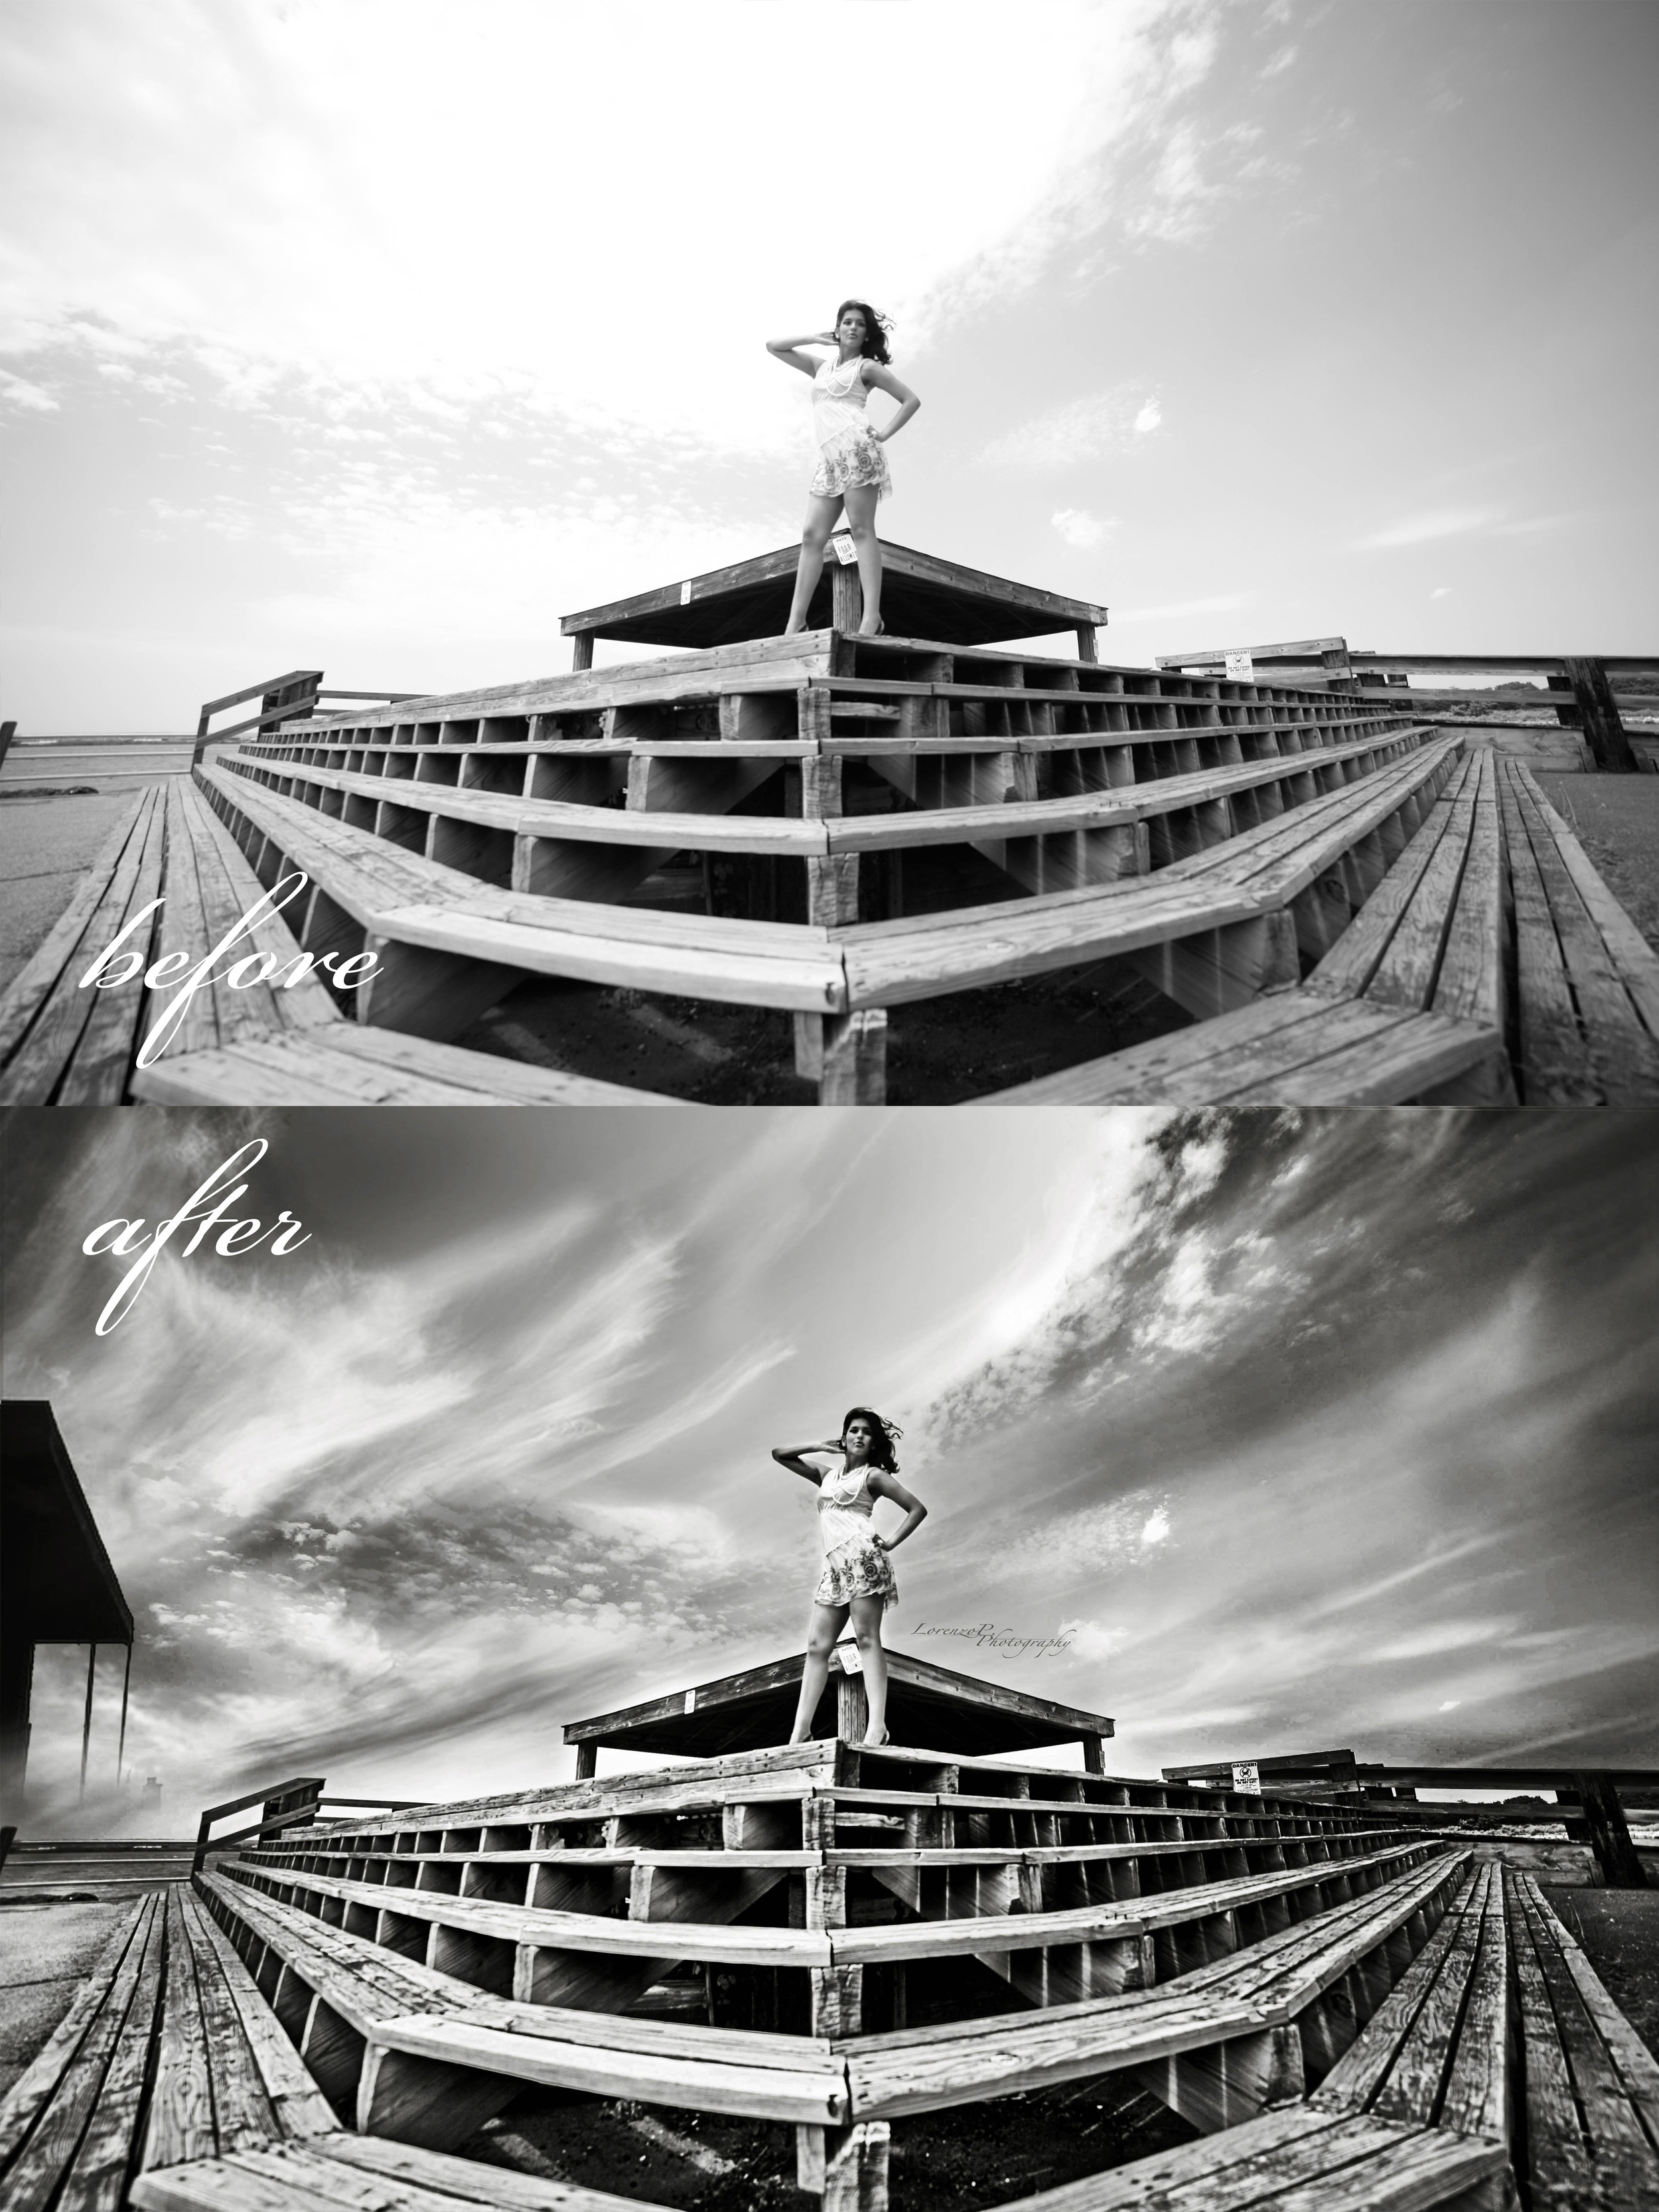
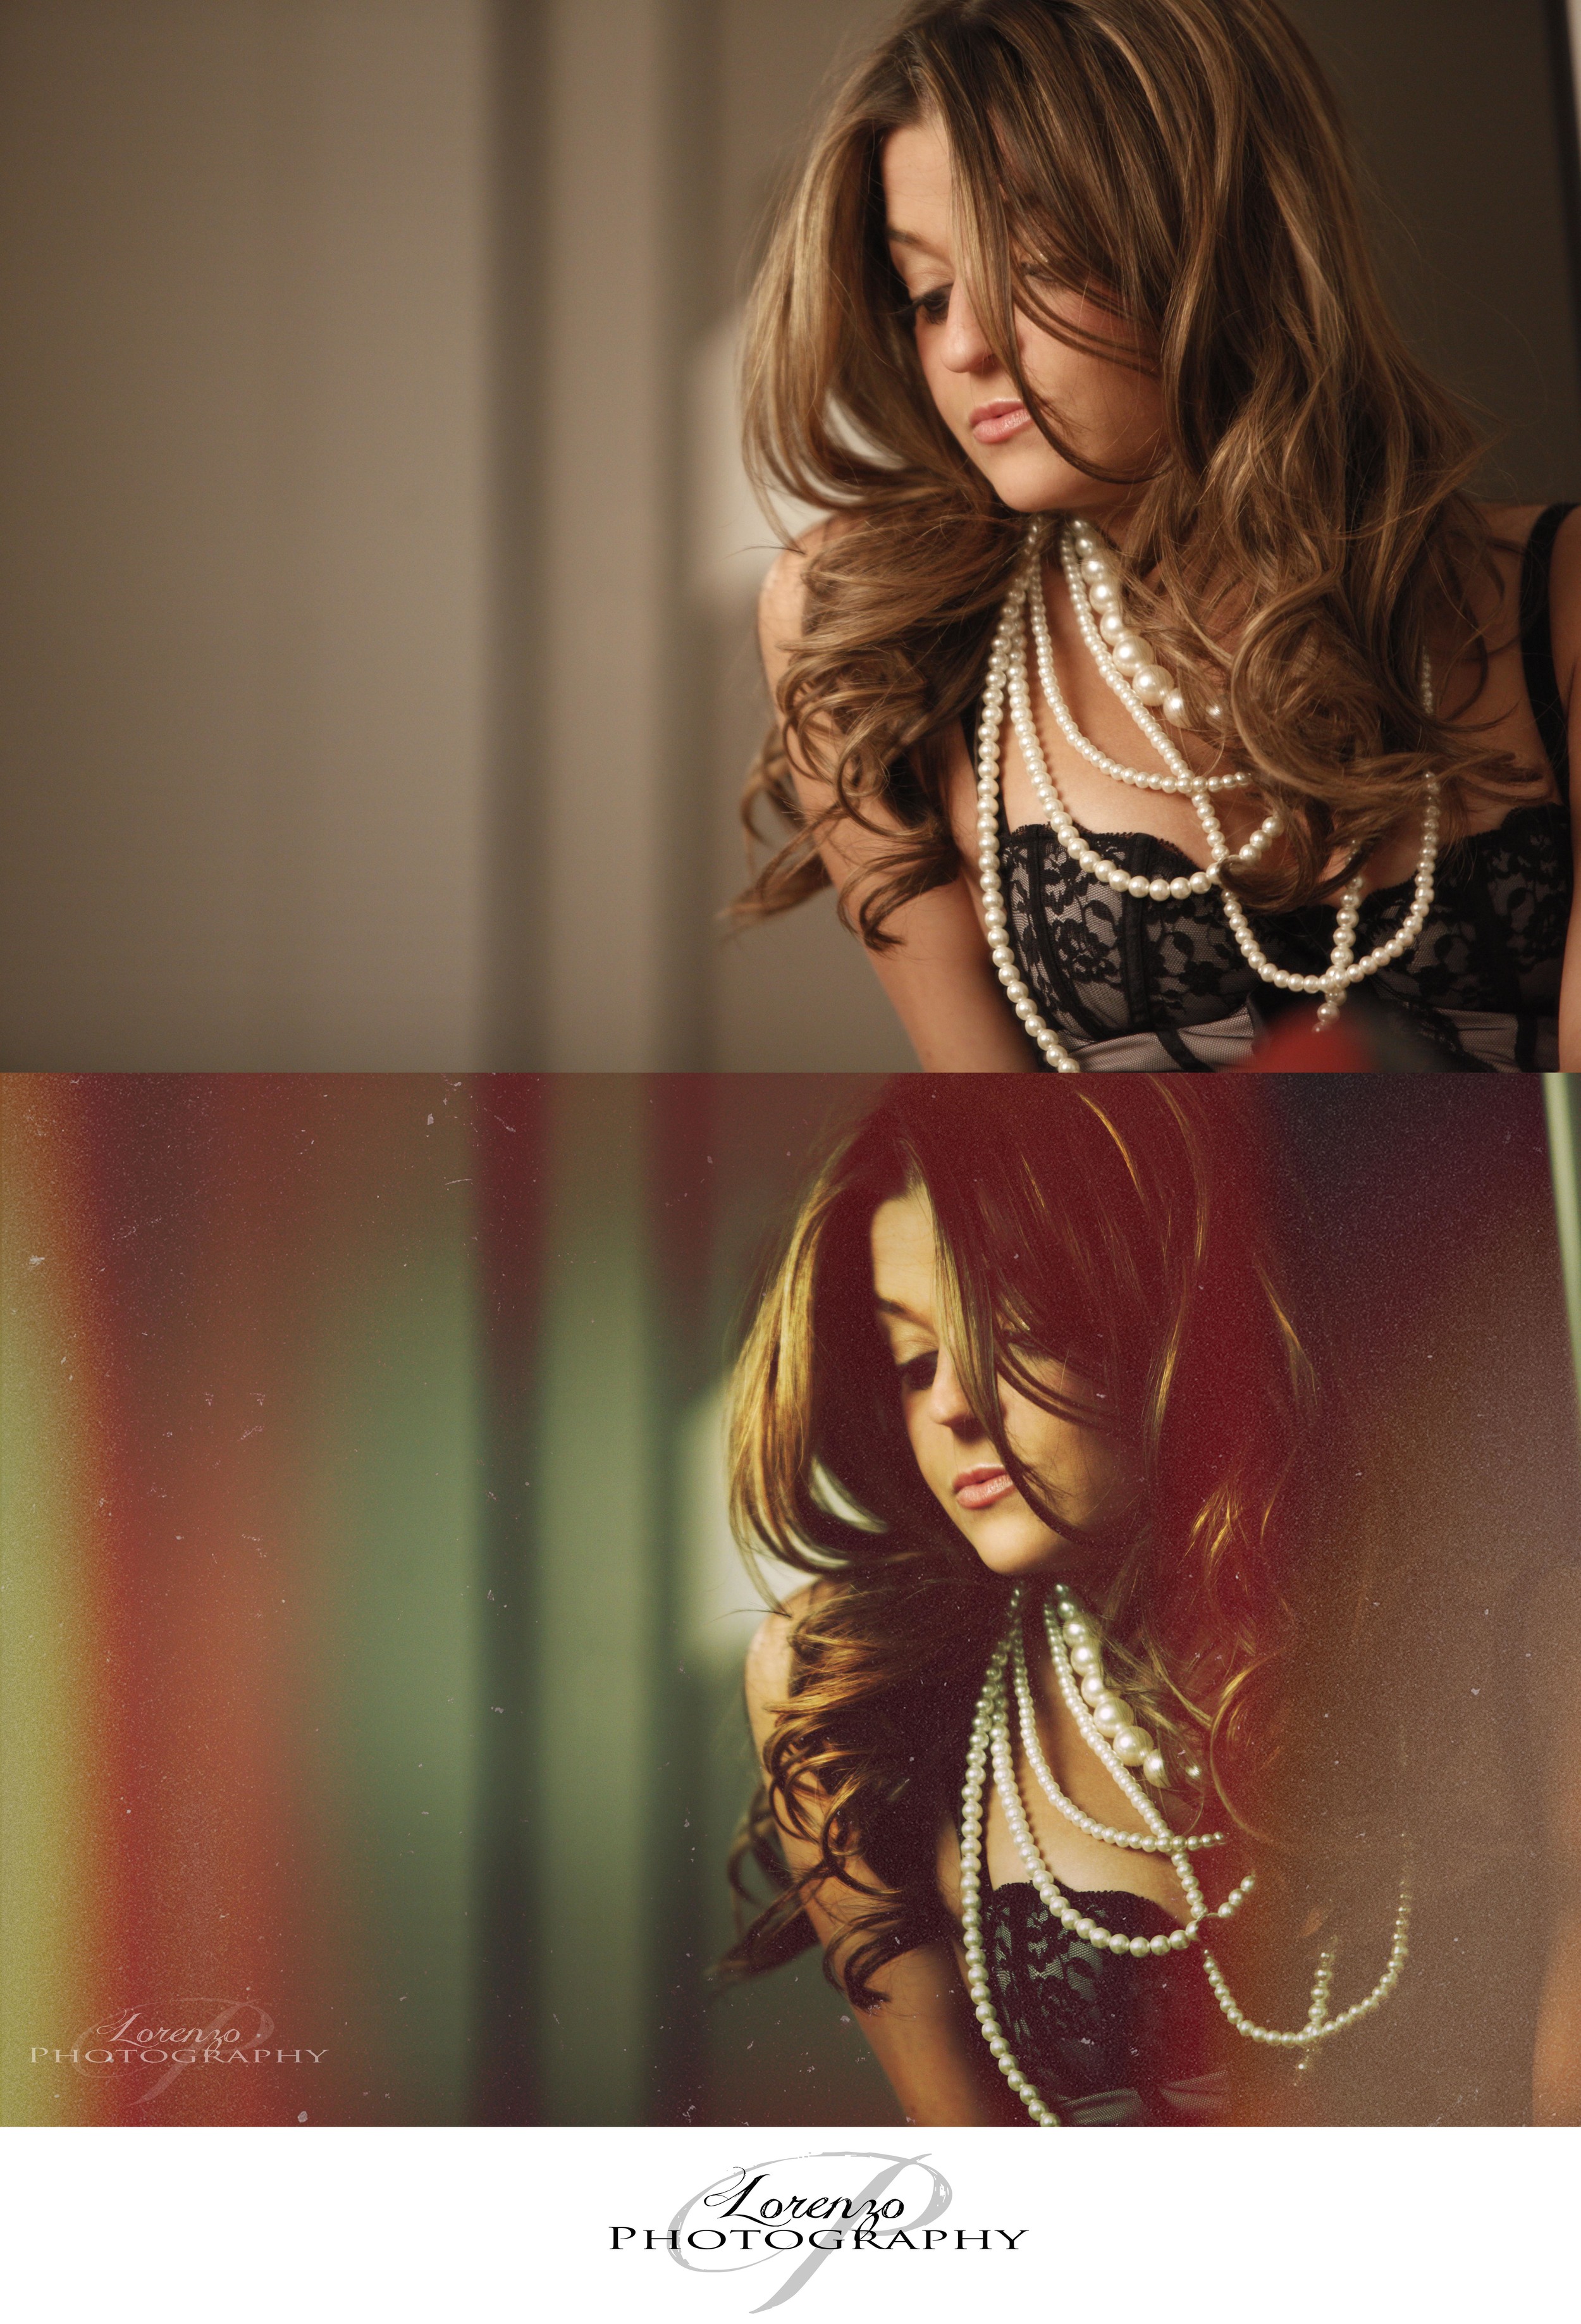
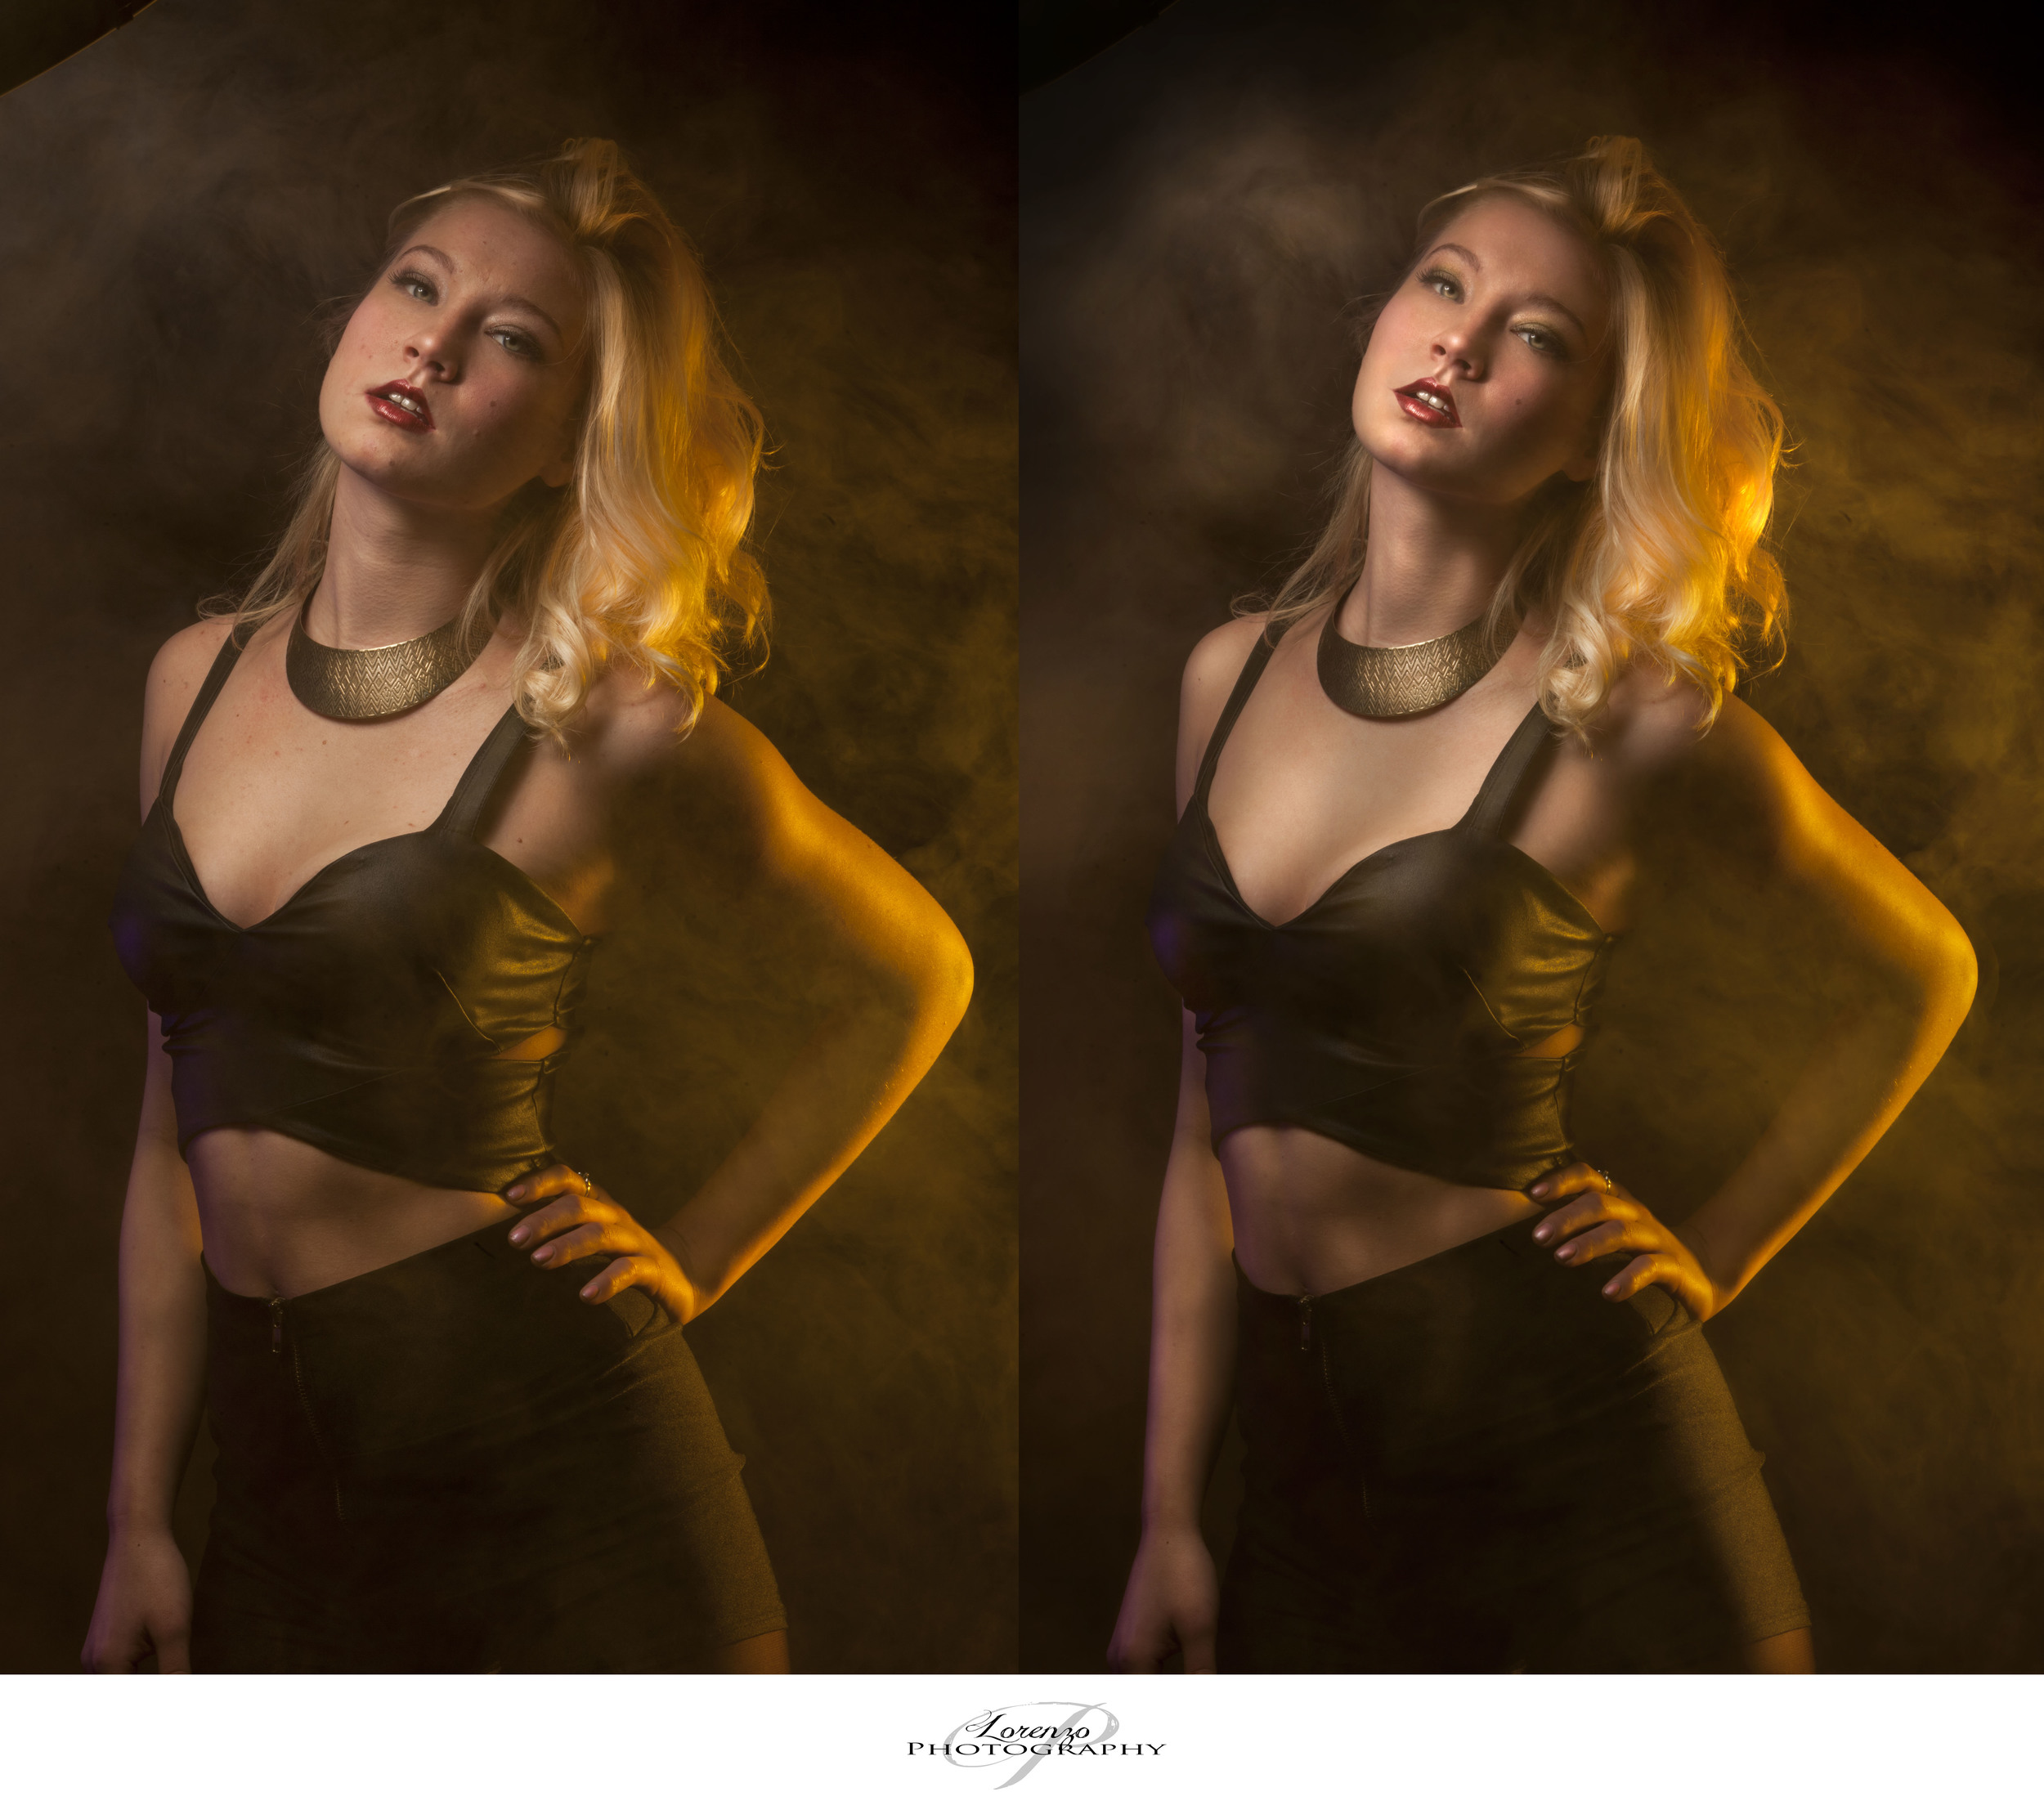
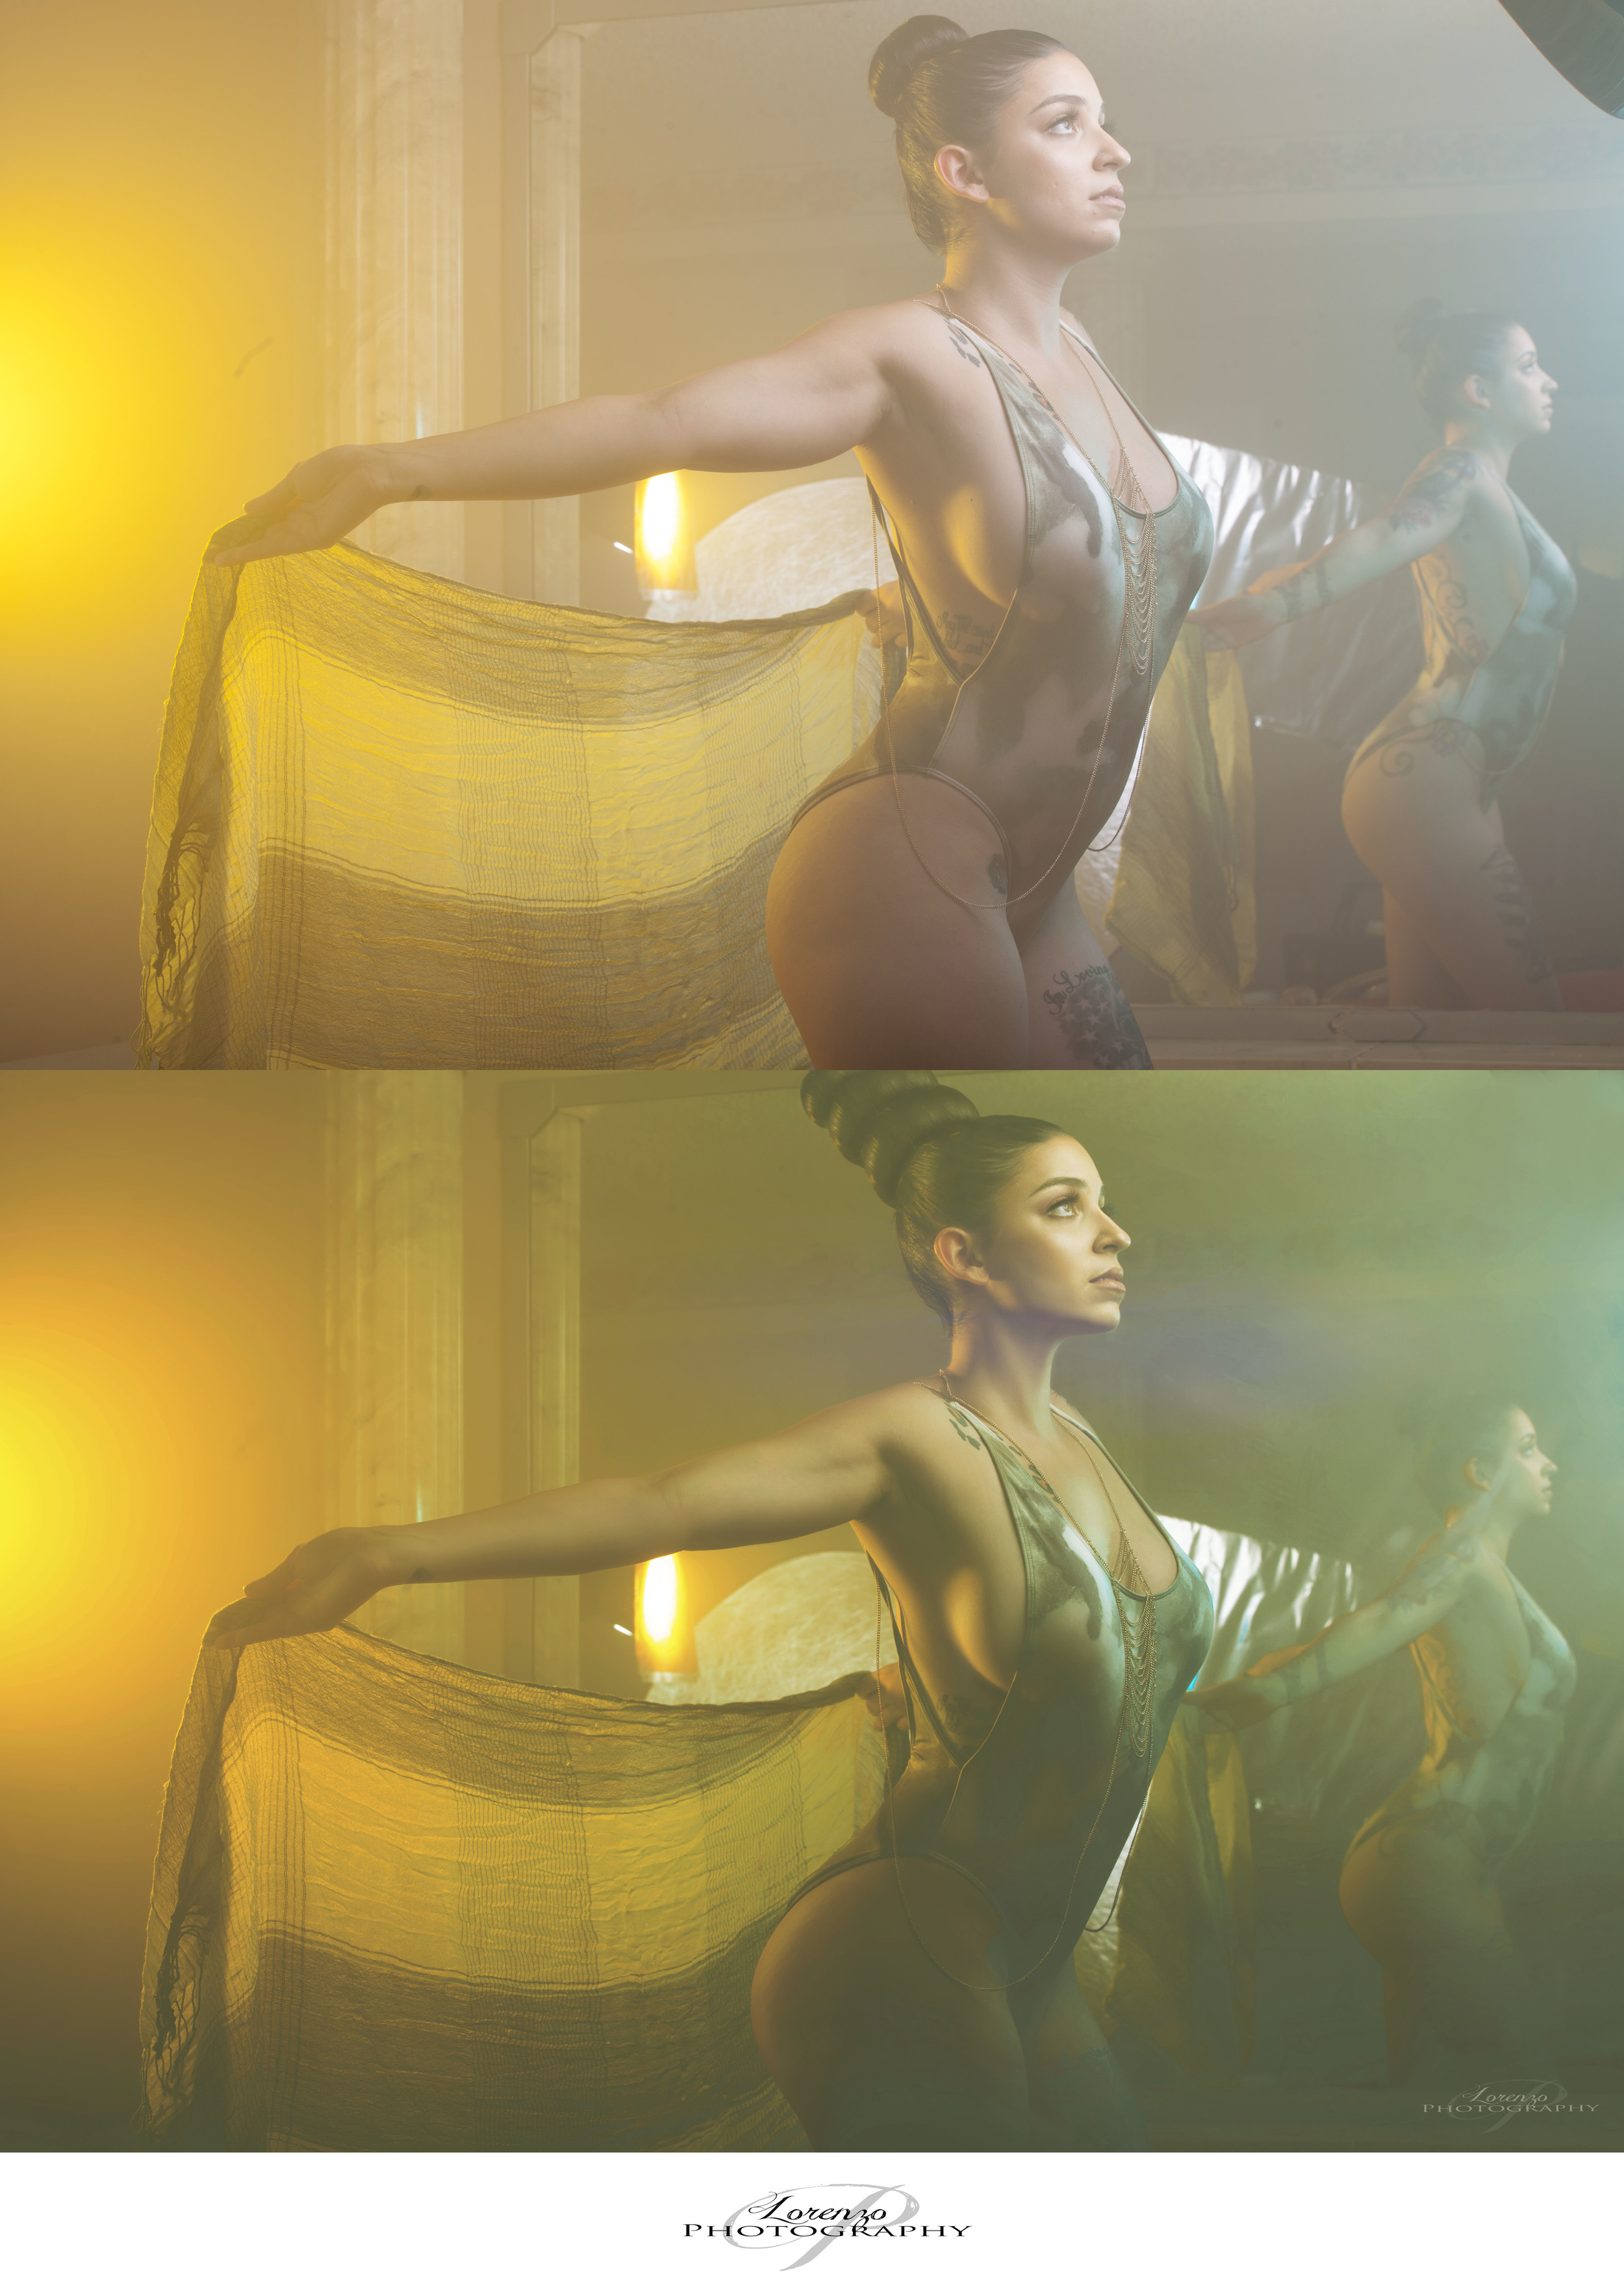
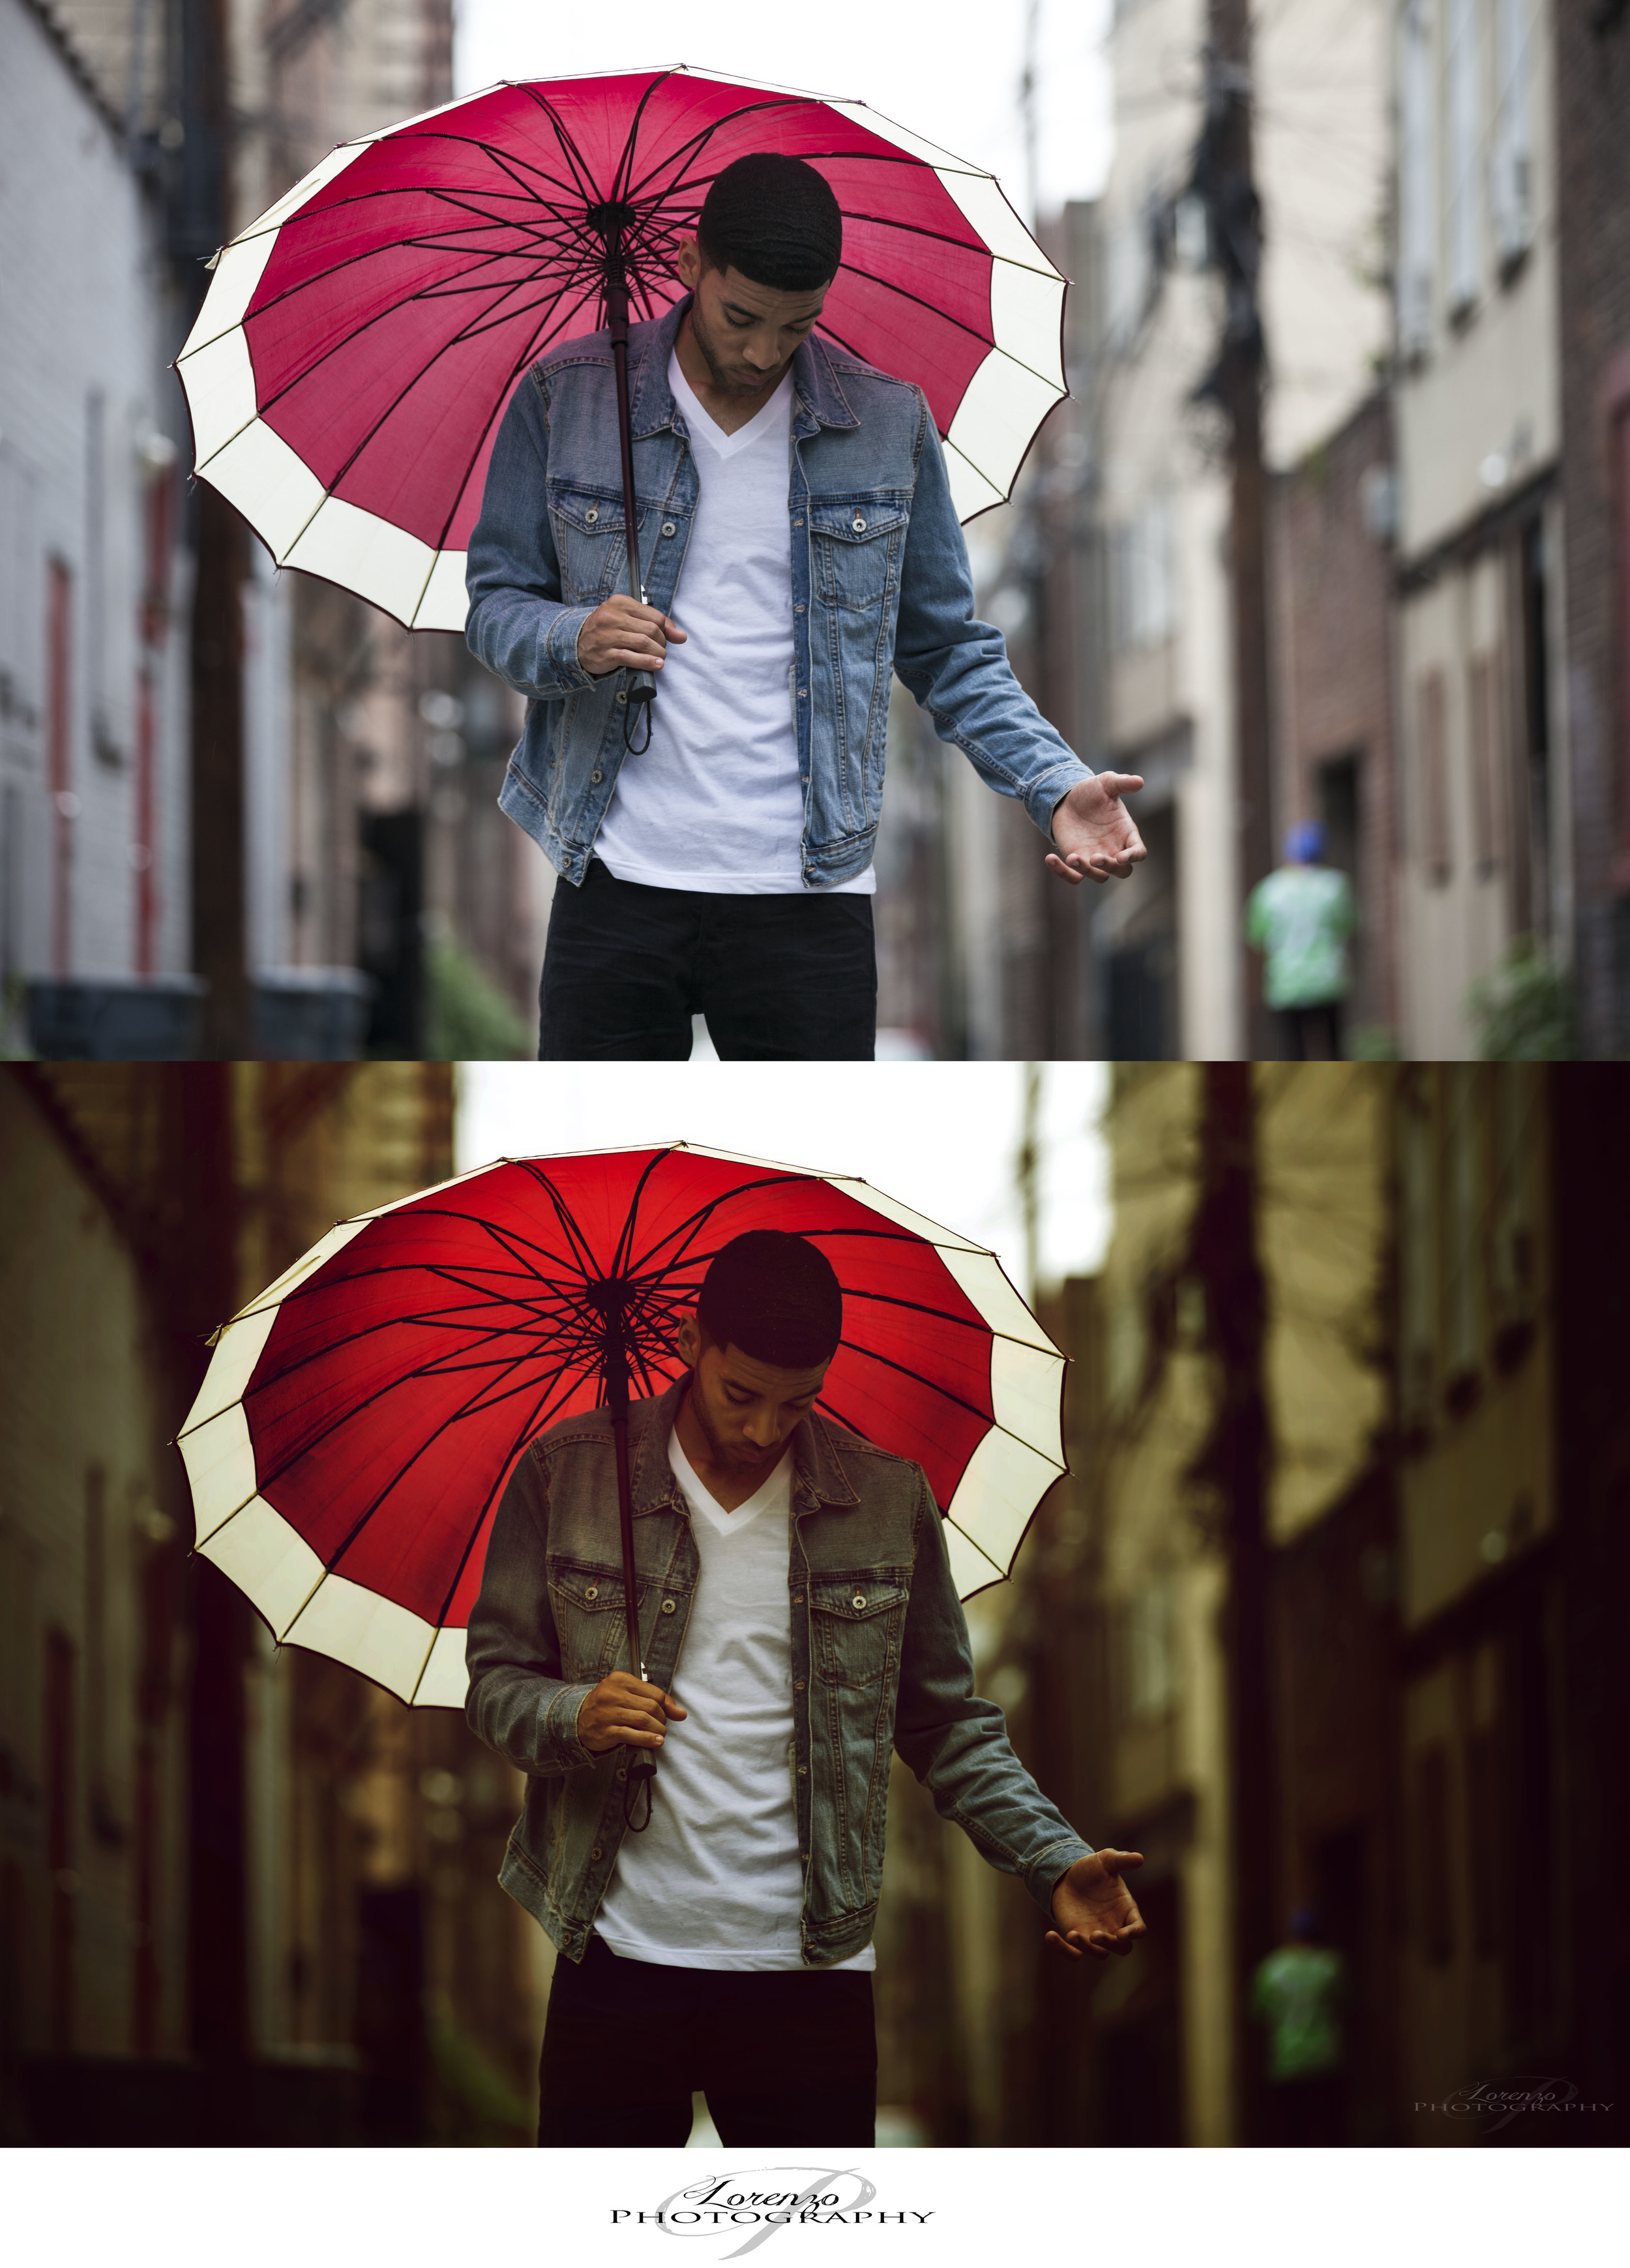
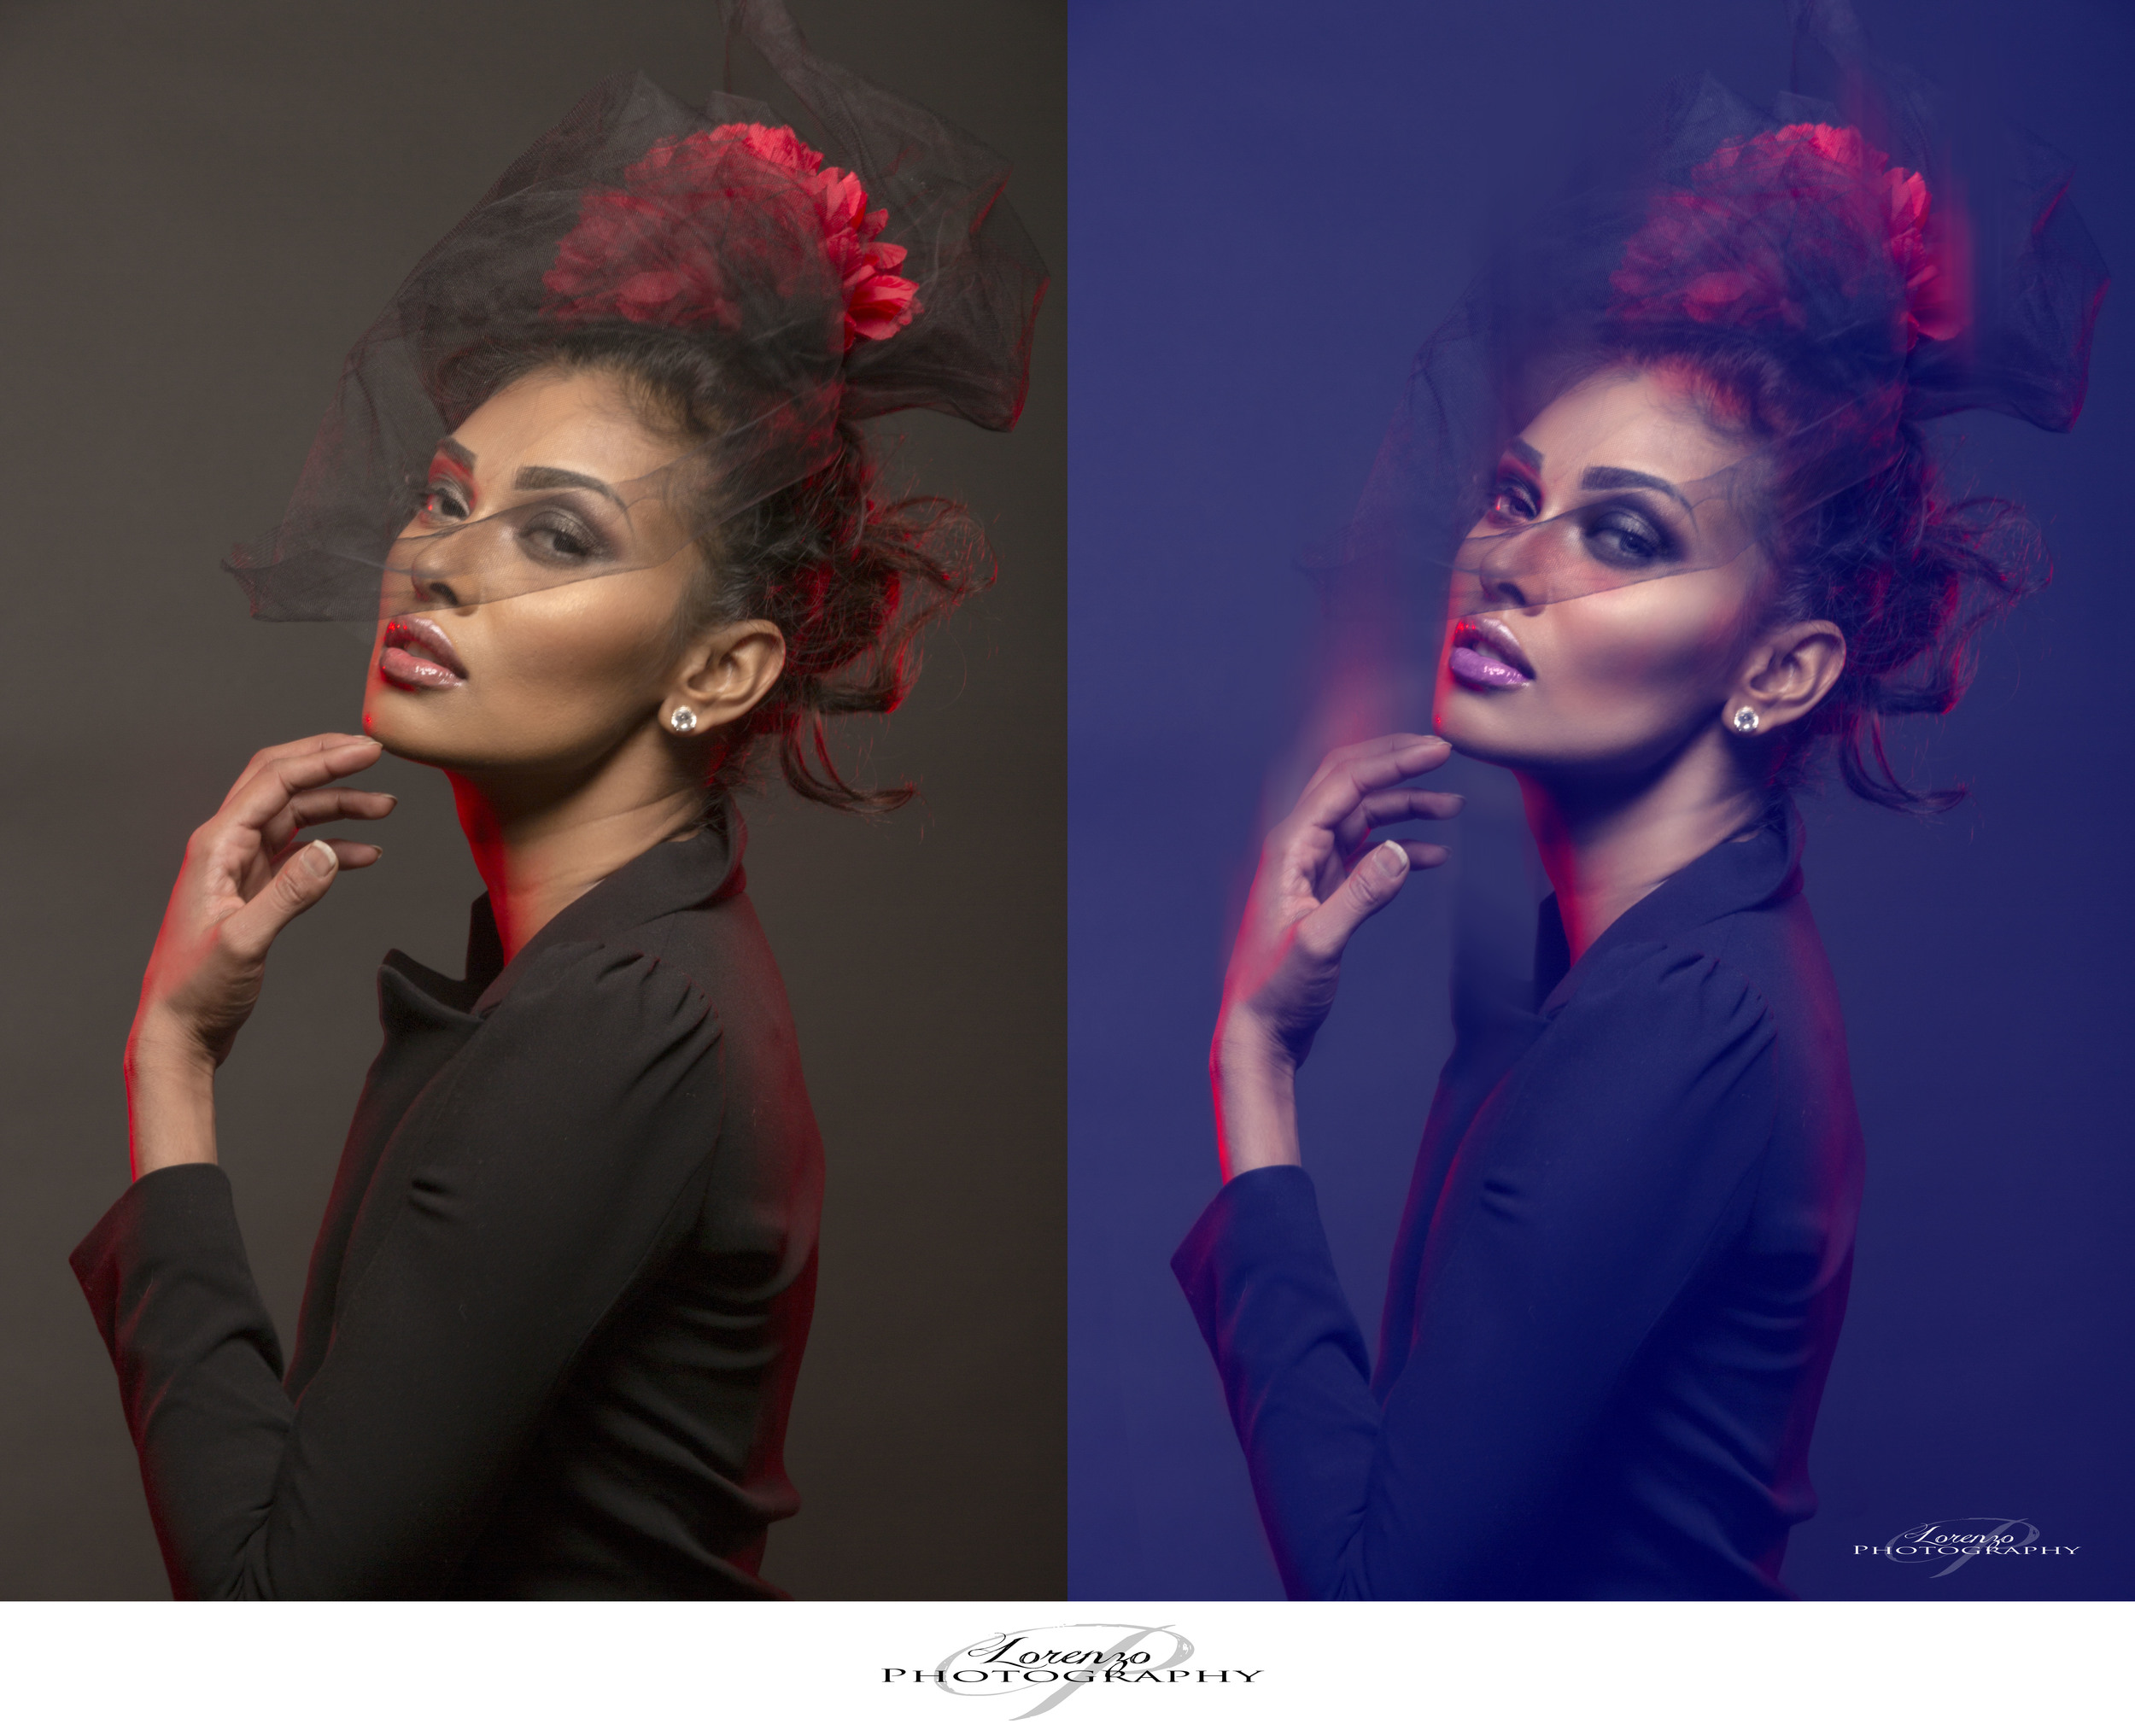
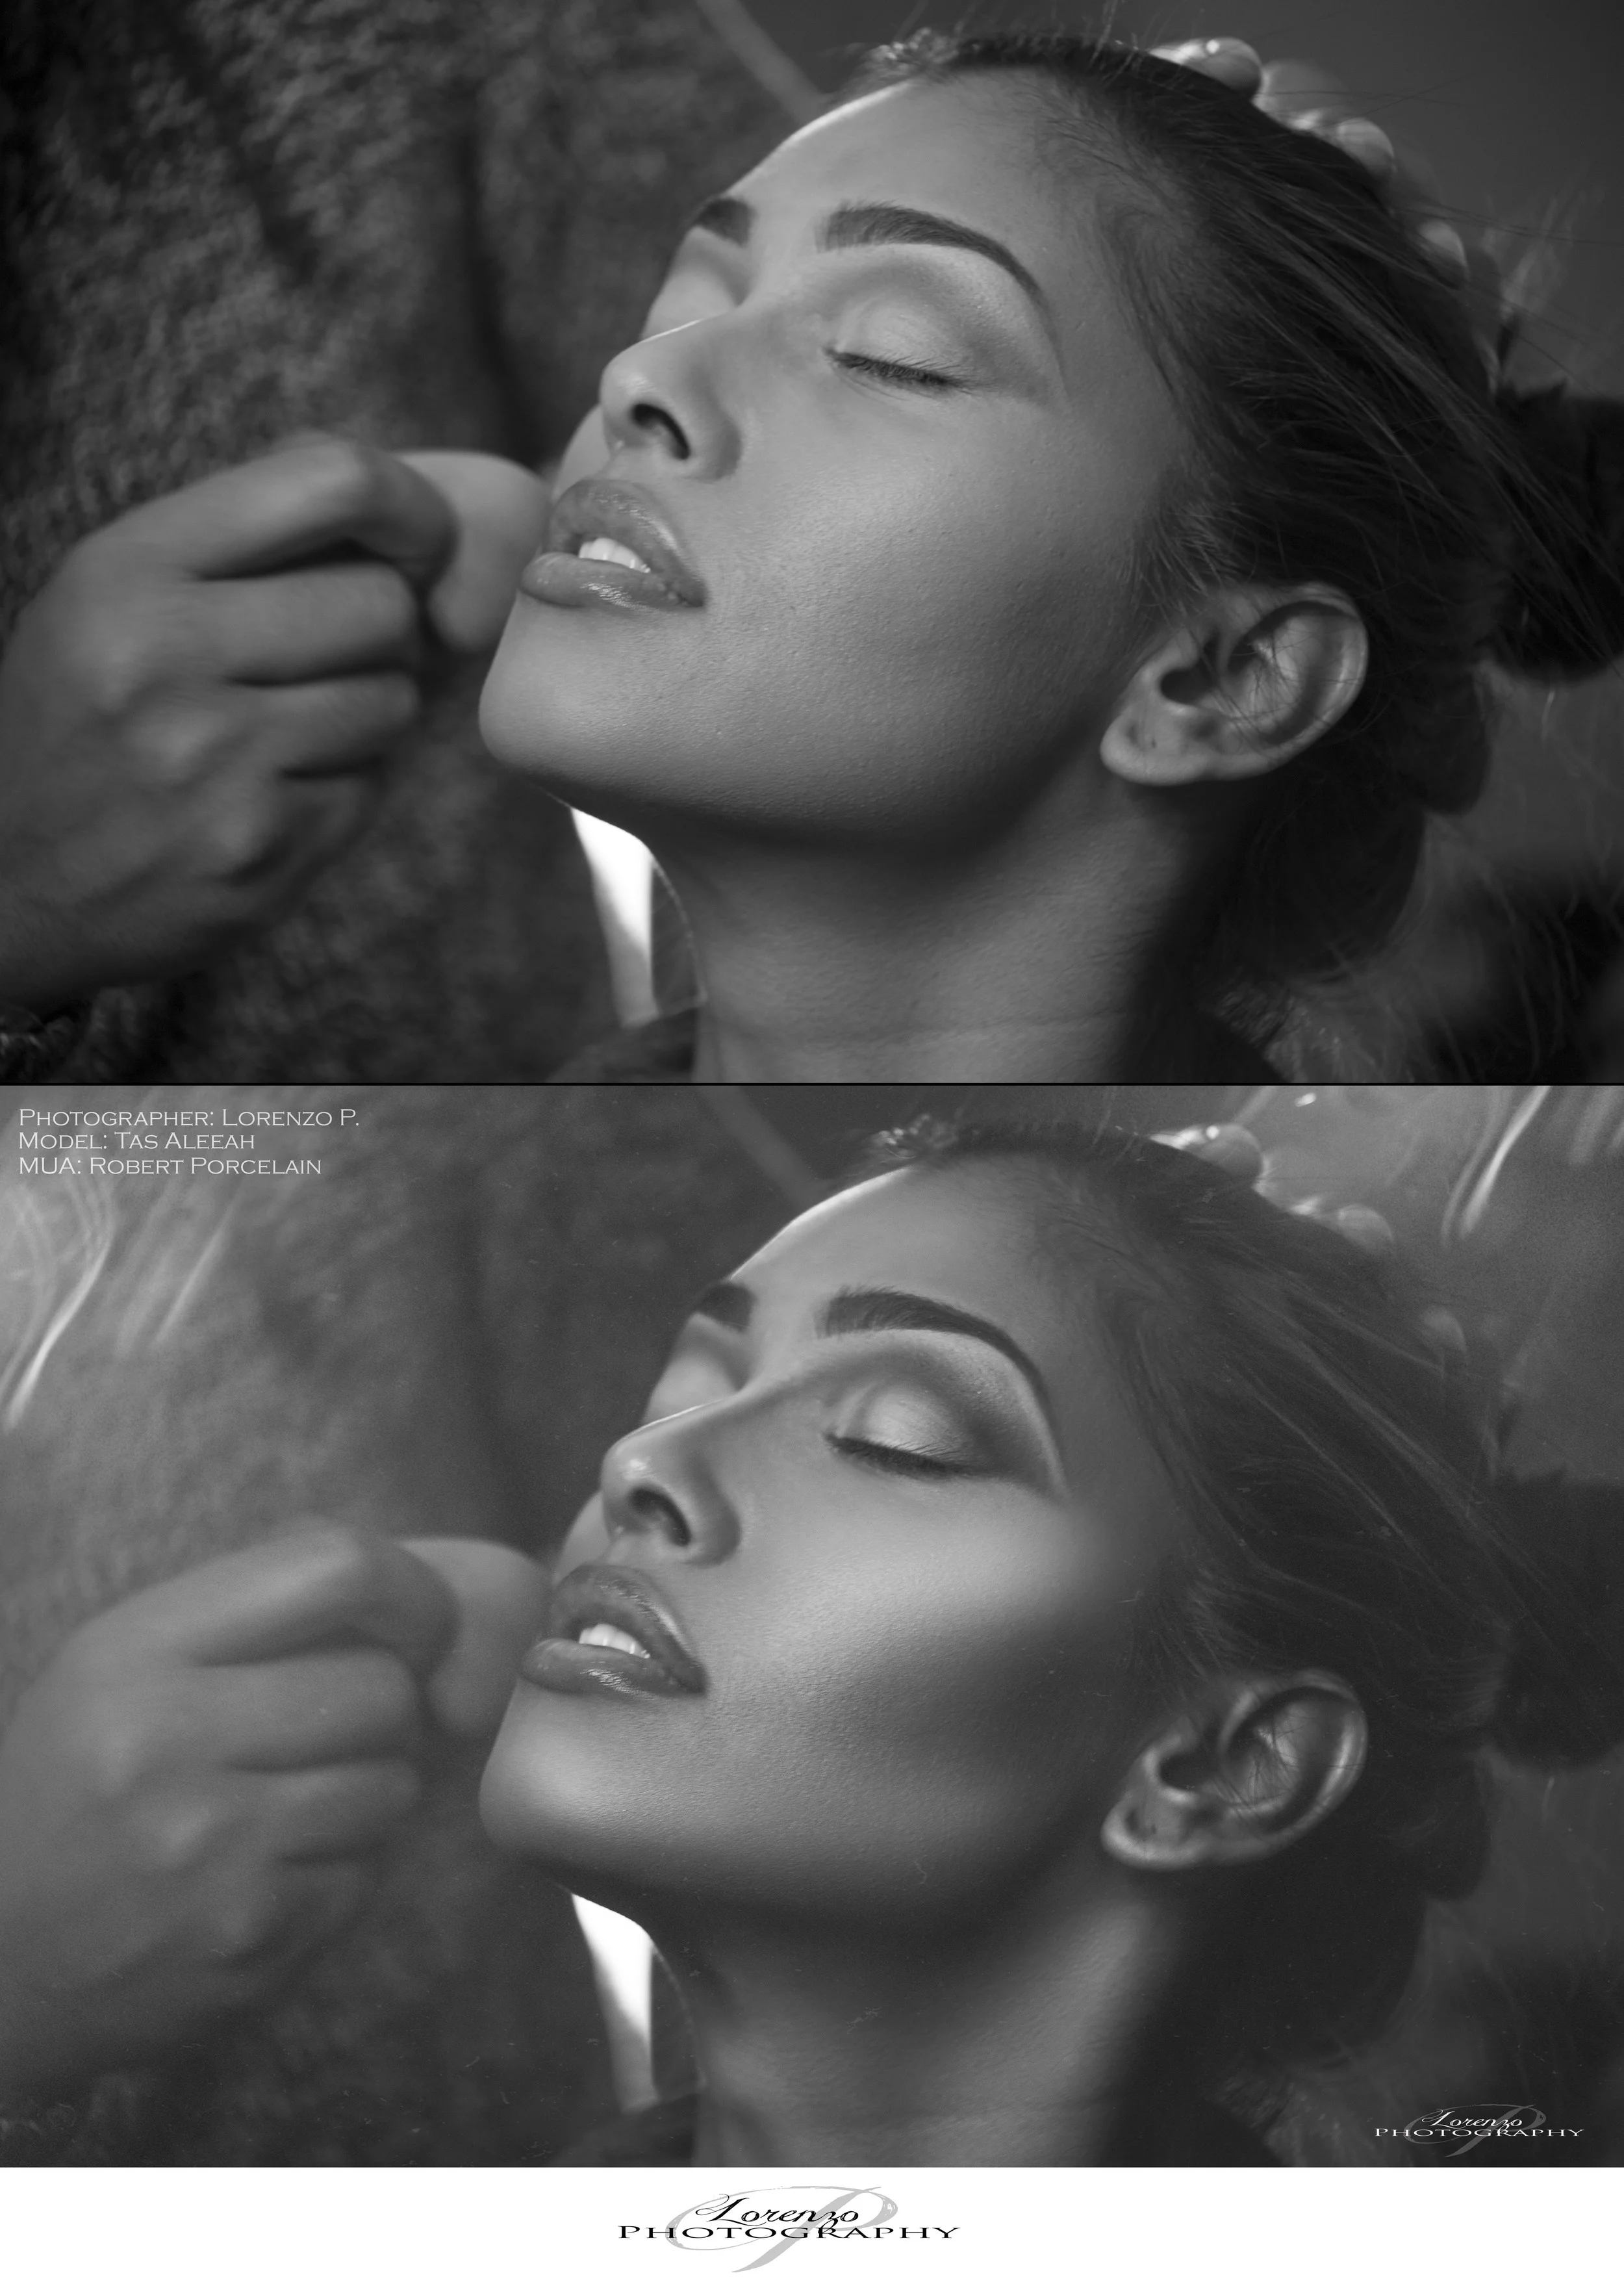
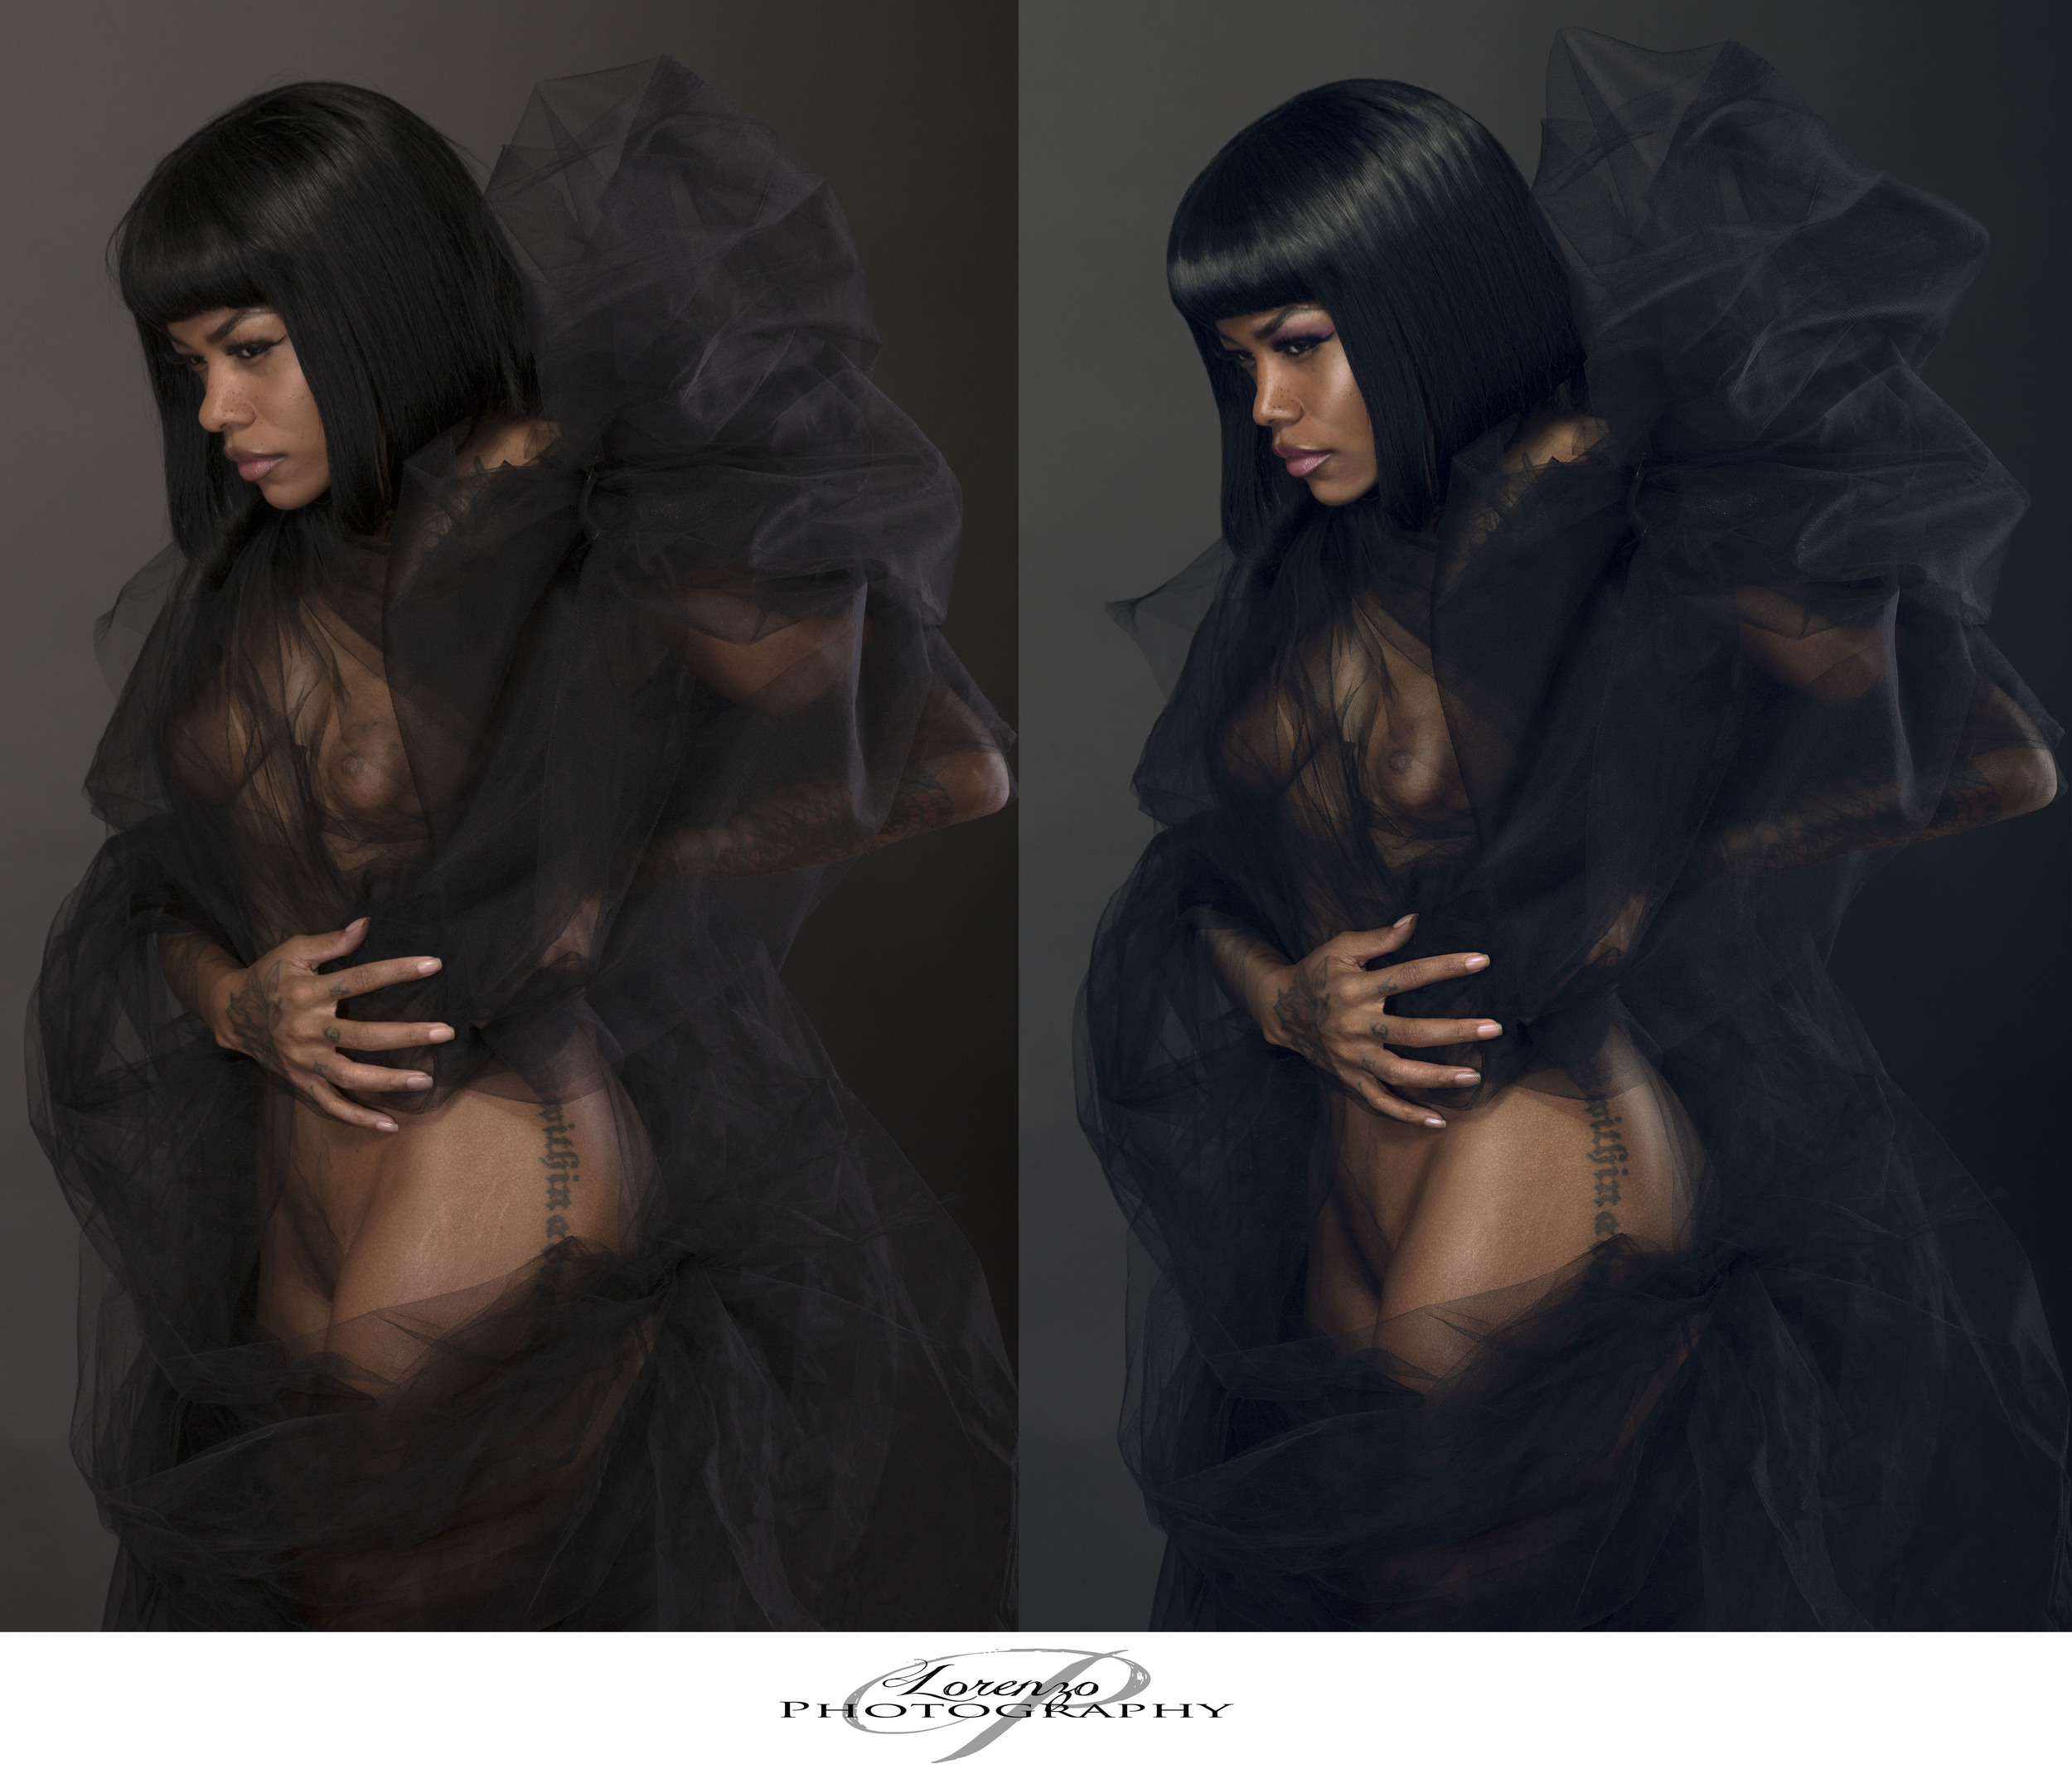
If you ever wondered if my photos were rendered or not, the answer is "Yes" Typically after a photo shoot is done I do whats called "Fishing" I spend roughly an hour fishing through the photos, looking for what is usable, and discarding the ones that are not. After that process is done I then look for the absolute best photos out of the batch, and those are the photos that make it to the rendering process!!!! The amount of rendering varies, sometime the work is extensive and other times it can be something as simple as adding a little contrast and brightening up a photo!!! Anyway enough blabbering on, here are some before and after photos of my work!!!

Before and After ElizaLugo1.jpg
Befor and After ElizaLugo2.jpg
MJC before and after .jpg
Before and After Ace.jpg
Before and After Angie.jpg
Ashley.jpg
Before and after chime boms.jpg
Before and after_MG_1977.jpg
_MG_0338 copy.jpg
_MG_1886.jpg
_MG_1886.jpg
Before and after jlinkart_MG_0604.jpg
Before and after_MG_2937.jpg
Before and After Amarie3.jpg
Darya BEOFRE AND AFTER.jpg
daryabeforeandafter_MG_9432.jpg
Before and After JLink _MG_9956.jpg
Emilia Before and After.jpg
Before and After Julius.jpg
Before and After Dalilah_MG_1593.jpg
Latrice_MG_2975.jpg
Before and after _MG_0723.jpg
Before and After Laurel_MG_0636.jpg
Demarysbeforeandafter_MG_1824.jpg
Demarys before and after.jpg
BeforeandAfterJoy_MG_0398.jpg
Before and After Demarys.jpg
Demarys Before and After .jpg
QueenellaBeforeandAfter_MG_7605.jpg
Source: Before And After

Rokinon 24mm F1.4 Prime

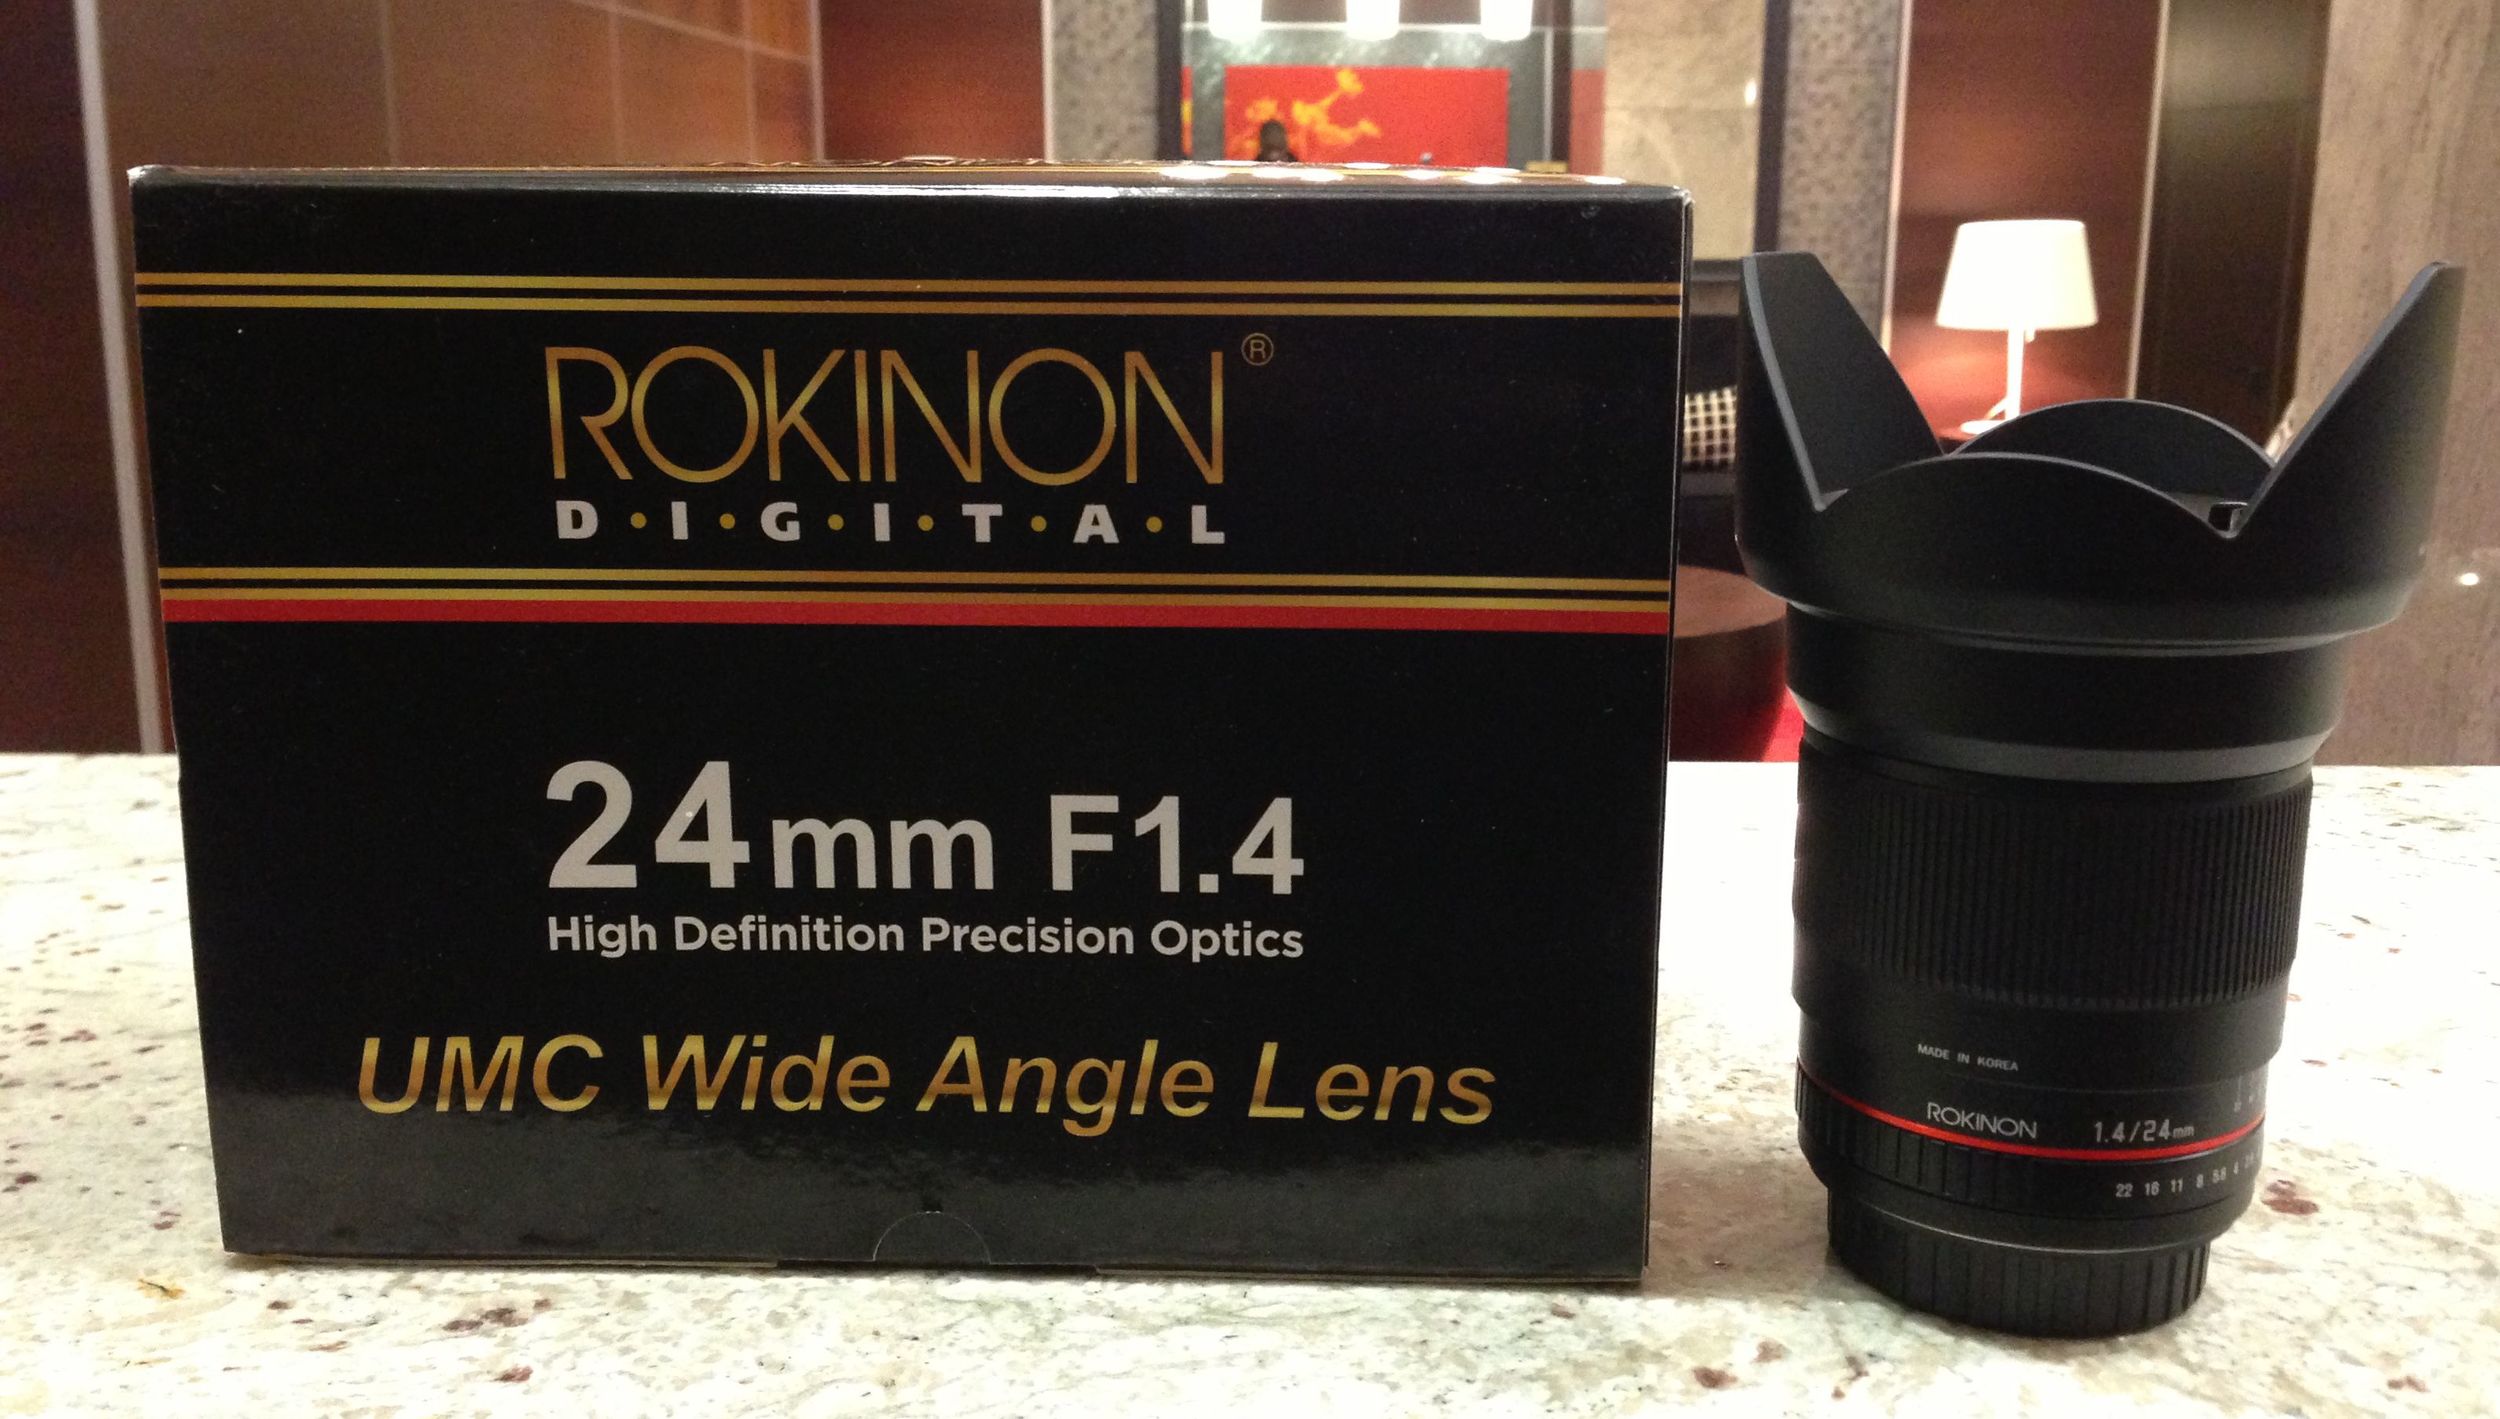
 I just acquired the #Rokinon 24mm F1.4 lens, this my 3rd Rokinon Lens, and I must say I am pretty excited about it!  Over the past year or so I have become a fan of the Rokinon brand. I first came across the Company after reading a post on the #Cheesycam.com blog. I was curious enough to take a chance, and I am glad I did. After being surprisingly pleased with the #Rokinon14mm2.8, I dove head first on the #R85mm1.4. Absolutely loving the performance of these two lenses I felt it was only right to purchase the #R24mm1.4. I always wanted to own a 24mm #Prime, but the #Canon equivalent is $1,550, That was way out of of my price range. Emm the founder of Cheesycam posted the R24mm1.4 originally priced at $800 for a limited time it was on sale for $500. I couldn't believe it I just had to buy this lens!!! Although these are manually focused lenses for the price point and the sheer quality you can not go wrong!!

Pros: Fast, Sharp, Creamy Bokeh, Wide, Solid Build, Superb Image Quality

As for now I do not have any Cons but if I do I will update this post!!

Here are a few images shot with this lens fresh out of the camera!! 

Fresh out of the box! 

Fresh out of the box! 

Top of the Glass

Top of the Glass

R24mm1.4 Mounted on my Canon 5D MarkII

R24mm1.4 Mounted on my Canon 5D MarkII

This was shot at 1.4, Pretty darn impressive if you ask me!!!

This was shot at 1.4, Pretty darn impressive if you ask me!!!

I took it out on a little test this was shot from inside of my car.

I took it out on a little test this was shot from inside of my car.

_MG_9261.JPG
_MG_9924.JPG
_MG_9945.JPG
_MG_9958.JPG
_MG_9932.JPG

Lighting!!!

It's all about lighting coming from an artistic background, I know the importance of light and I understand how it interacts with my work. It amazes me how people use light to sculpt their photography. Using light in a creative way can give your photography a definitive edge creating compelling images. In my repertoire of lighting I like to use and array of lighting, primarily Strobes, Daylight balanced Florescent light, and Daylight balanced CFL short for "Compact Florescent Light" Here are a few images of my lighting equipment. 


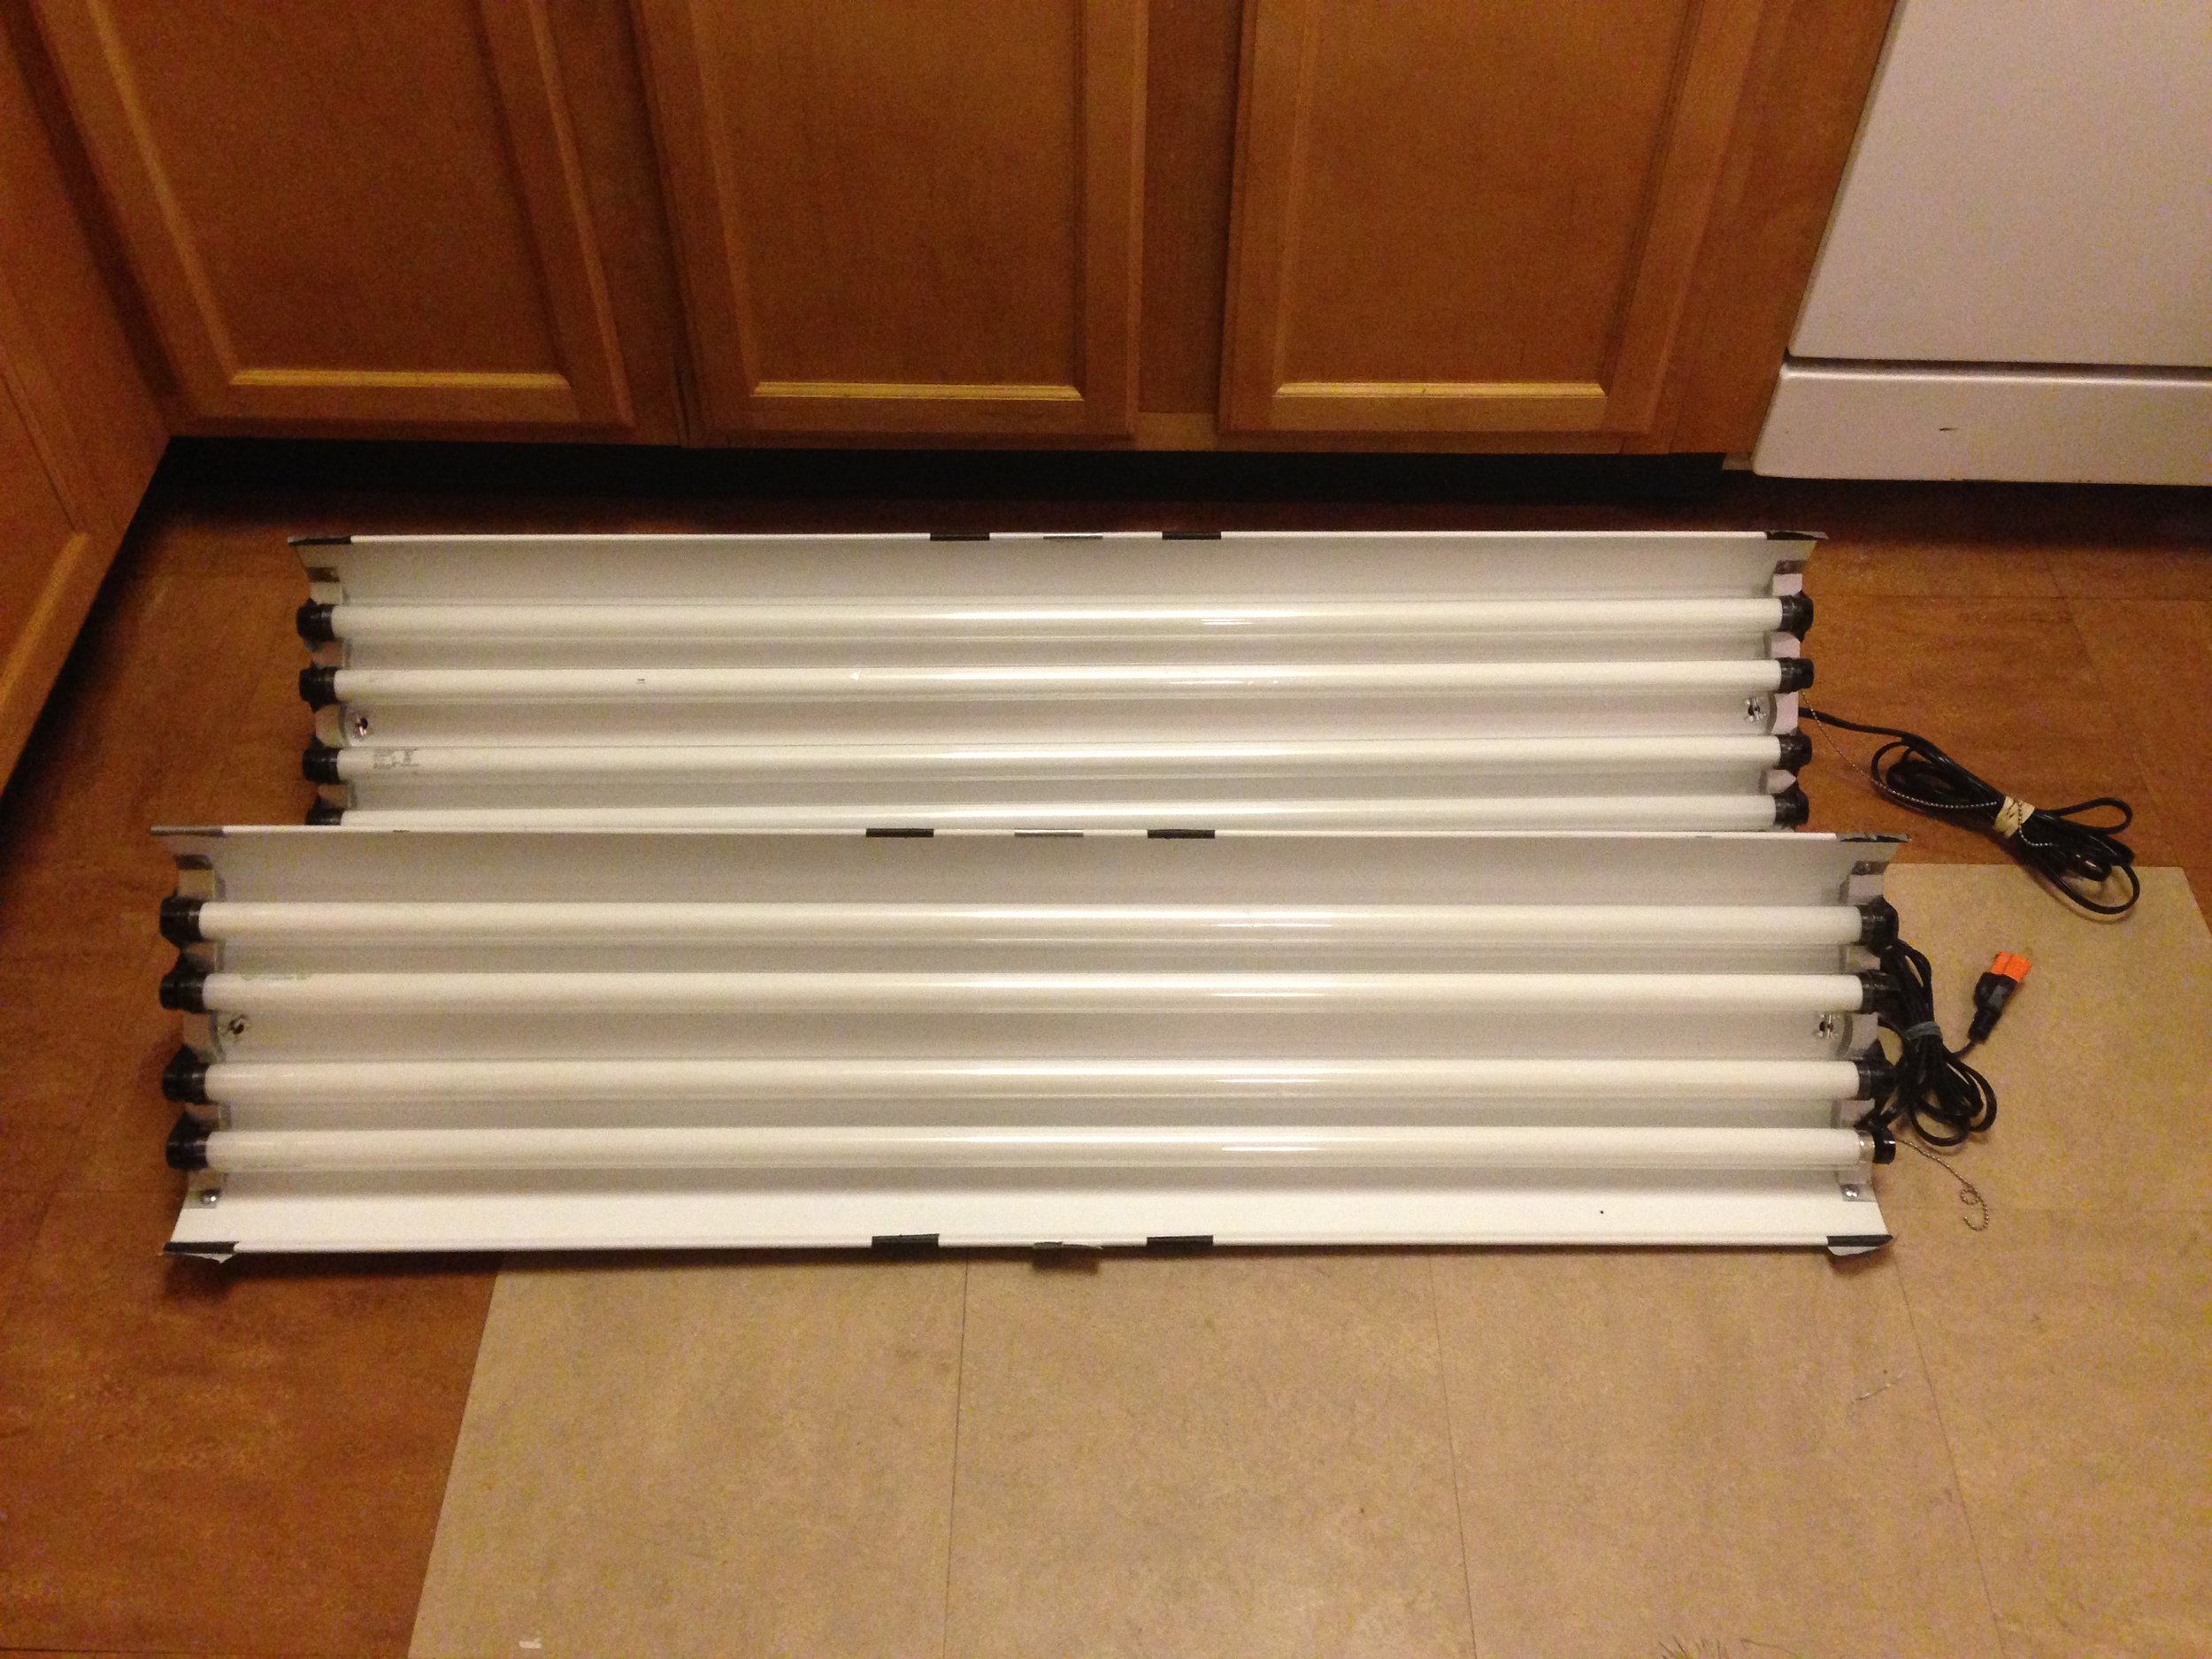
"4ft Fluorescent Lighting Bank" (2) 4 "T8" Bulb  Housing 128w each. 

"4ft Fluorescent Lighting Bank" (2) 4 "T8" Bulb  Housing 128w each. 

"4ft Fluorescent Lighting Bank" (2) 2 "T8" Bulb housing 64w each. 

"4ft Fluorescent Lighting Bank" (2) 2 "T8" Bulb housing 64w each.


"Compact Fluorescent bulbs" (1) 85w, (2) 65w, (2) 45w, and (2) 25w (I never really use these guys)

"Compact Fluorescent bulbs" (1) 85w, (2) 65w, (2) 45w, and (2) 25w (I never really use these guys)

18in Diva Ring Light 500w

18in Diva Ring Light 500w

"Canon 580exII Speedlites" (2) 

"Canon 580exII Speedlites" (2) 

"Strobes" (3) 400w, (1) 600w 

"Strobes" (3) 400w, (1) 600w 

Here it is people my little arsenal.

Here it is people my little arsenal.

Source: Lighting